One of the most popular entries on WIPPP has been my 2015 Writing Workflow. My workflow has changed substantially over the last several years. I thought I'd share what I'm currently doing.
Read moreLiquidText PDF Reader
I have experimented with different PDF readers on my iPad. Over the past several months I’ve exclusively used a program called LiquidText.LiquidText has a unique, award-winning, interface that allows me to drag, drop, and manipulate text using my finger. LiquidText was named “Most Innovative iPad App of the Year” by Apple in 2015. LiquidText feels much more natural than any other PDF reader I’ve used on iOS--and I've used many. After highlighting with my finger, the exerpts / highlights / comments are extracted into their own area. The excerpts may be dragged around, linked, and repositioned at will.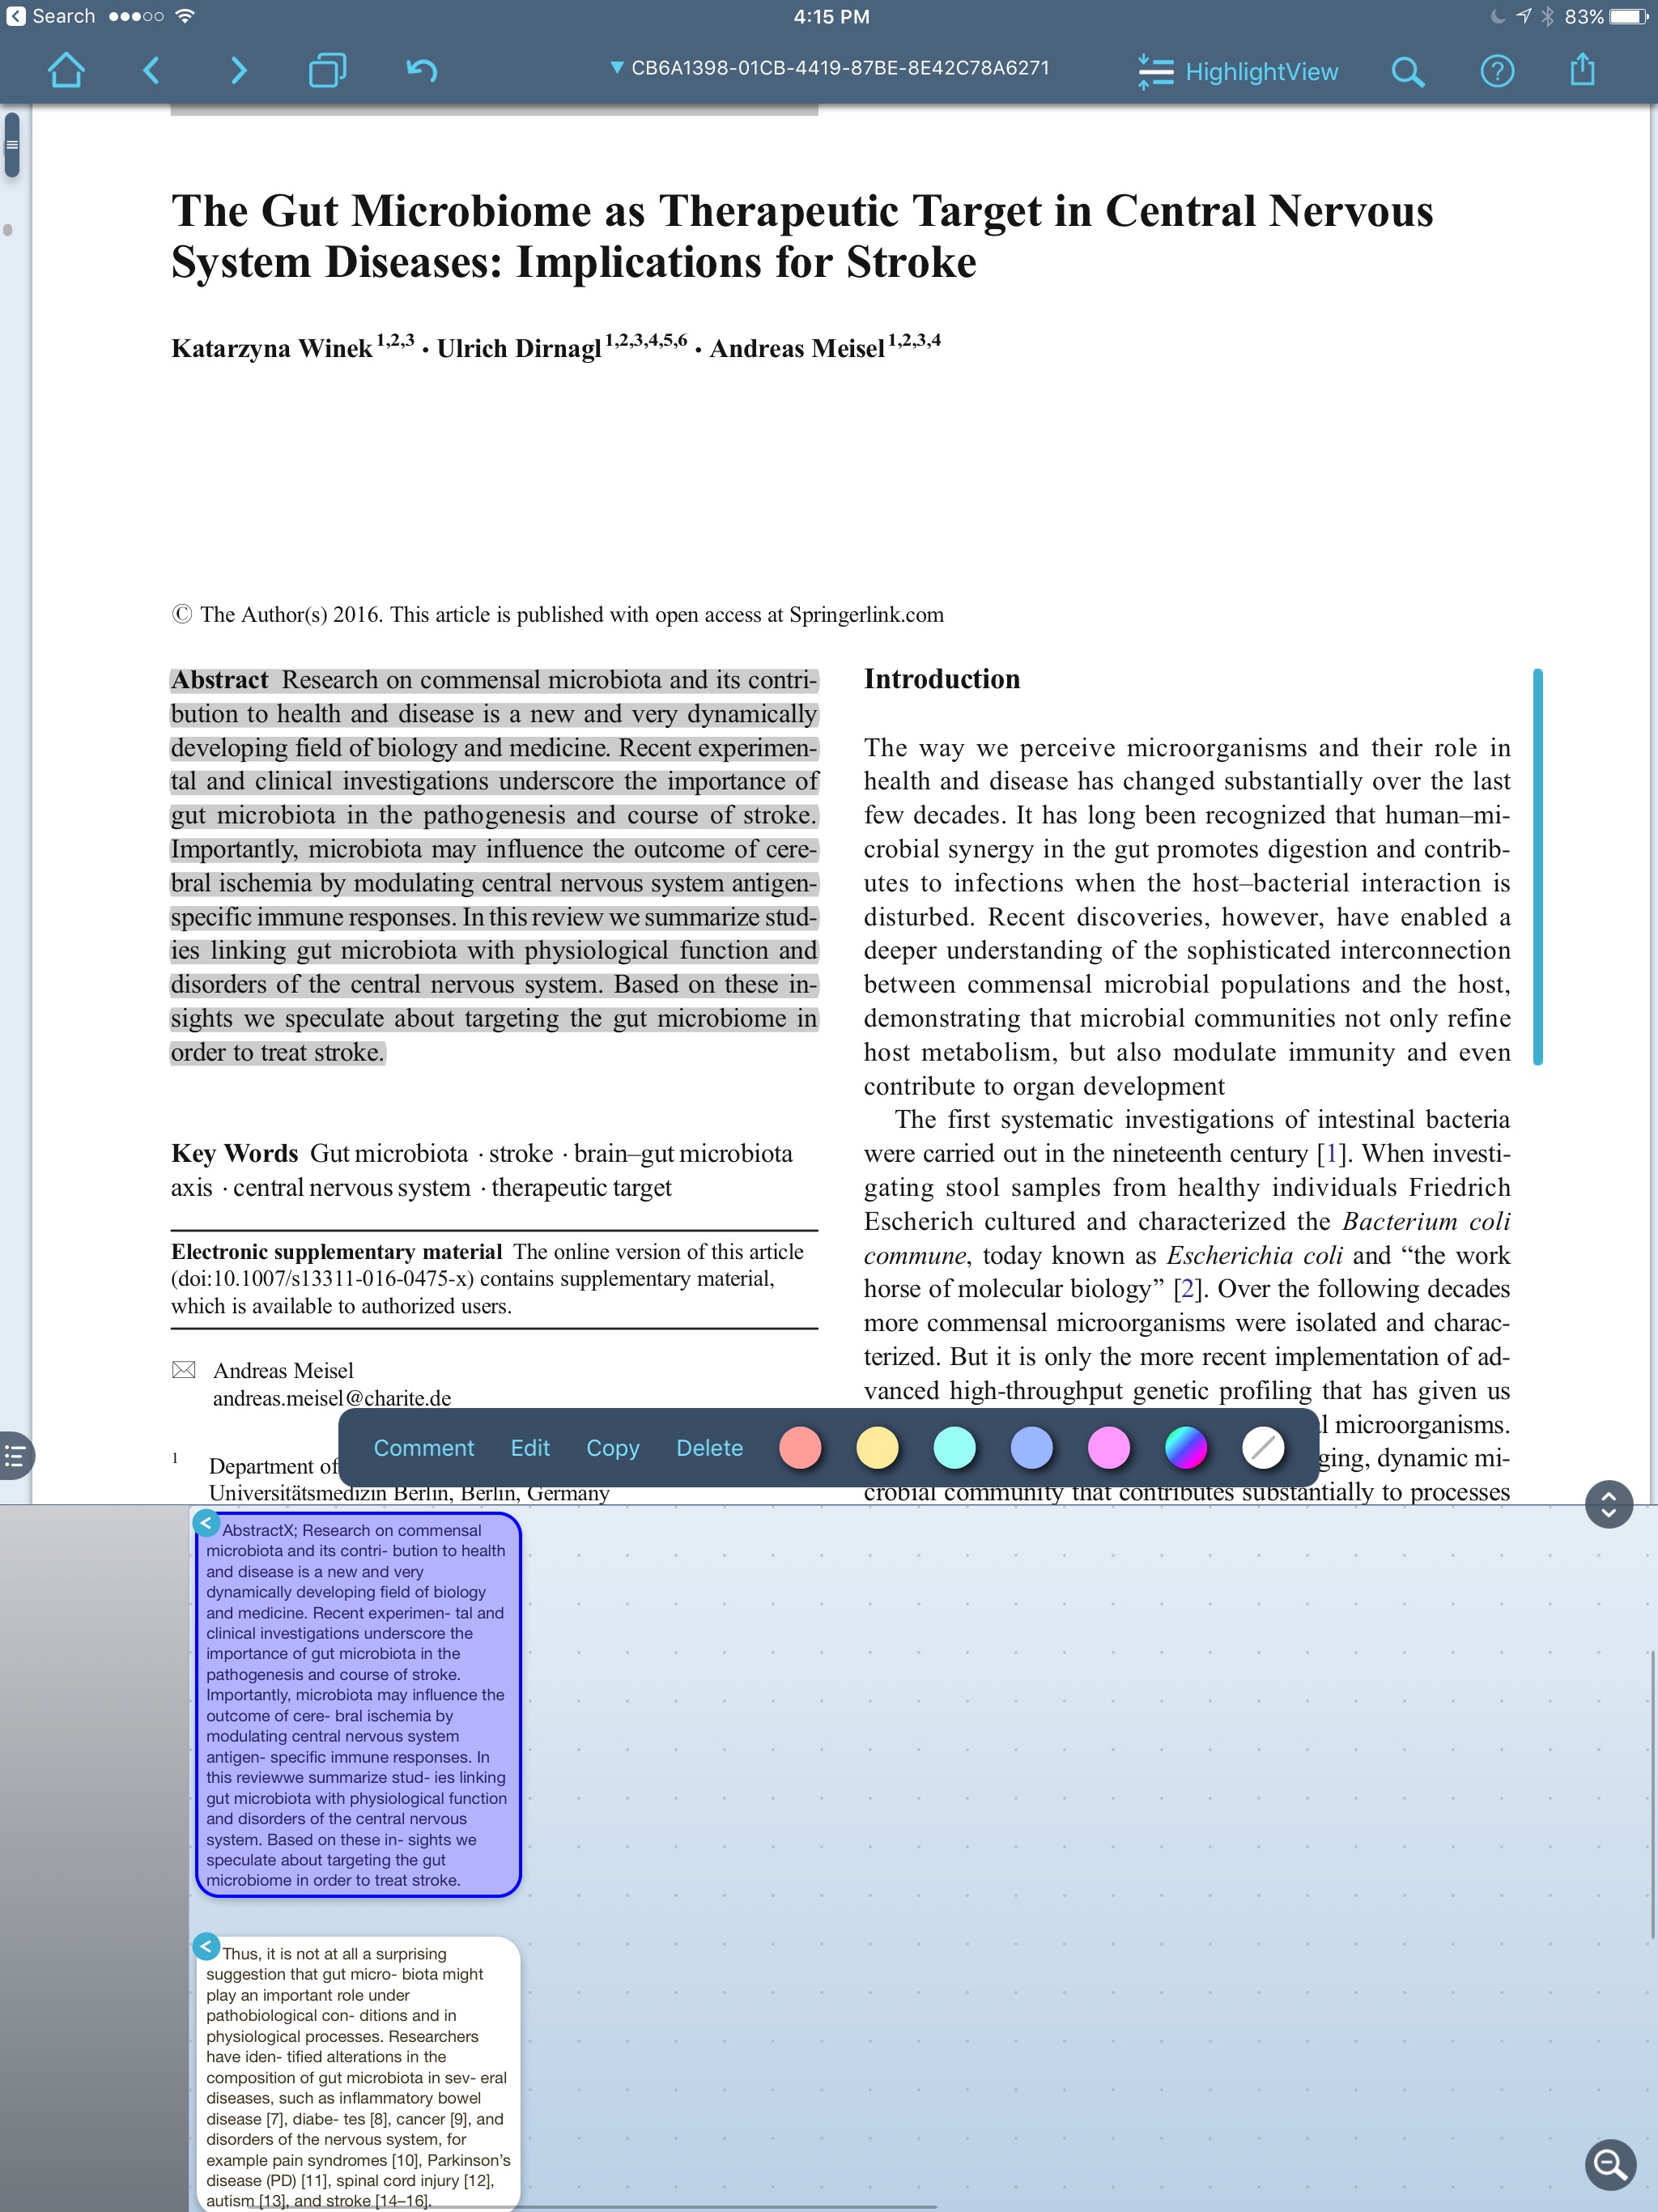 When reading and highlighting, I either drag text from the PDF into the notes area, or simply hit “AutoExcerpt” and the text is extracted for me. I can comment on the excerpted information.
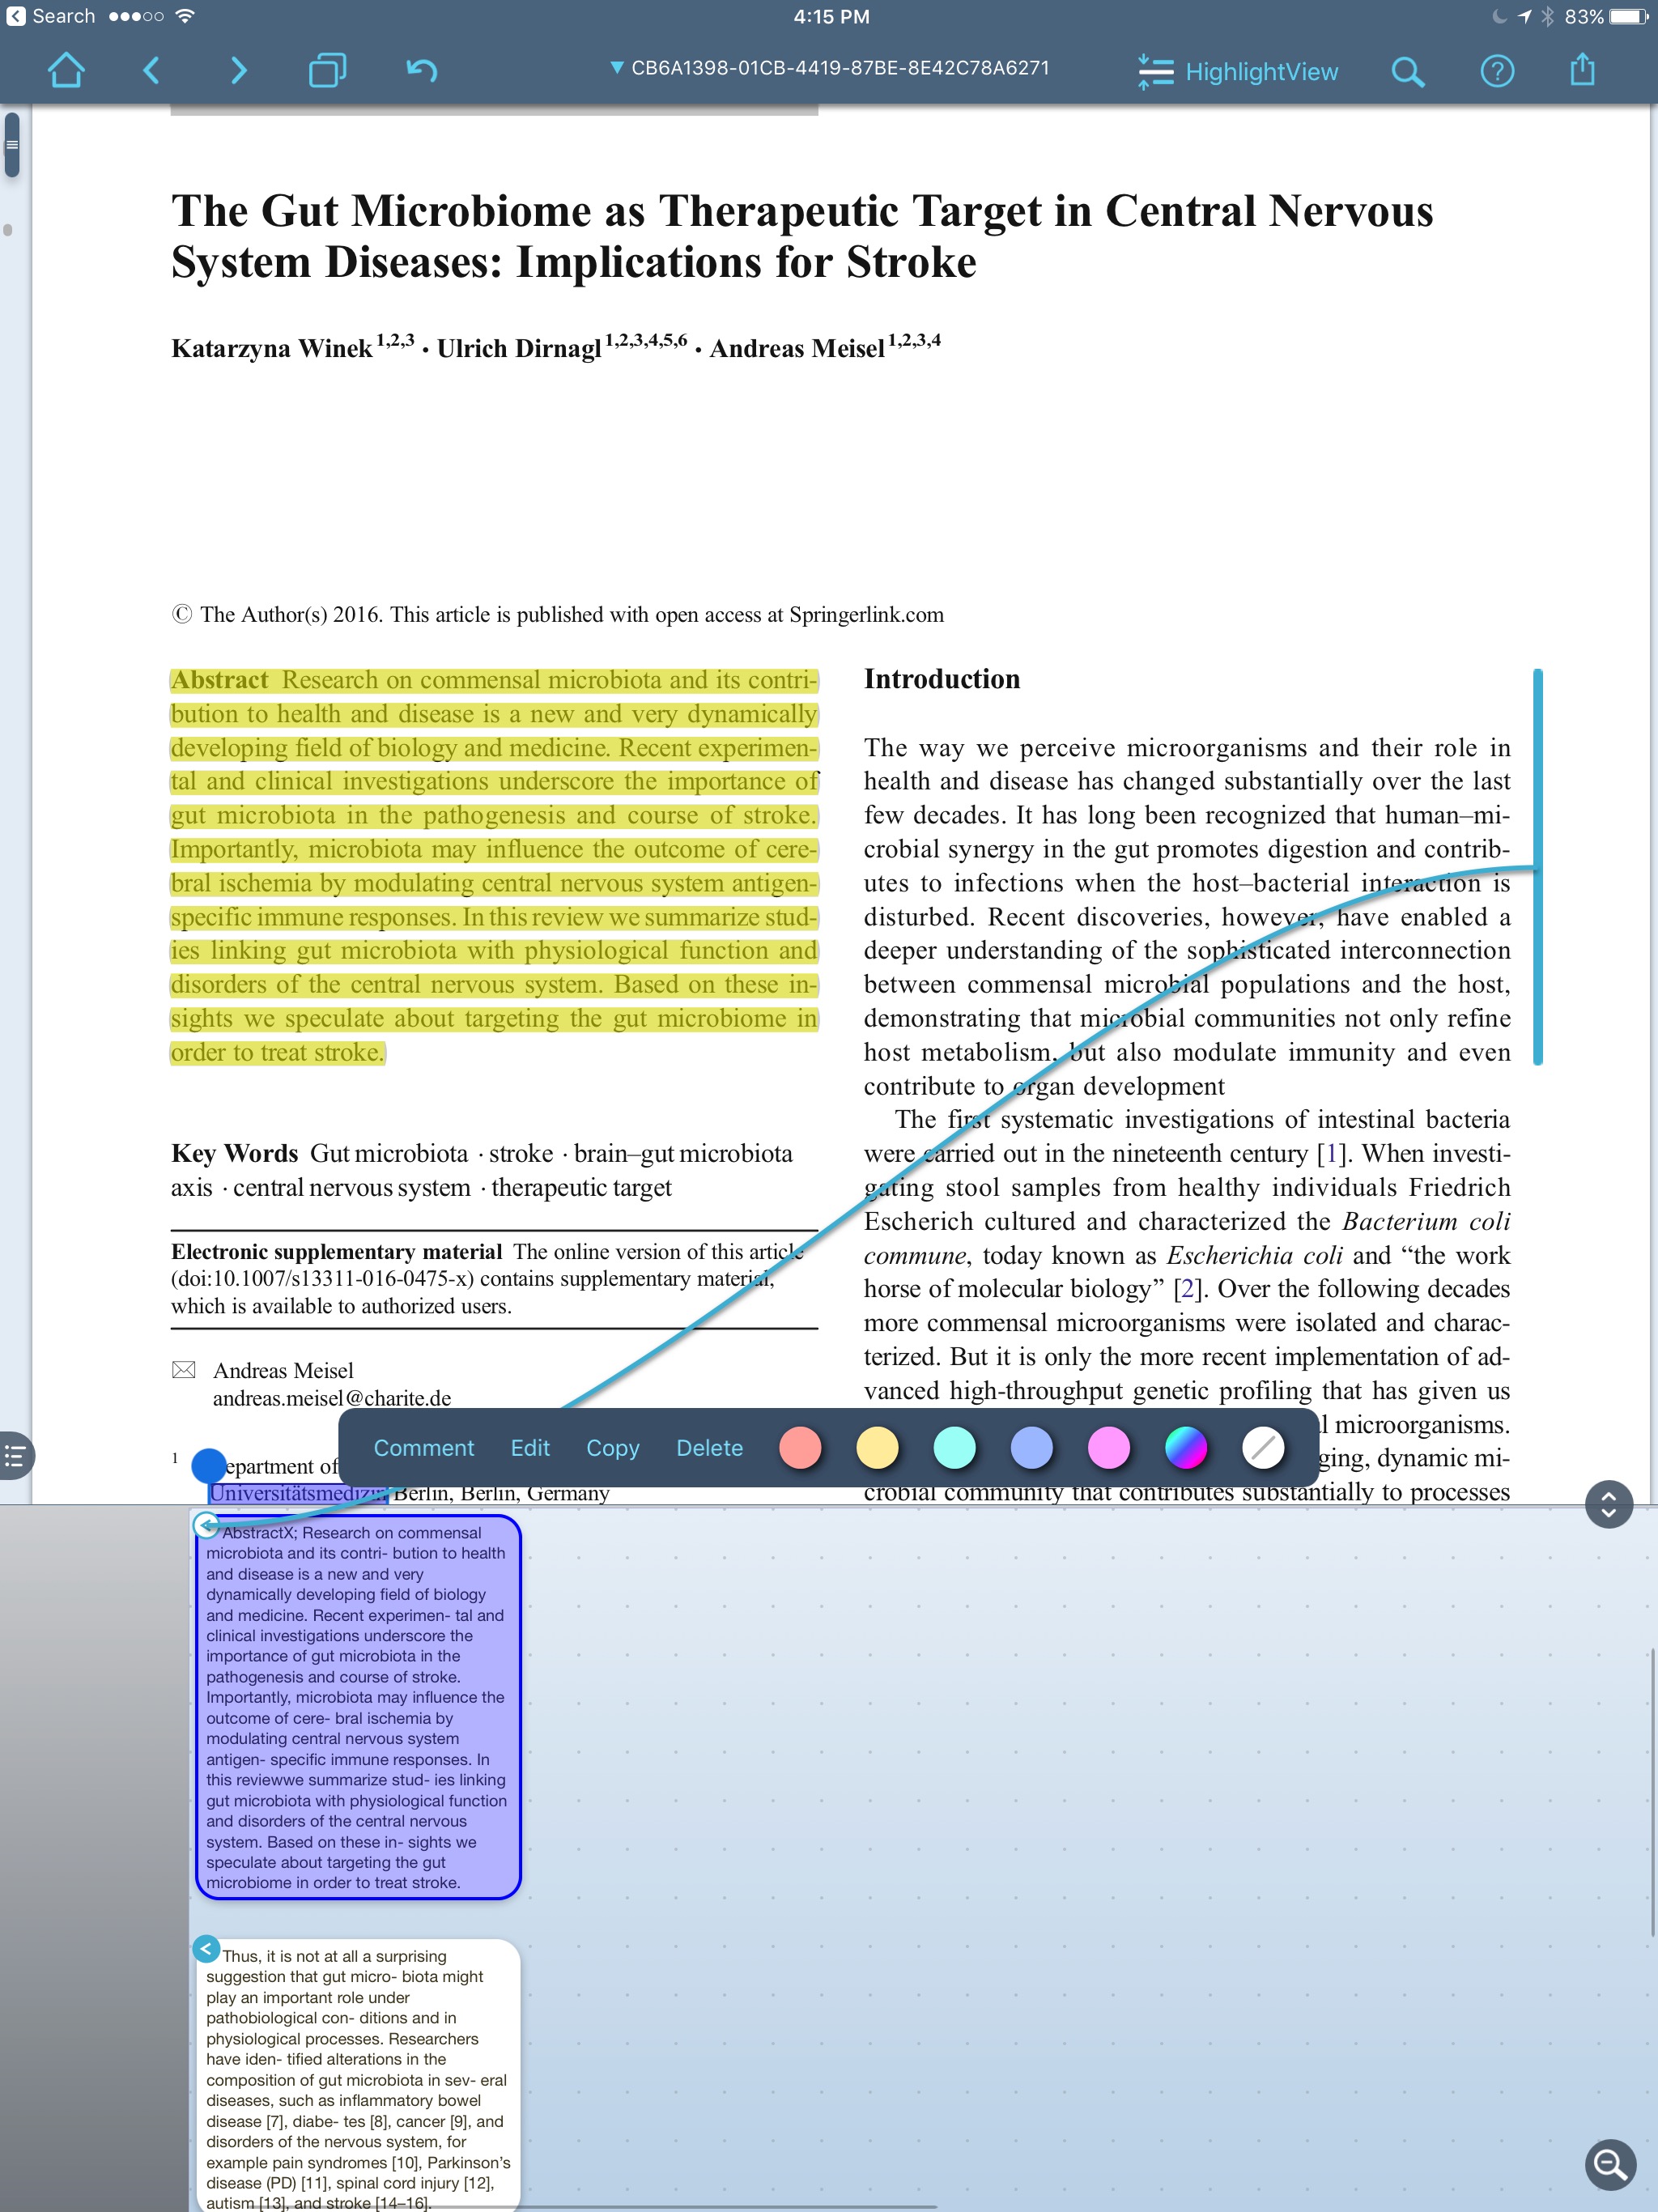
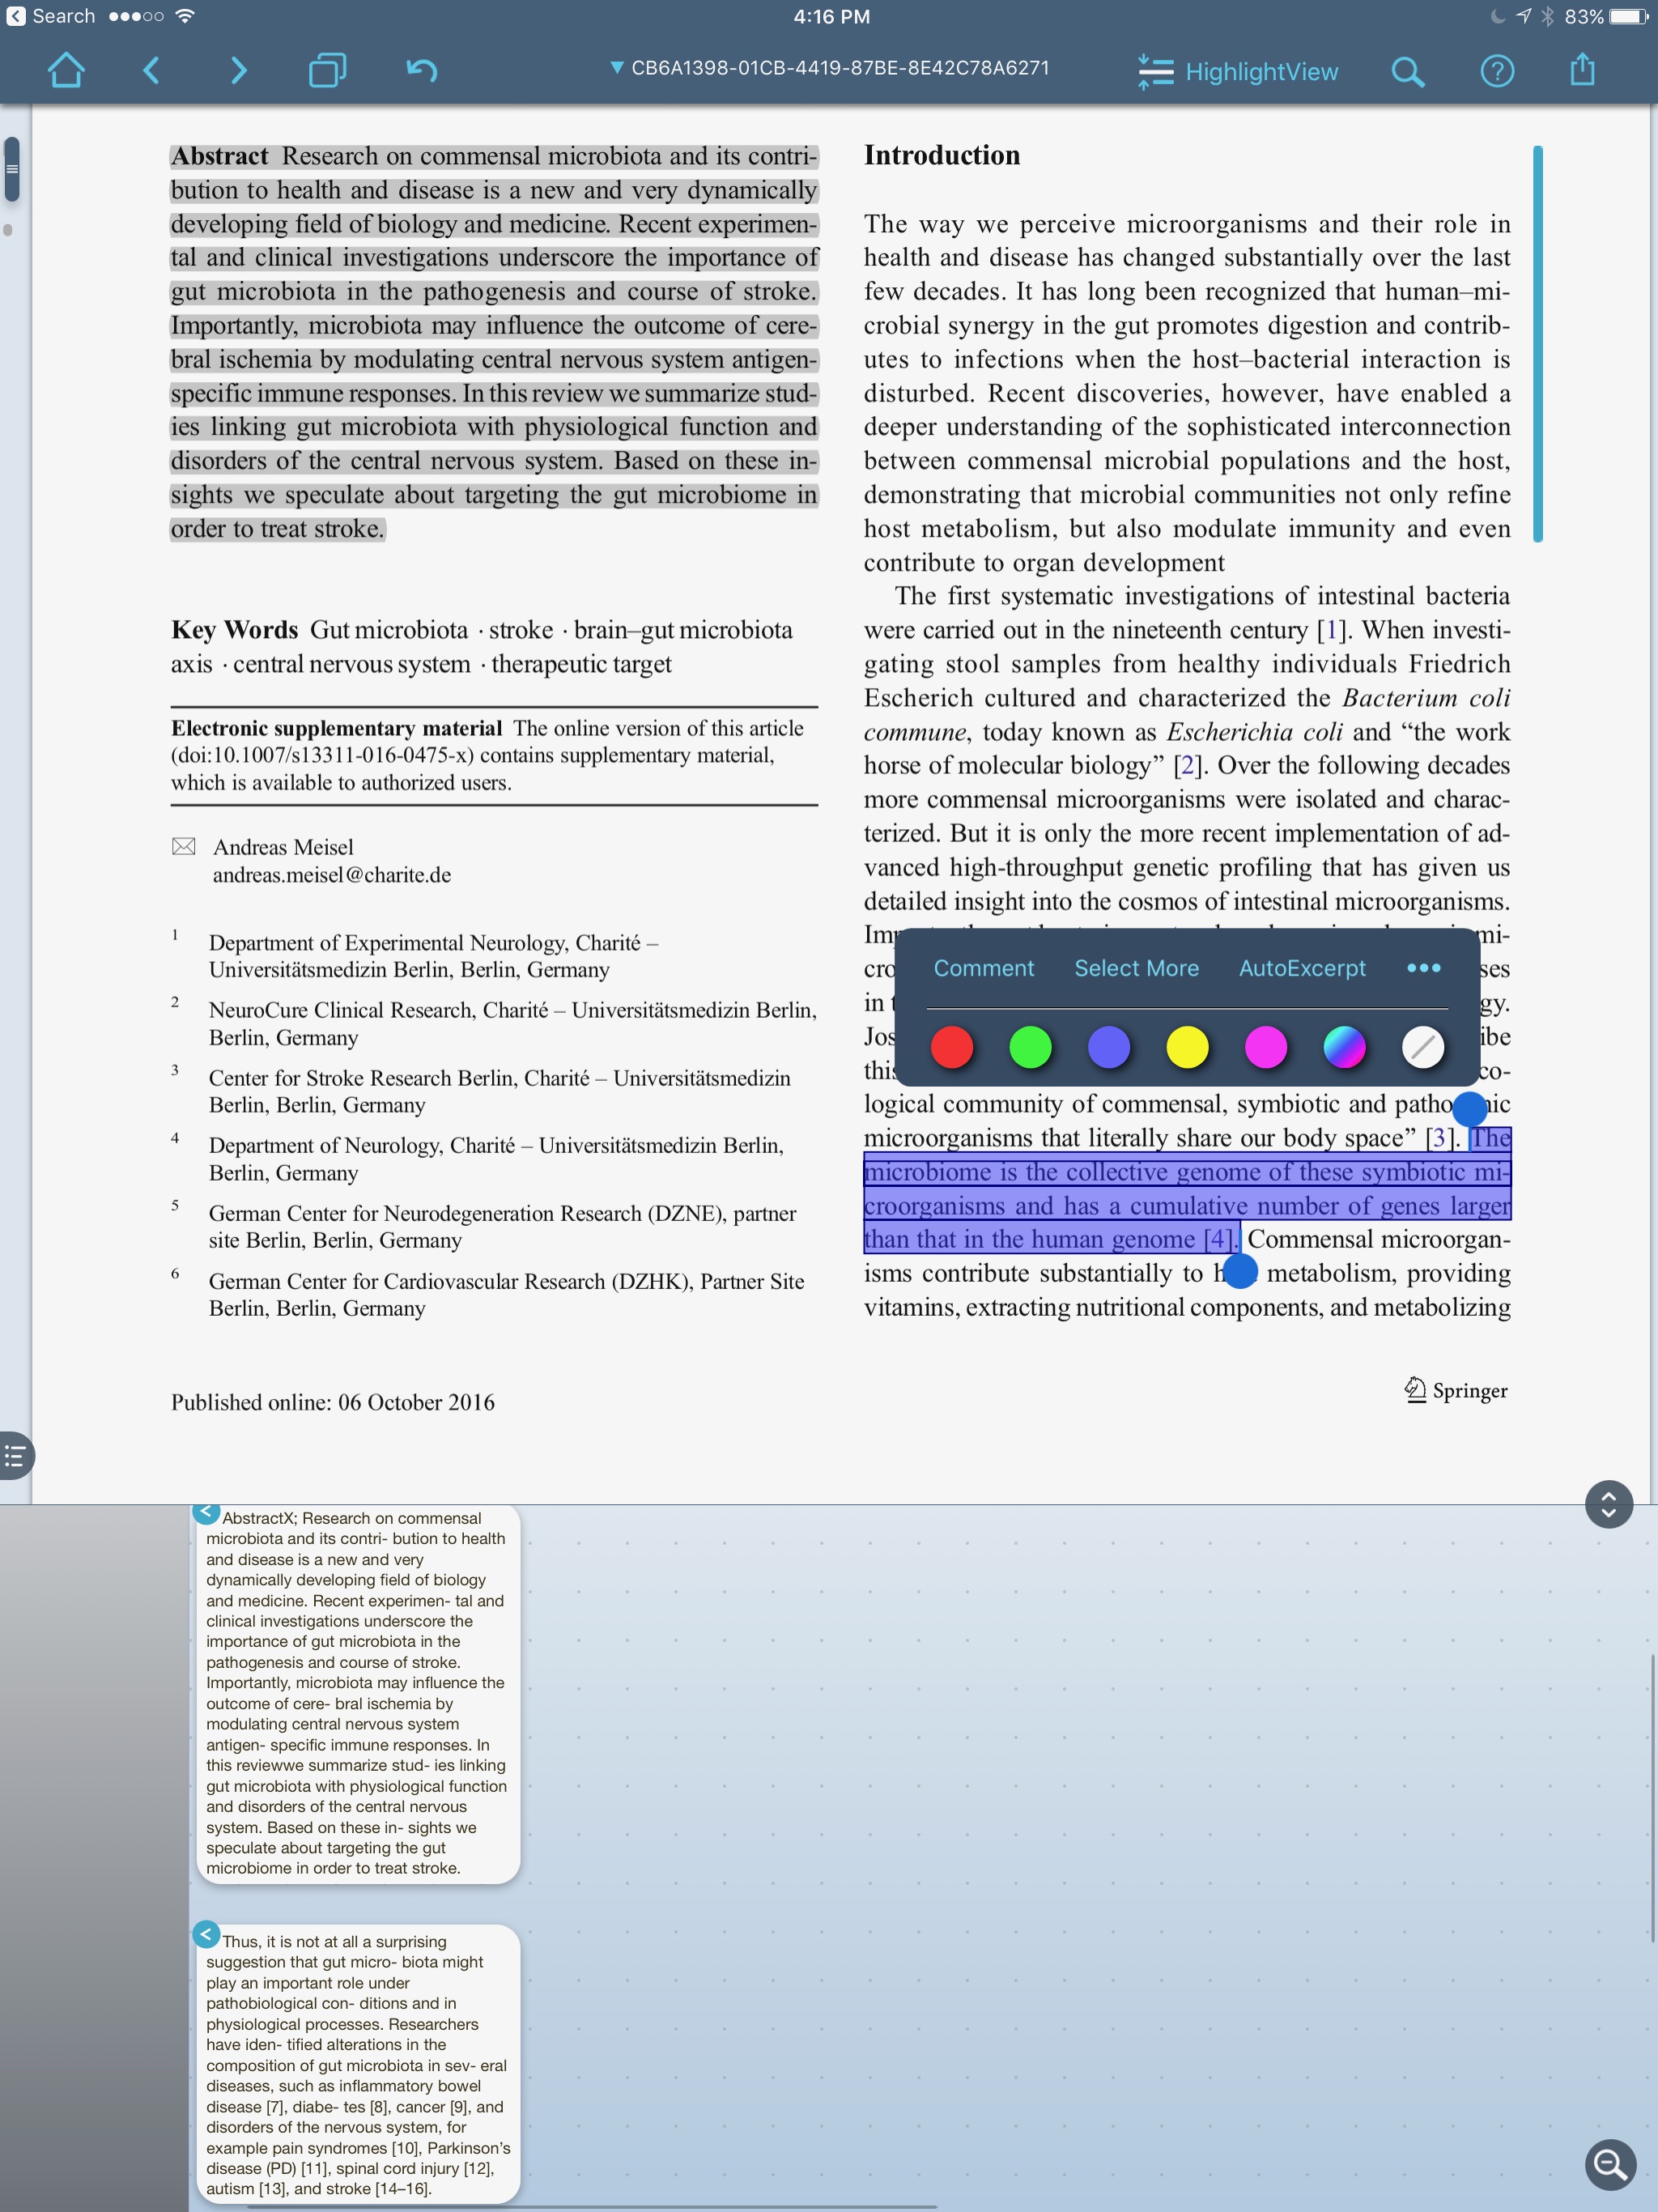 I can also view the place in the paper the highlight came from by merely touching the excerpt in the notes area.
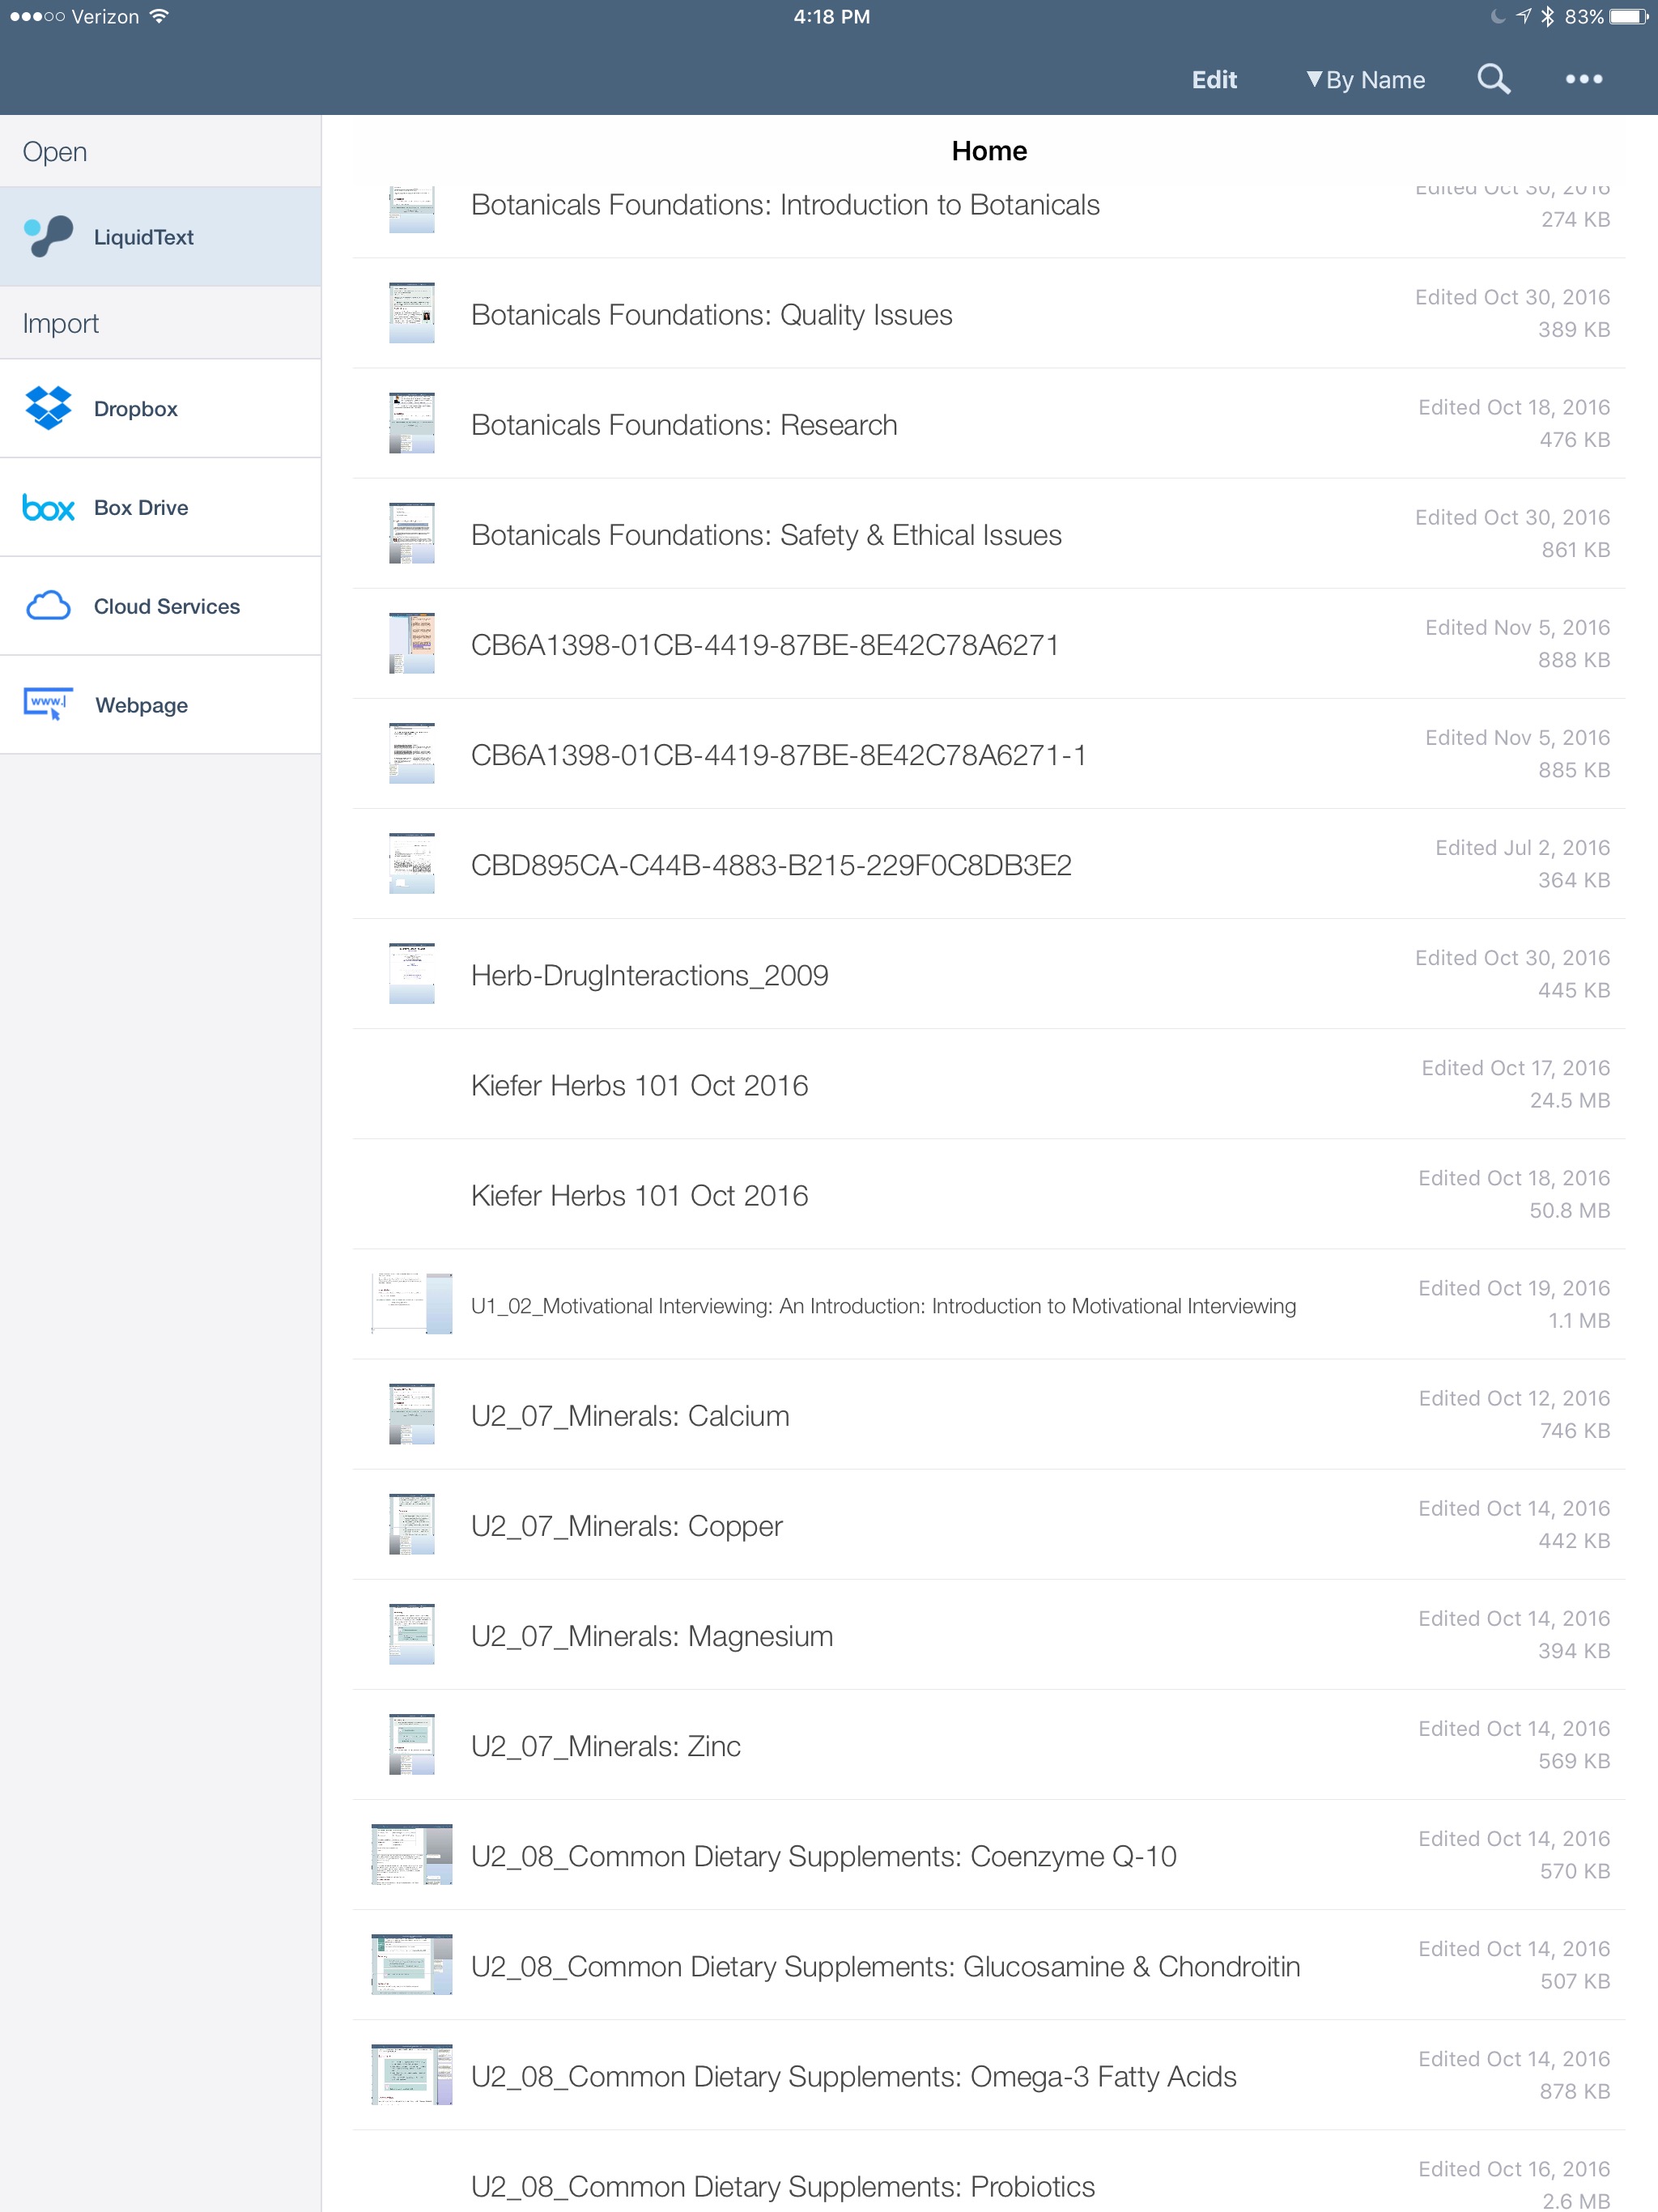
 LiquidText reads and writes to a whole range of cloud services, but has limited range of export document choices.
 An Enterprise version is available for $9.99 that adds features like multi-document search and the ability to comment on multiple documents simultaneously. I've been using the app so much, I upgraded primarily to support the developer.There are a few features that are not (yet) available—the most critical for me is the inability to export highlights into a text file—LiquidText only exports highlights to Microsoft Word. This, unfortunately, is not compatible with my workflow for extracting highlights, but I like Liquidtext so much, I figured out a workaround using Skim—here is my entire workflow:
- I set up a Dropbox LiquidText Folder to serve as a bridge with my desktop.
- I open the entry in Papers on iOS.
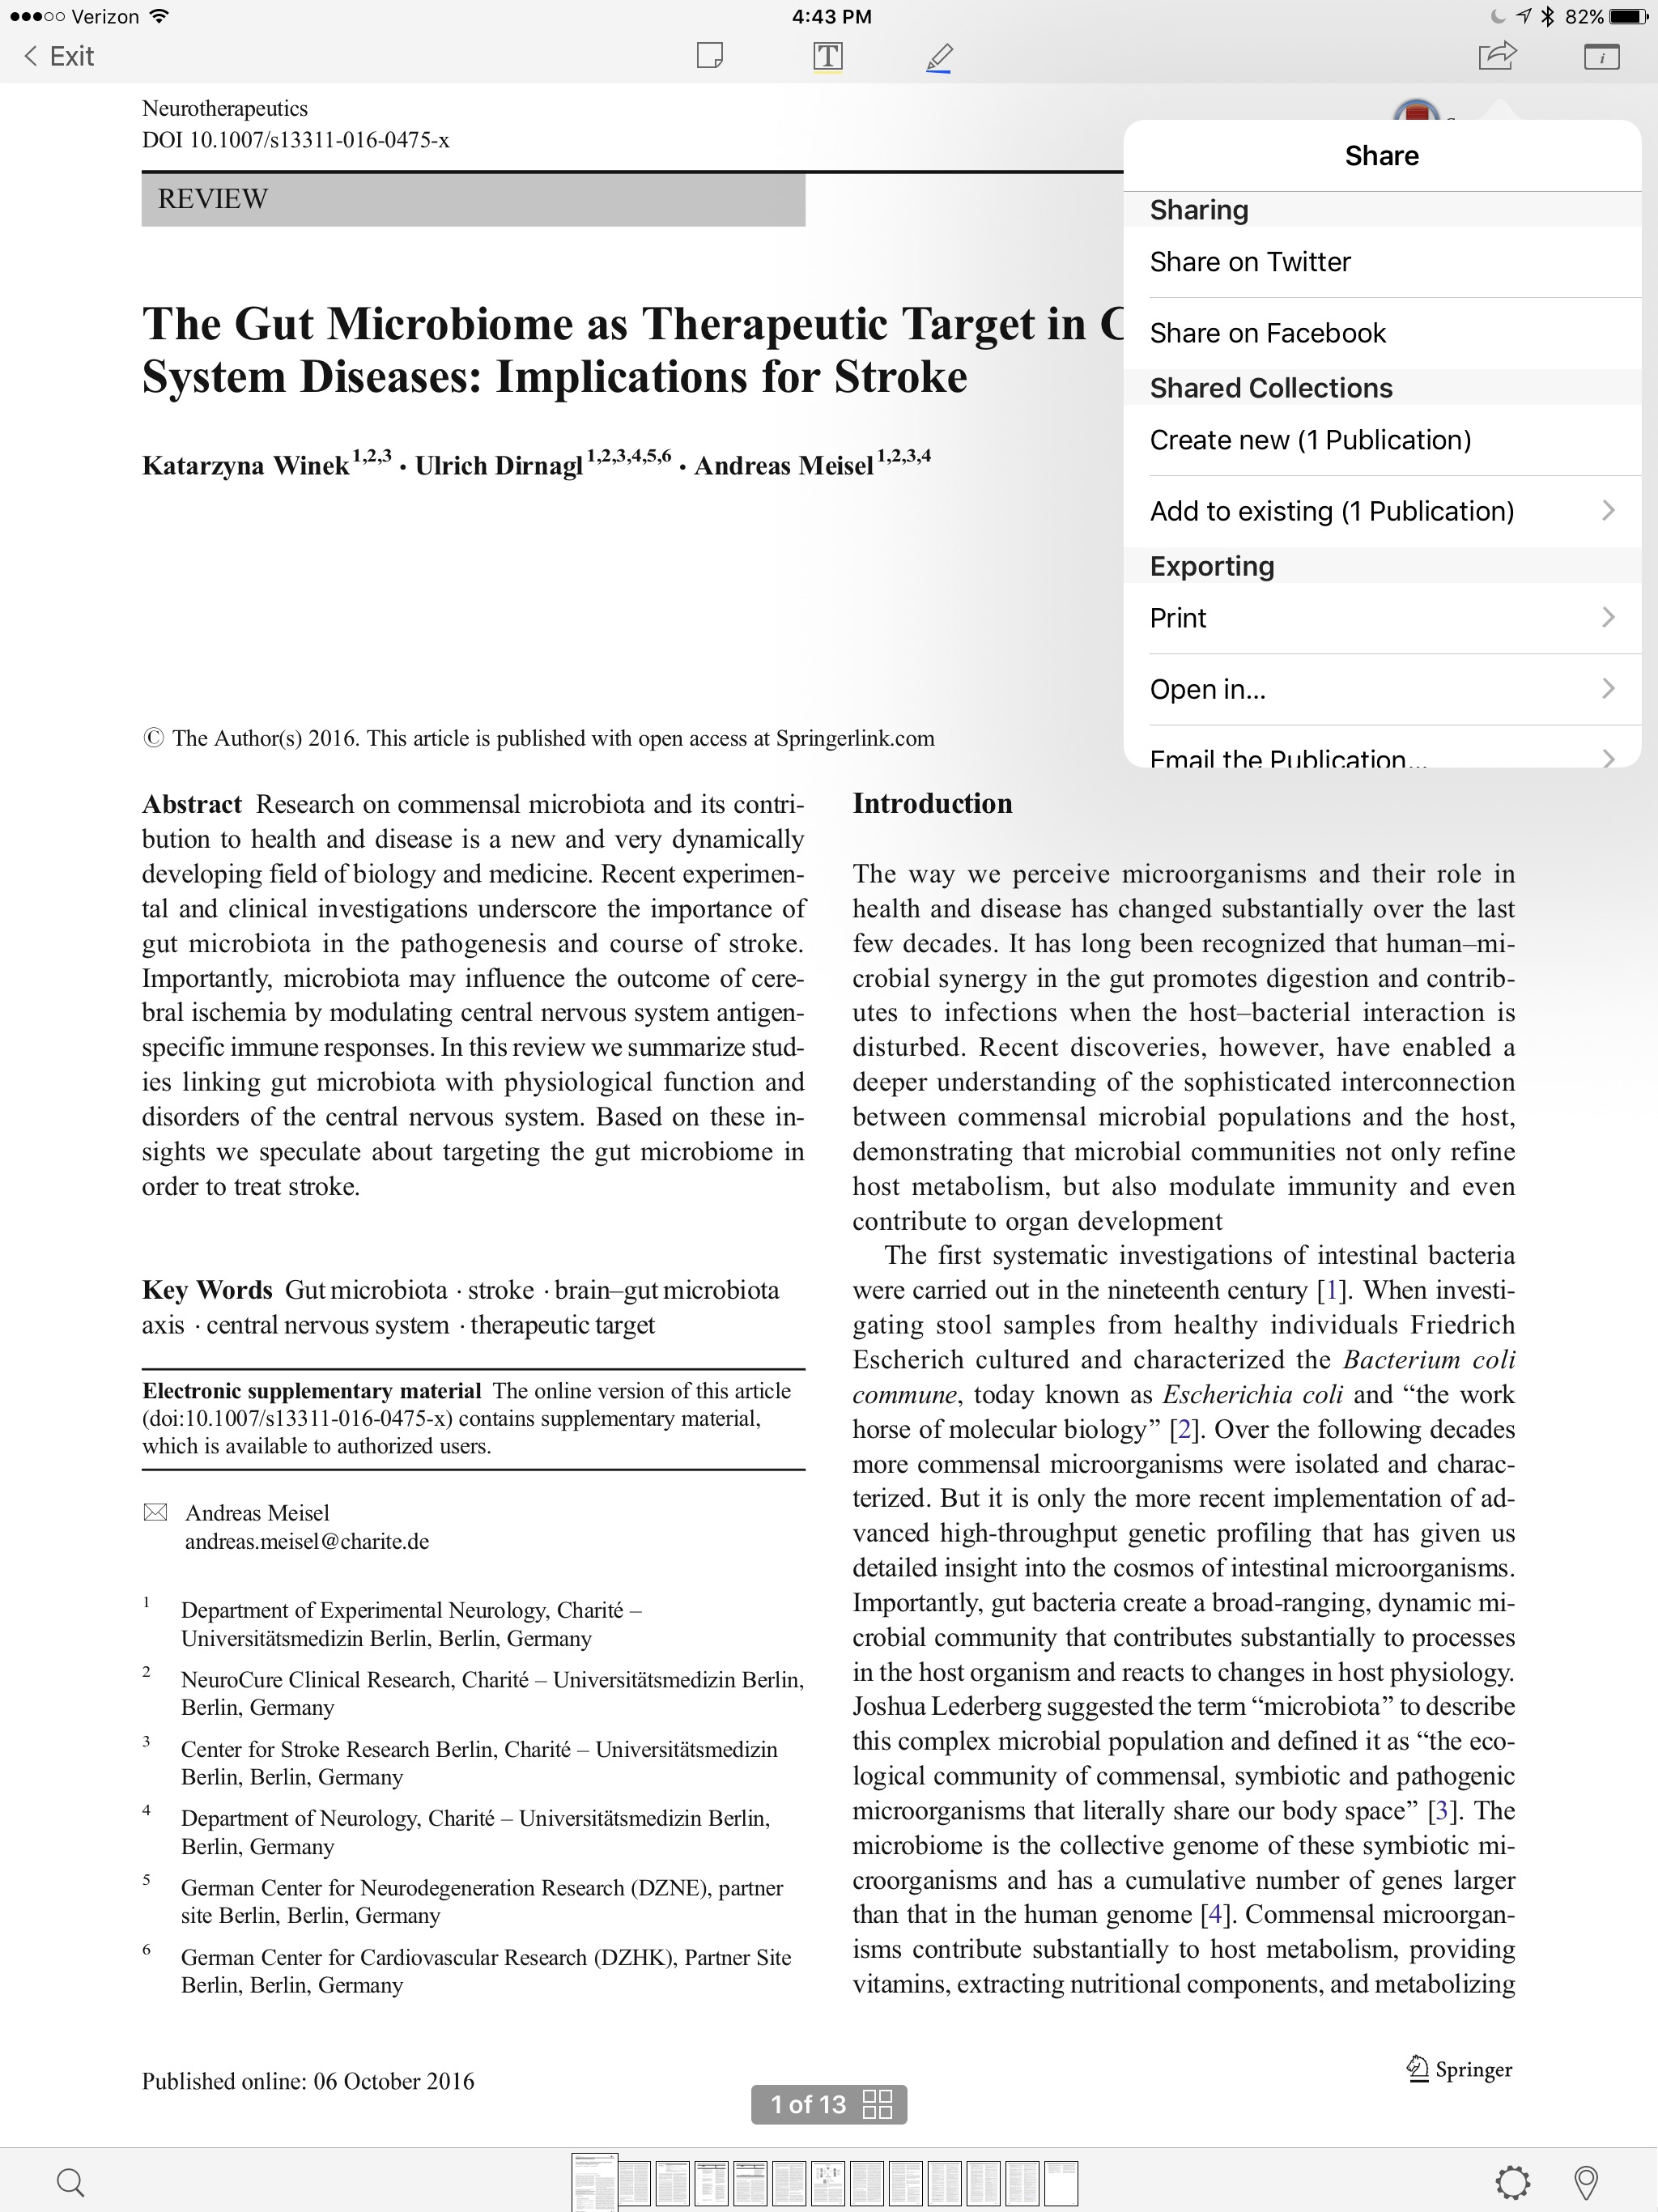
- From within Papers I select "open in". -this brings up action menu.
- I open, read, and annotate in Liquidtext. This includes linking the full-text of references to each excerpt (as suggested by reader GH).
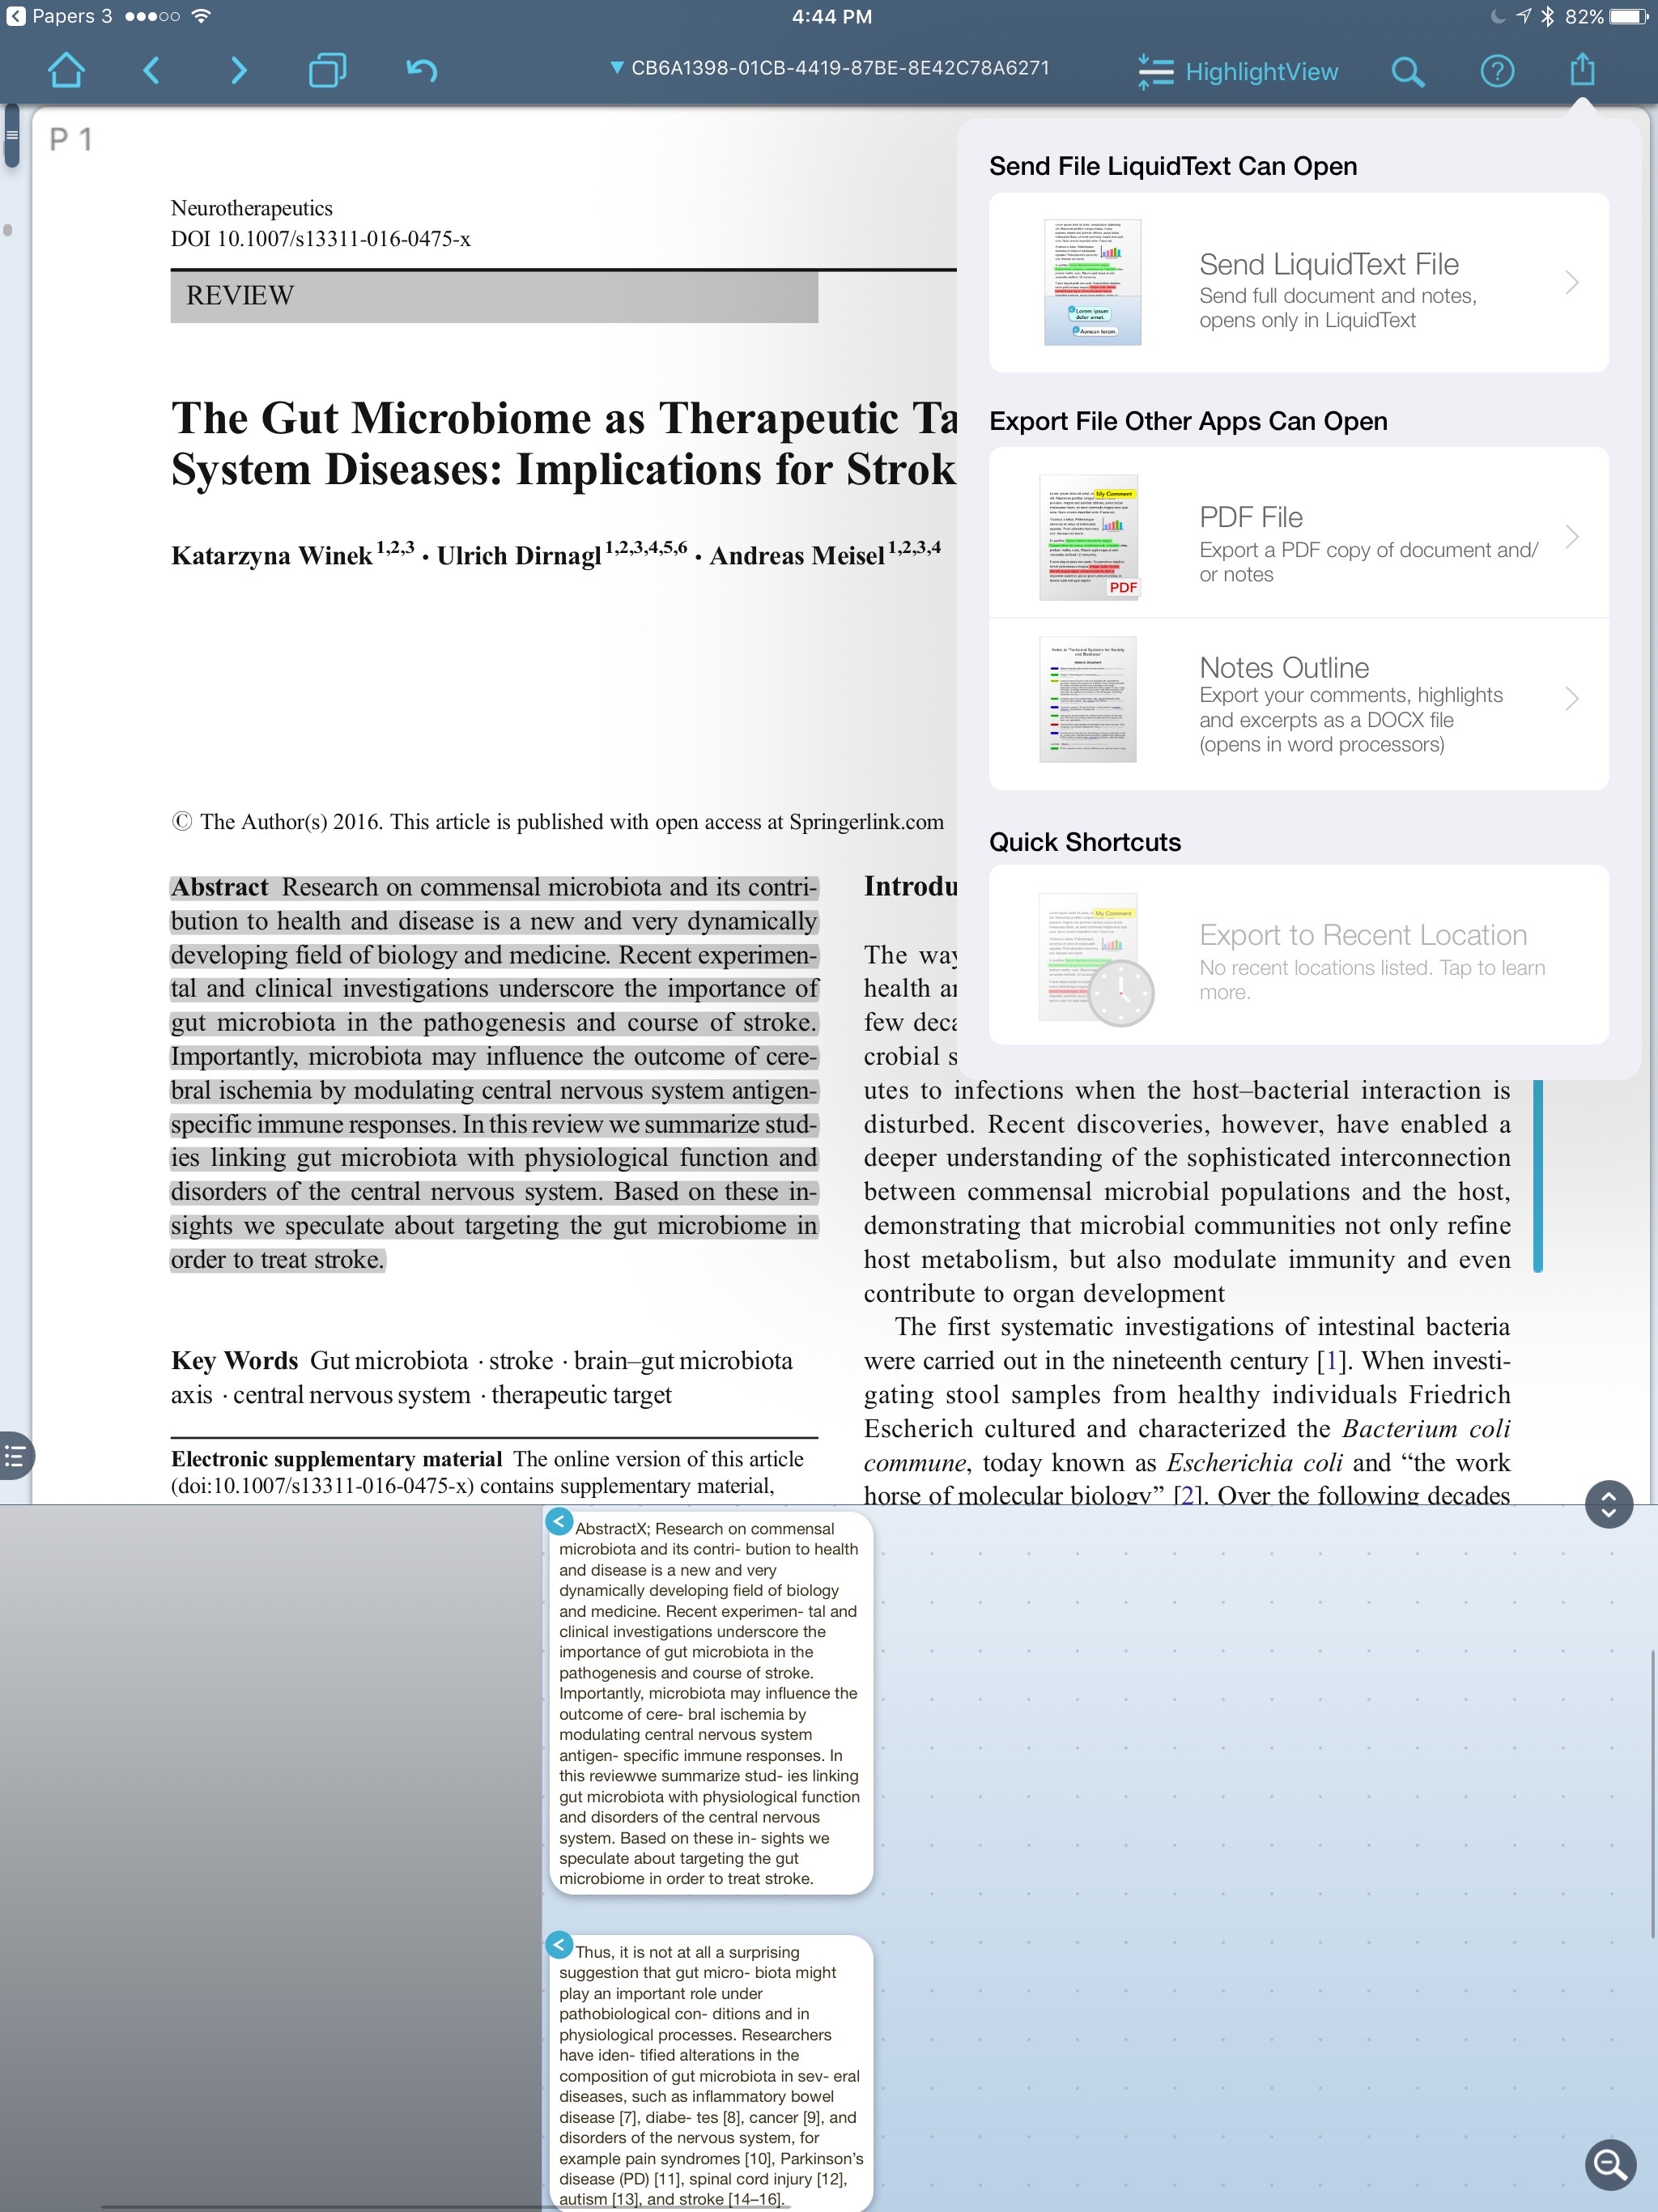
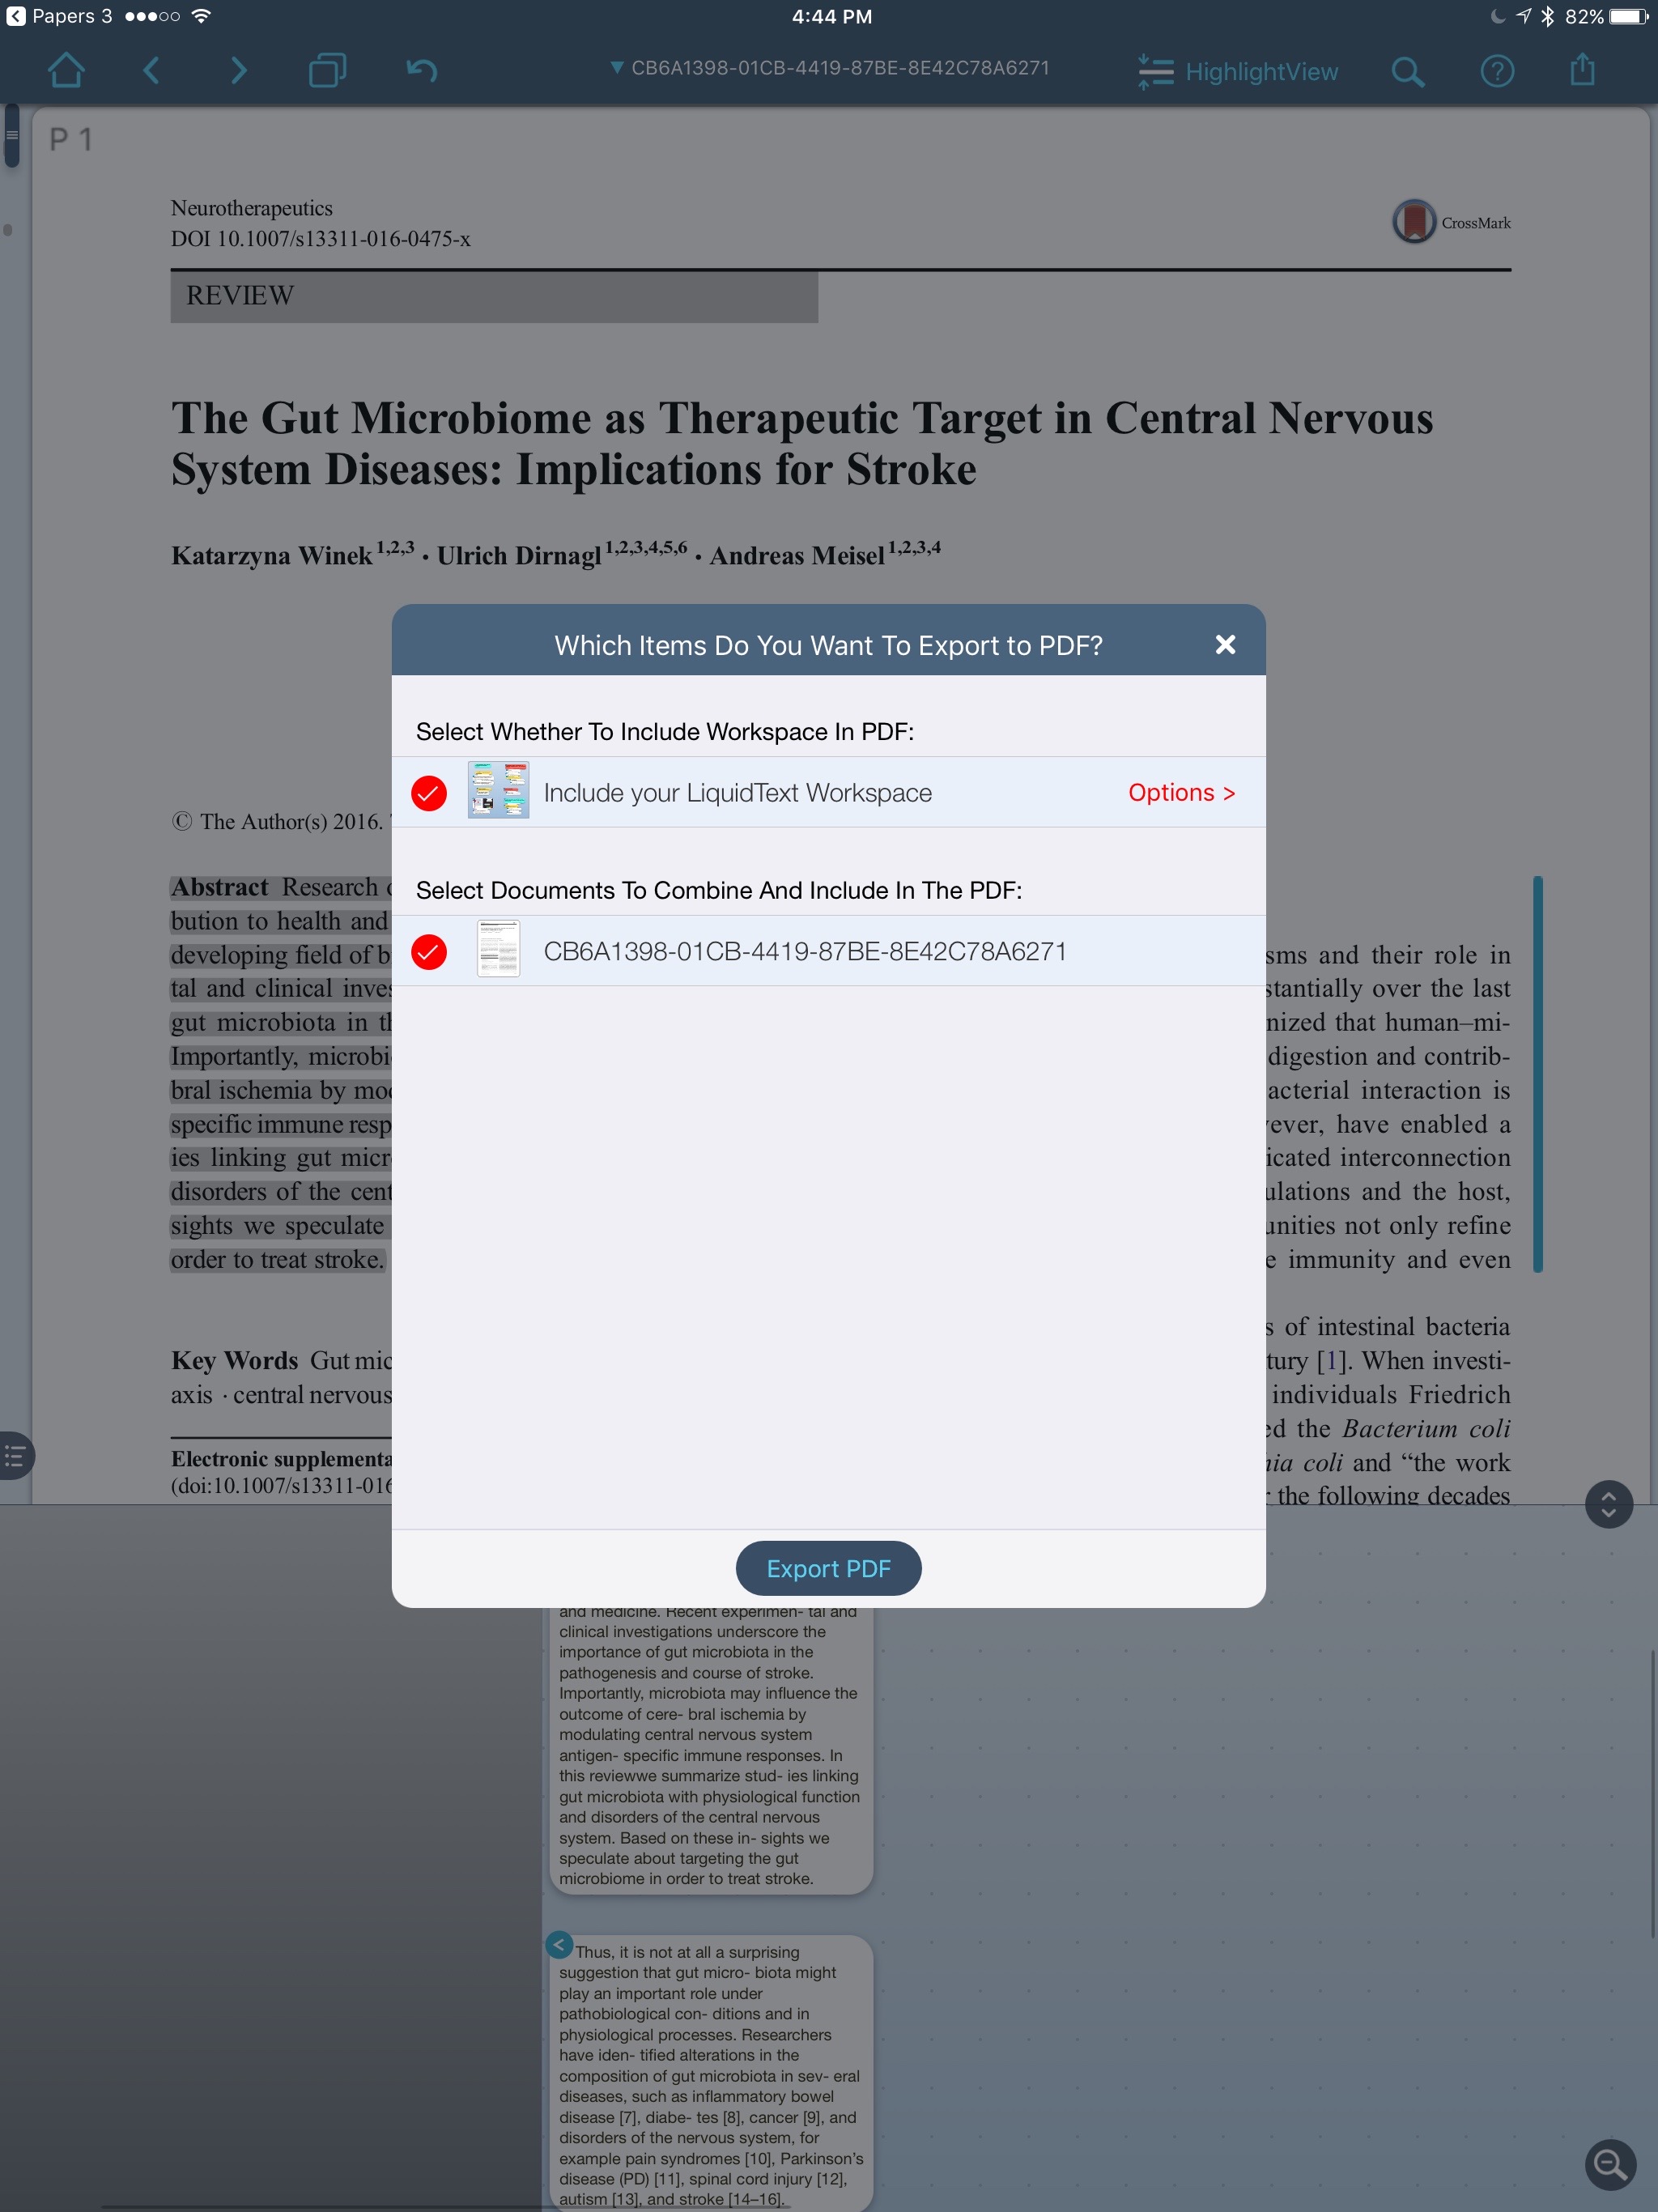
- I export the PDF and Notes from Liquidtext to my Dropbox Folder.
- When I get to my Mac, I open the PDF in Skim.
- Under the File Menu in Skim, I choose “Convert Notes” making my highlights into Skim Notes.
- I then process the annotations as discussed in this blog entry.
- (If you want to take the time on your desktop you can also replace the Papers PDF with the LiquidText highlighted version).
Give Liquidtext a try and please let me know what you think.
Using Hazel to Organize Grant and Manuscript Files
It is almost the beginning of February and thus I am in the throes of writing another grant (2 actually). I thought I'd take a quick break to tell you how I keep my grant information organized using Hazel.I have a folder that has a template for all the subfolders I use during the preparation of the grant. When starting my project I make a copy of this template and name the parent folder including the funding agency, the year, and the type of grant. Hazel can rename files and subfolders. I take advantage of this feature to keep the names of my files consistent.I navigate to the folder I am working on and set up new Hazel rule to rename the file and subfolders. The rule looks like this:
 Anytime I put a file into a subfolder, it is automatically renamed appending the name of the grant to the end of the file. This appended name is hugely helpful when I go back to search using program such Houdah Spot or Foxtrot.
 I use the same method when I'm preparing manuscripts or working on other projects. Using Hazel I never have to think twice-every file I put into the parent folder or subfolder is appended with the name of the project.Try it out.

