LiquidText PDF Reader

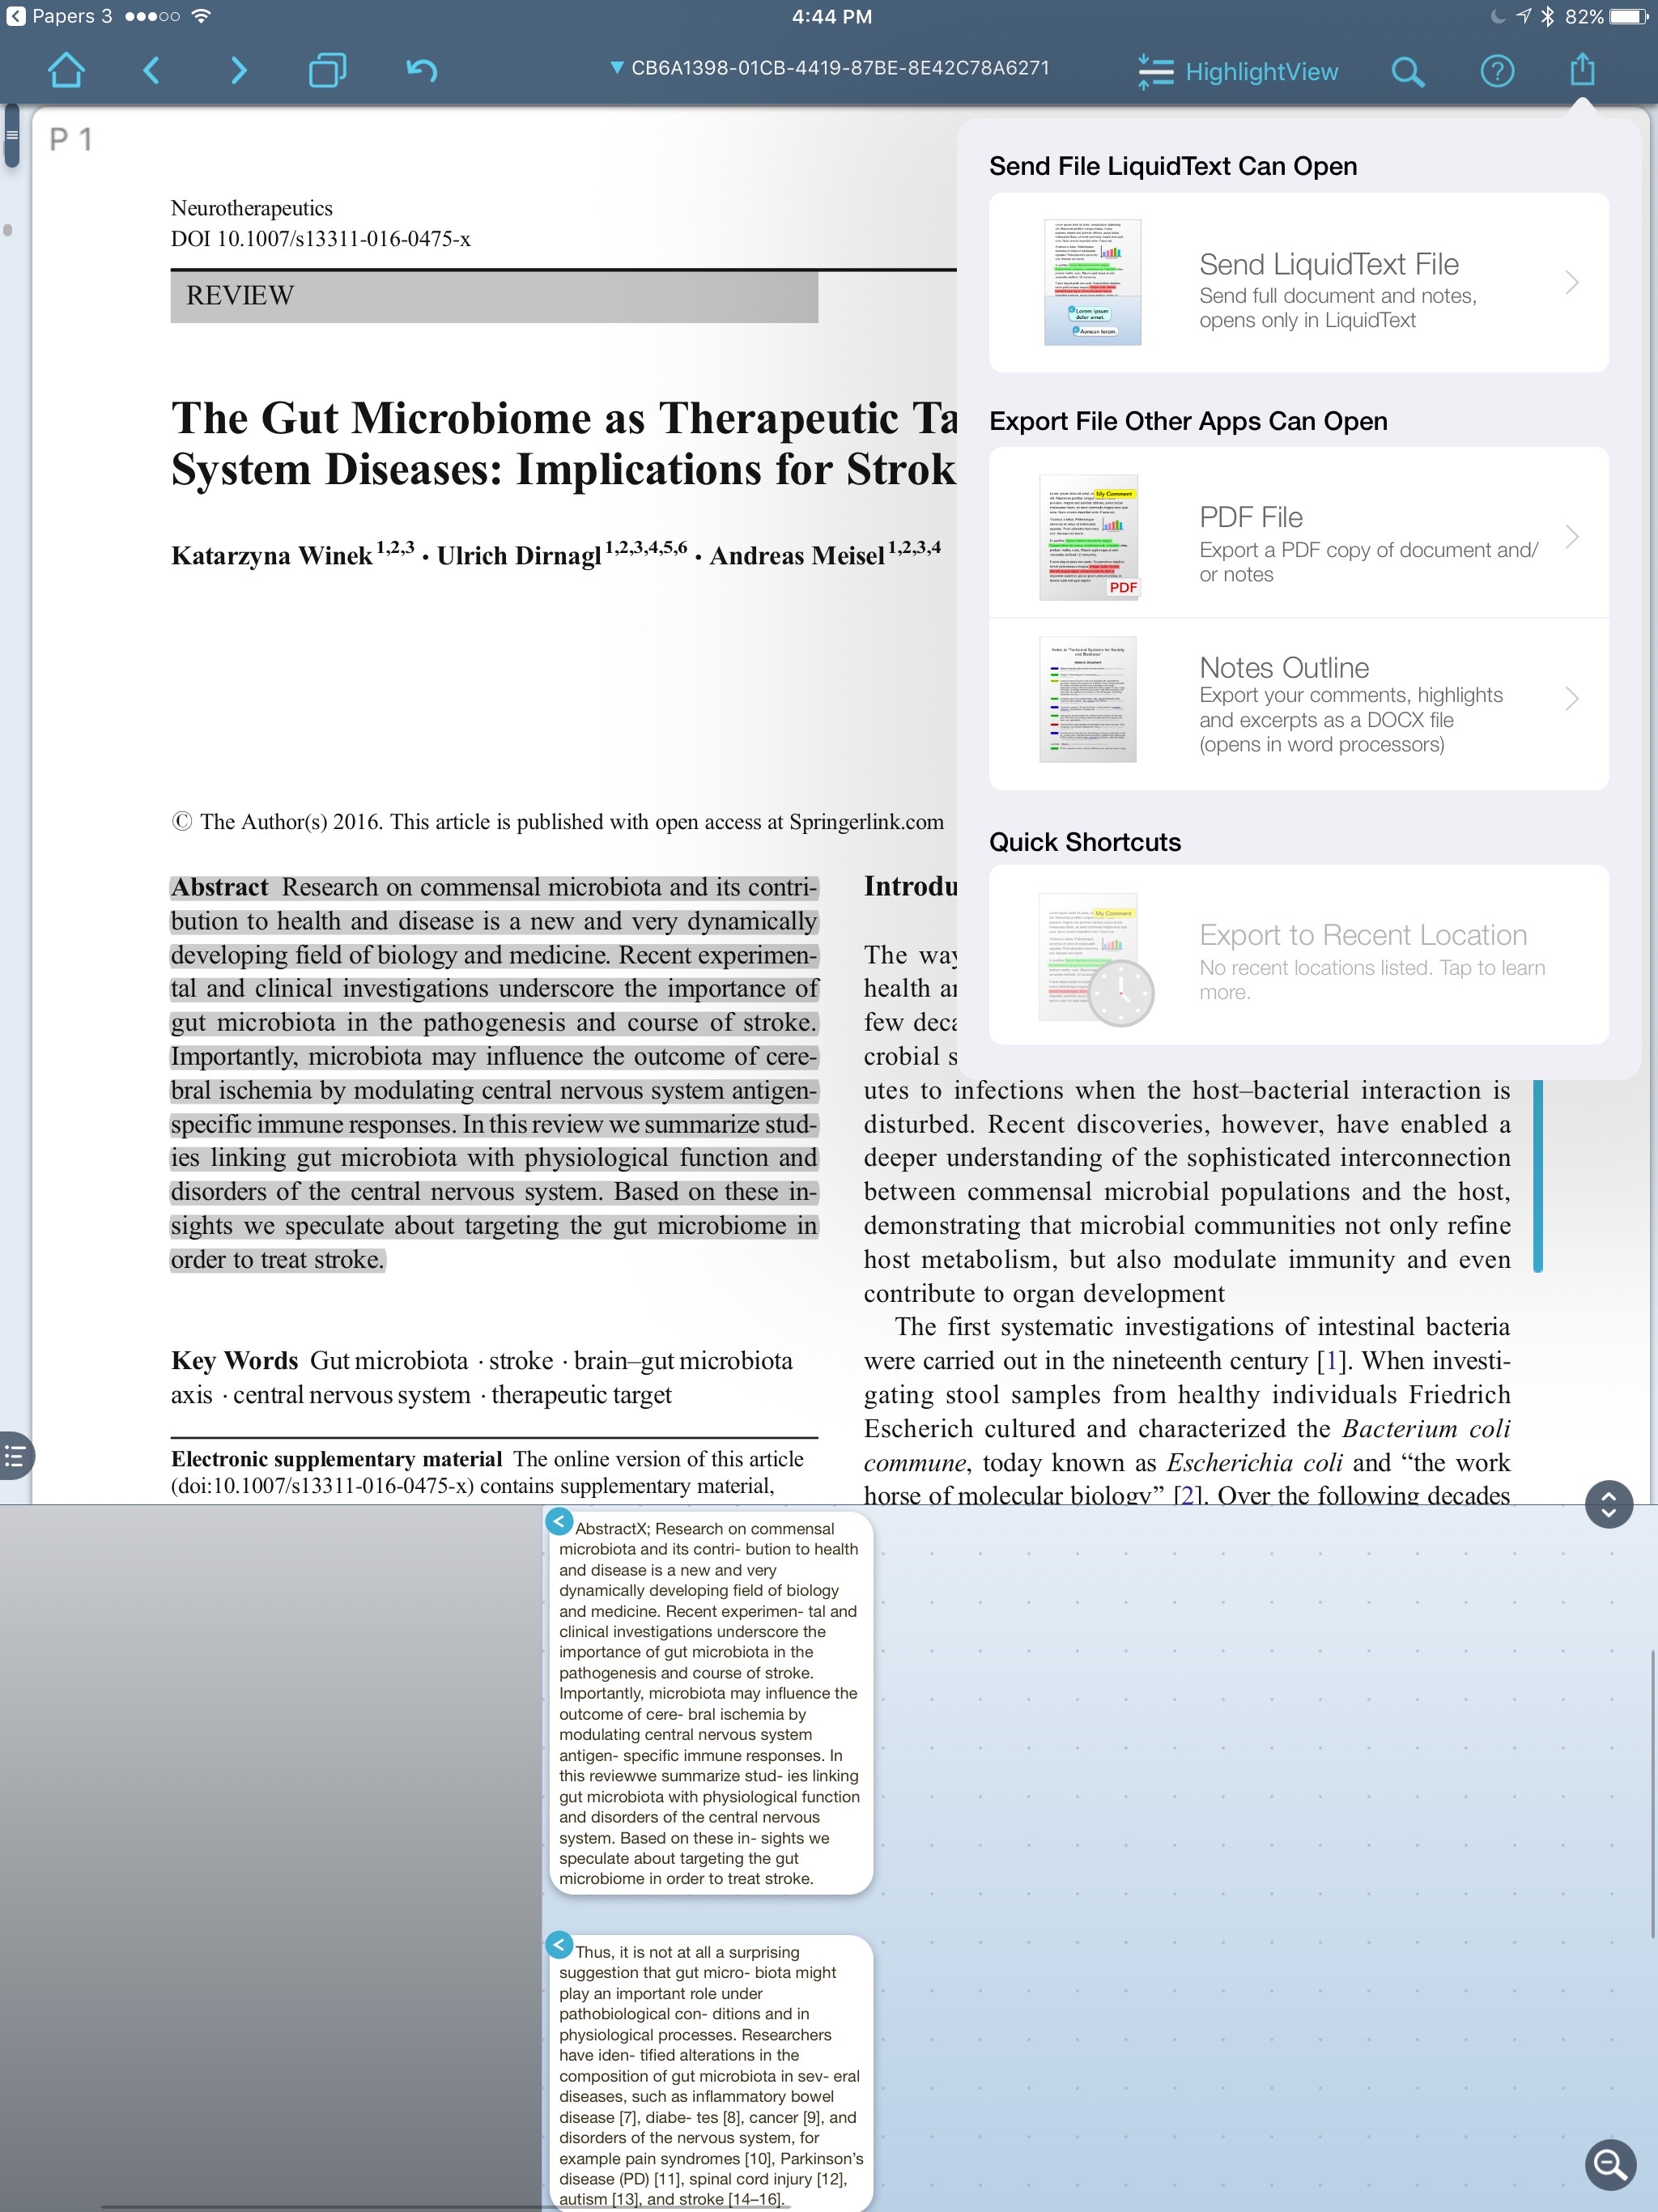
I have experimented with different PDF readers on my iPad. Over the past several months I’ve exclusively used a program called LiquidText.LiquidText has a unique, award-winning, interface that allows me to drag, drop, and manipulate text using my finger. LiquidText was named “Most Innovative iPad App of the Year” by Apple in 2015. LiquidText feels much more natural than any other PDF reader I’ve used on iOS--and I've used many. After highlighting with my finger, the exerpts / highlights / comments are extracted into their own area. The excerpts may be dragged around, linked, and repositioned at will.
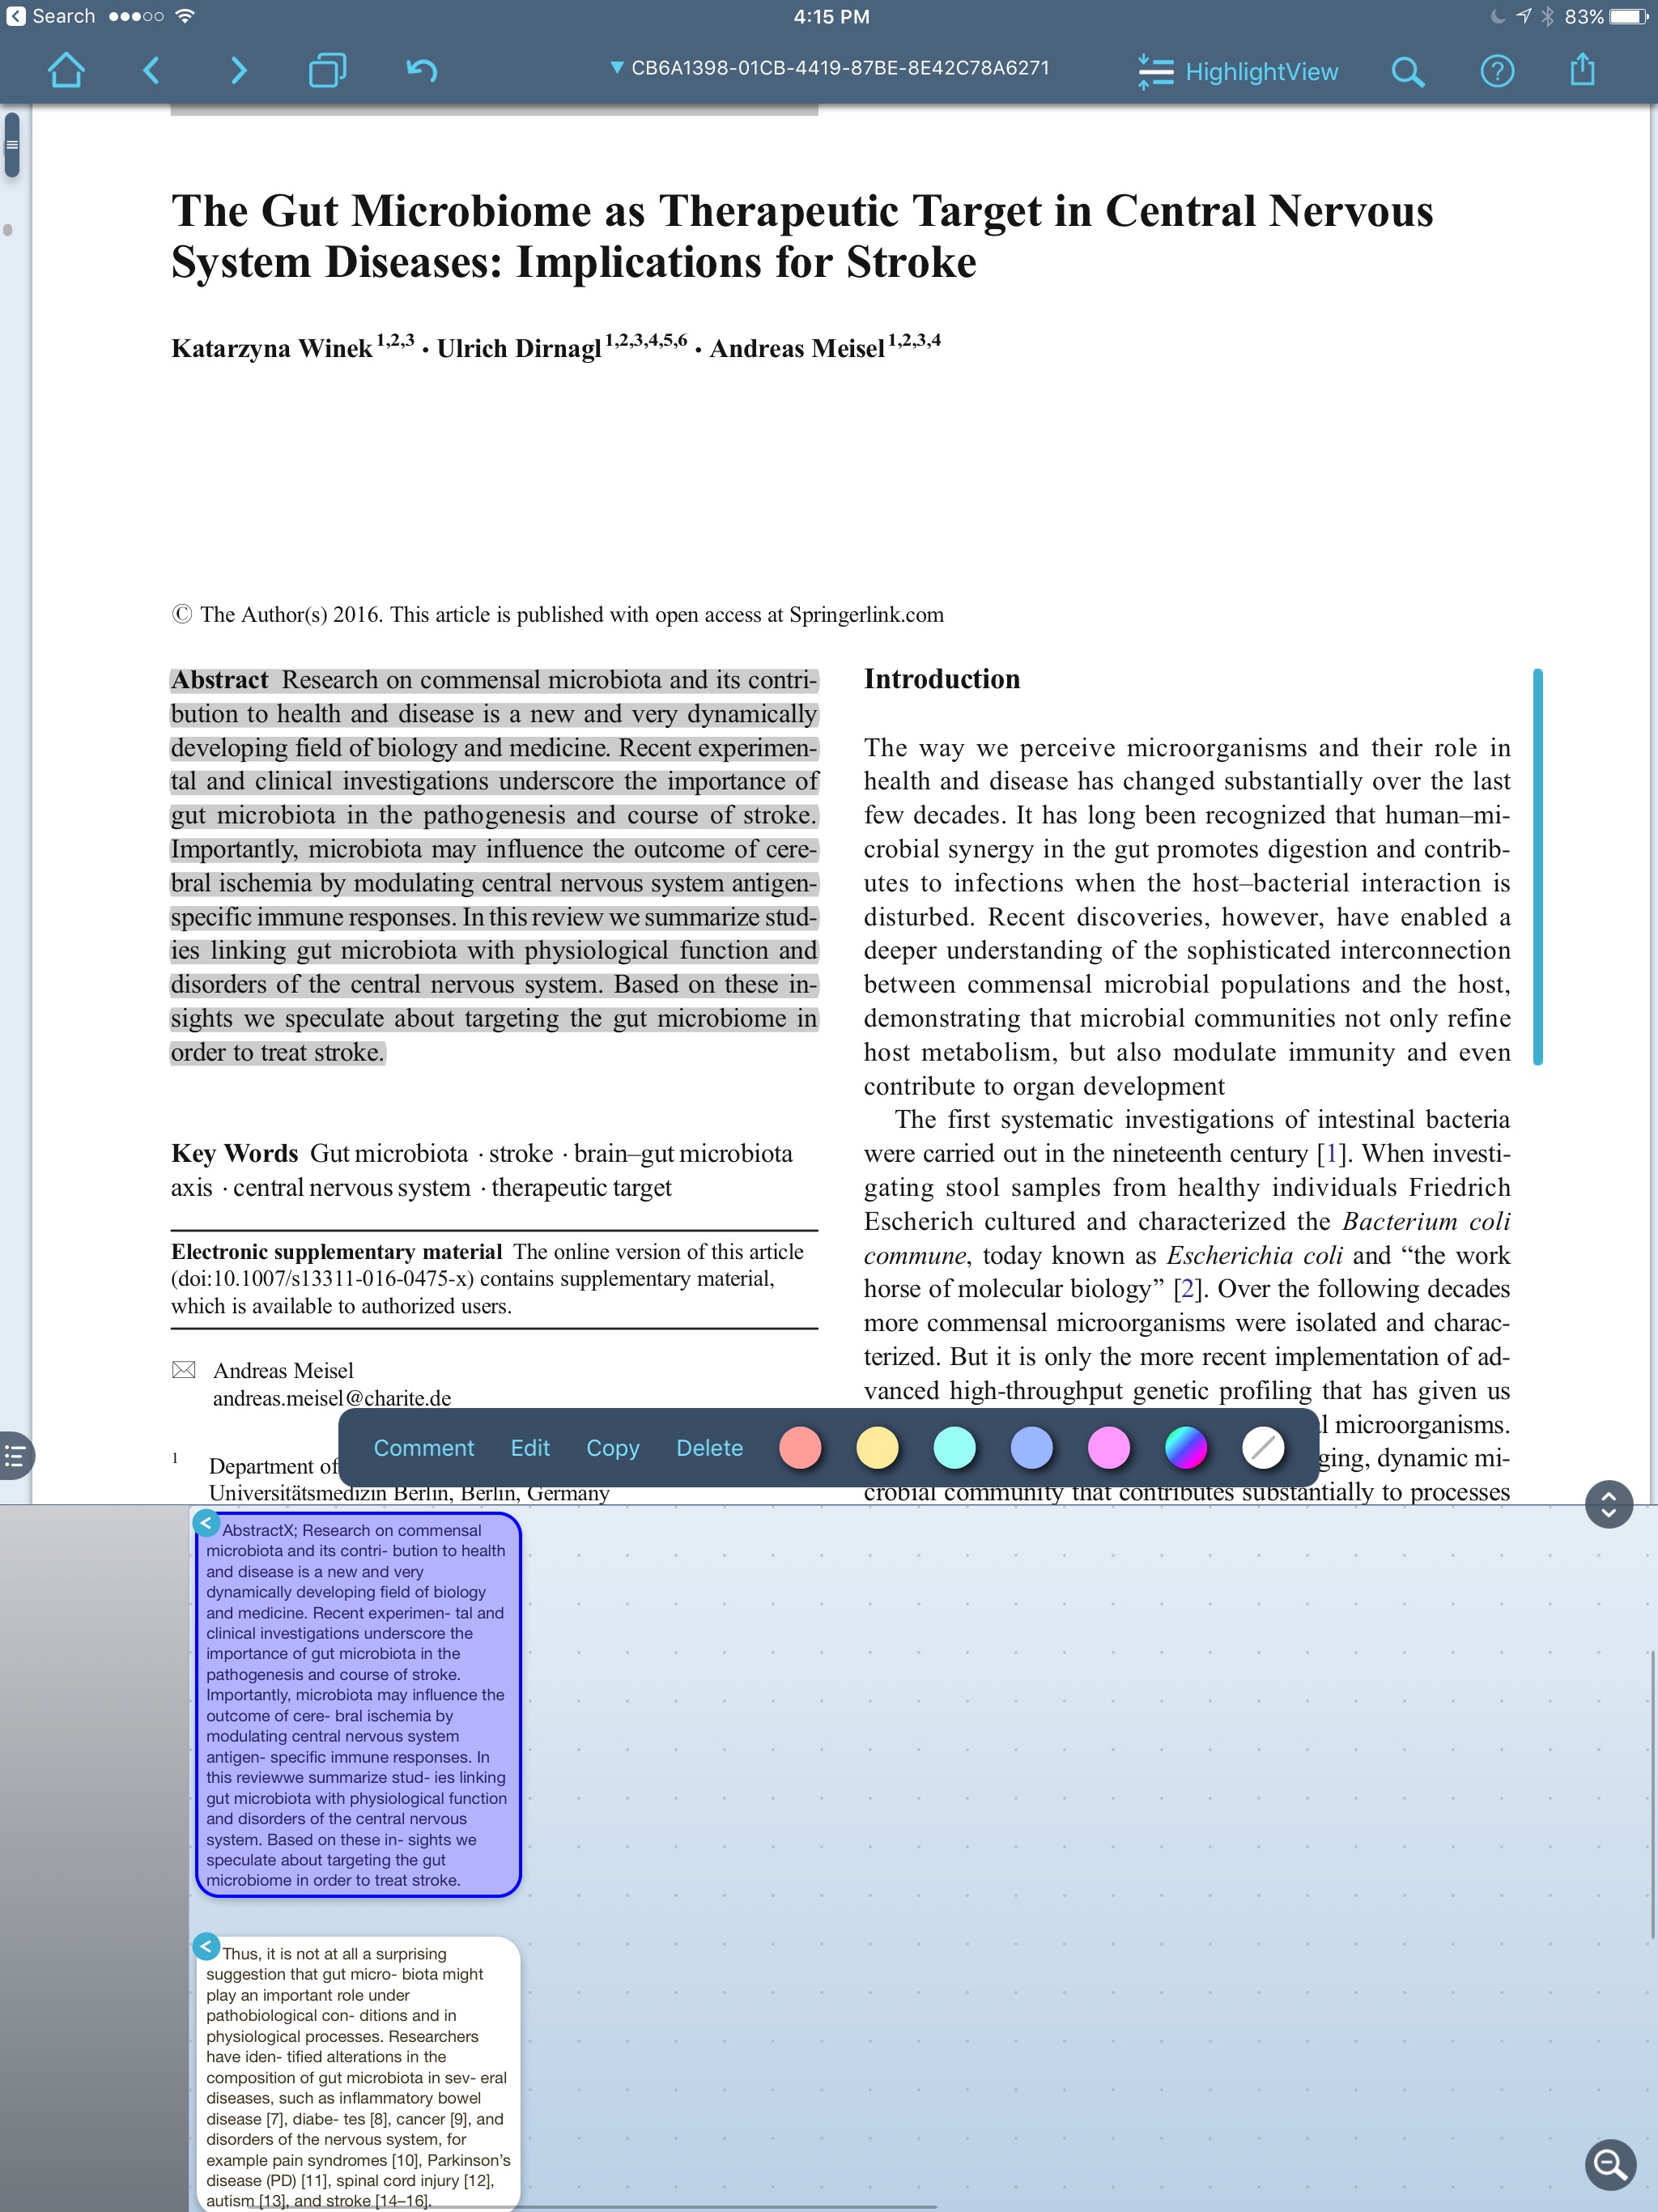
When reading and highlighting, I either drag text from the PDF into the notes area, or simply hit “AutoExcerpt” and the text is extracted for me. I can comment on the excerpted information.
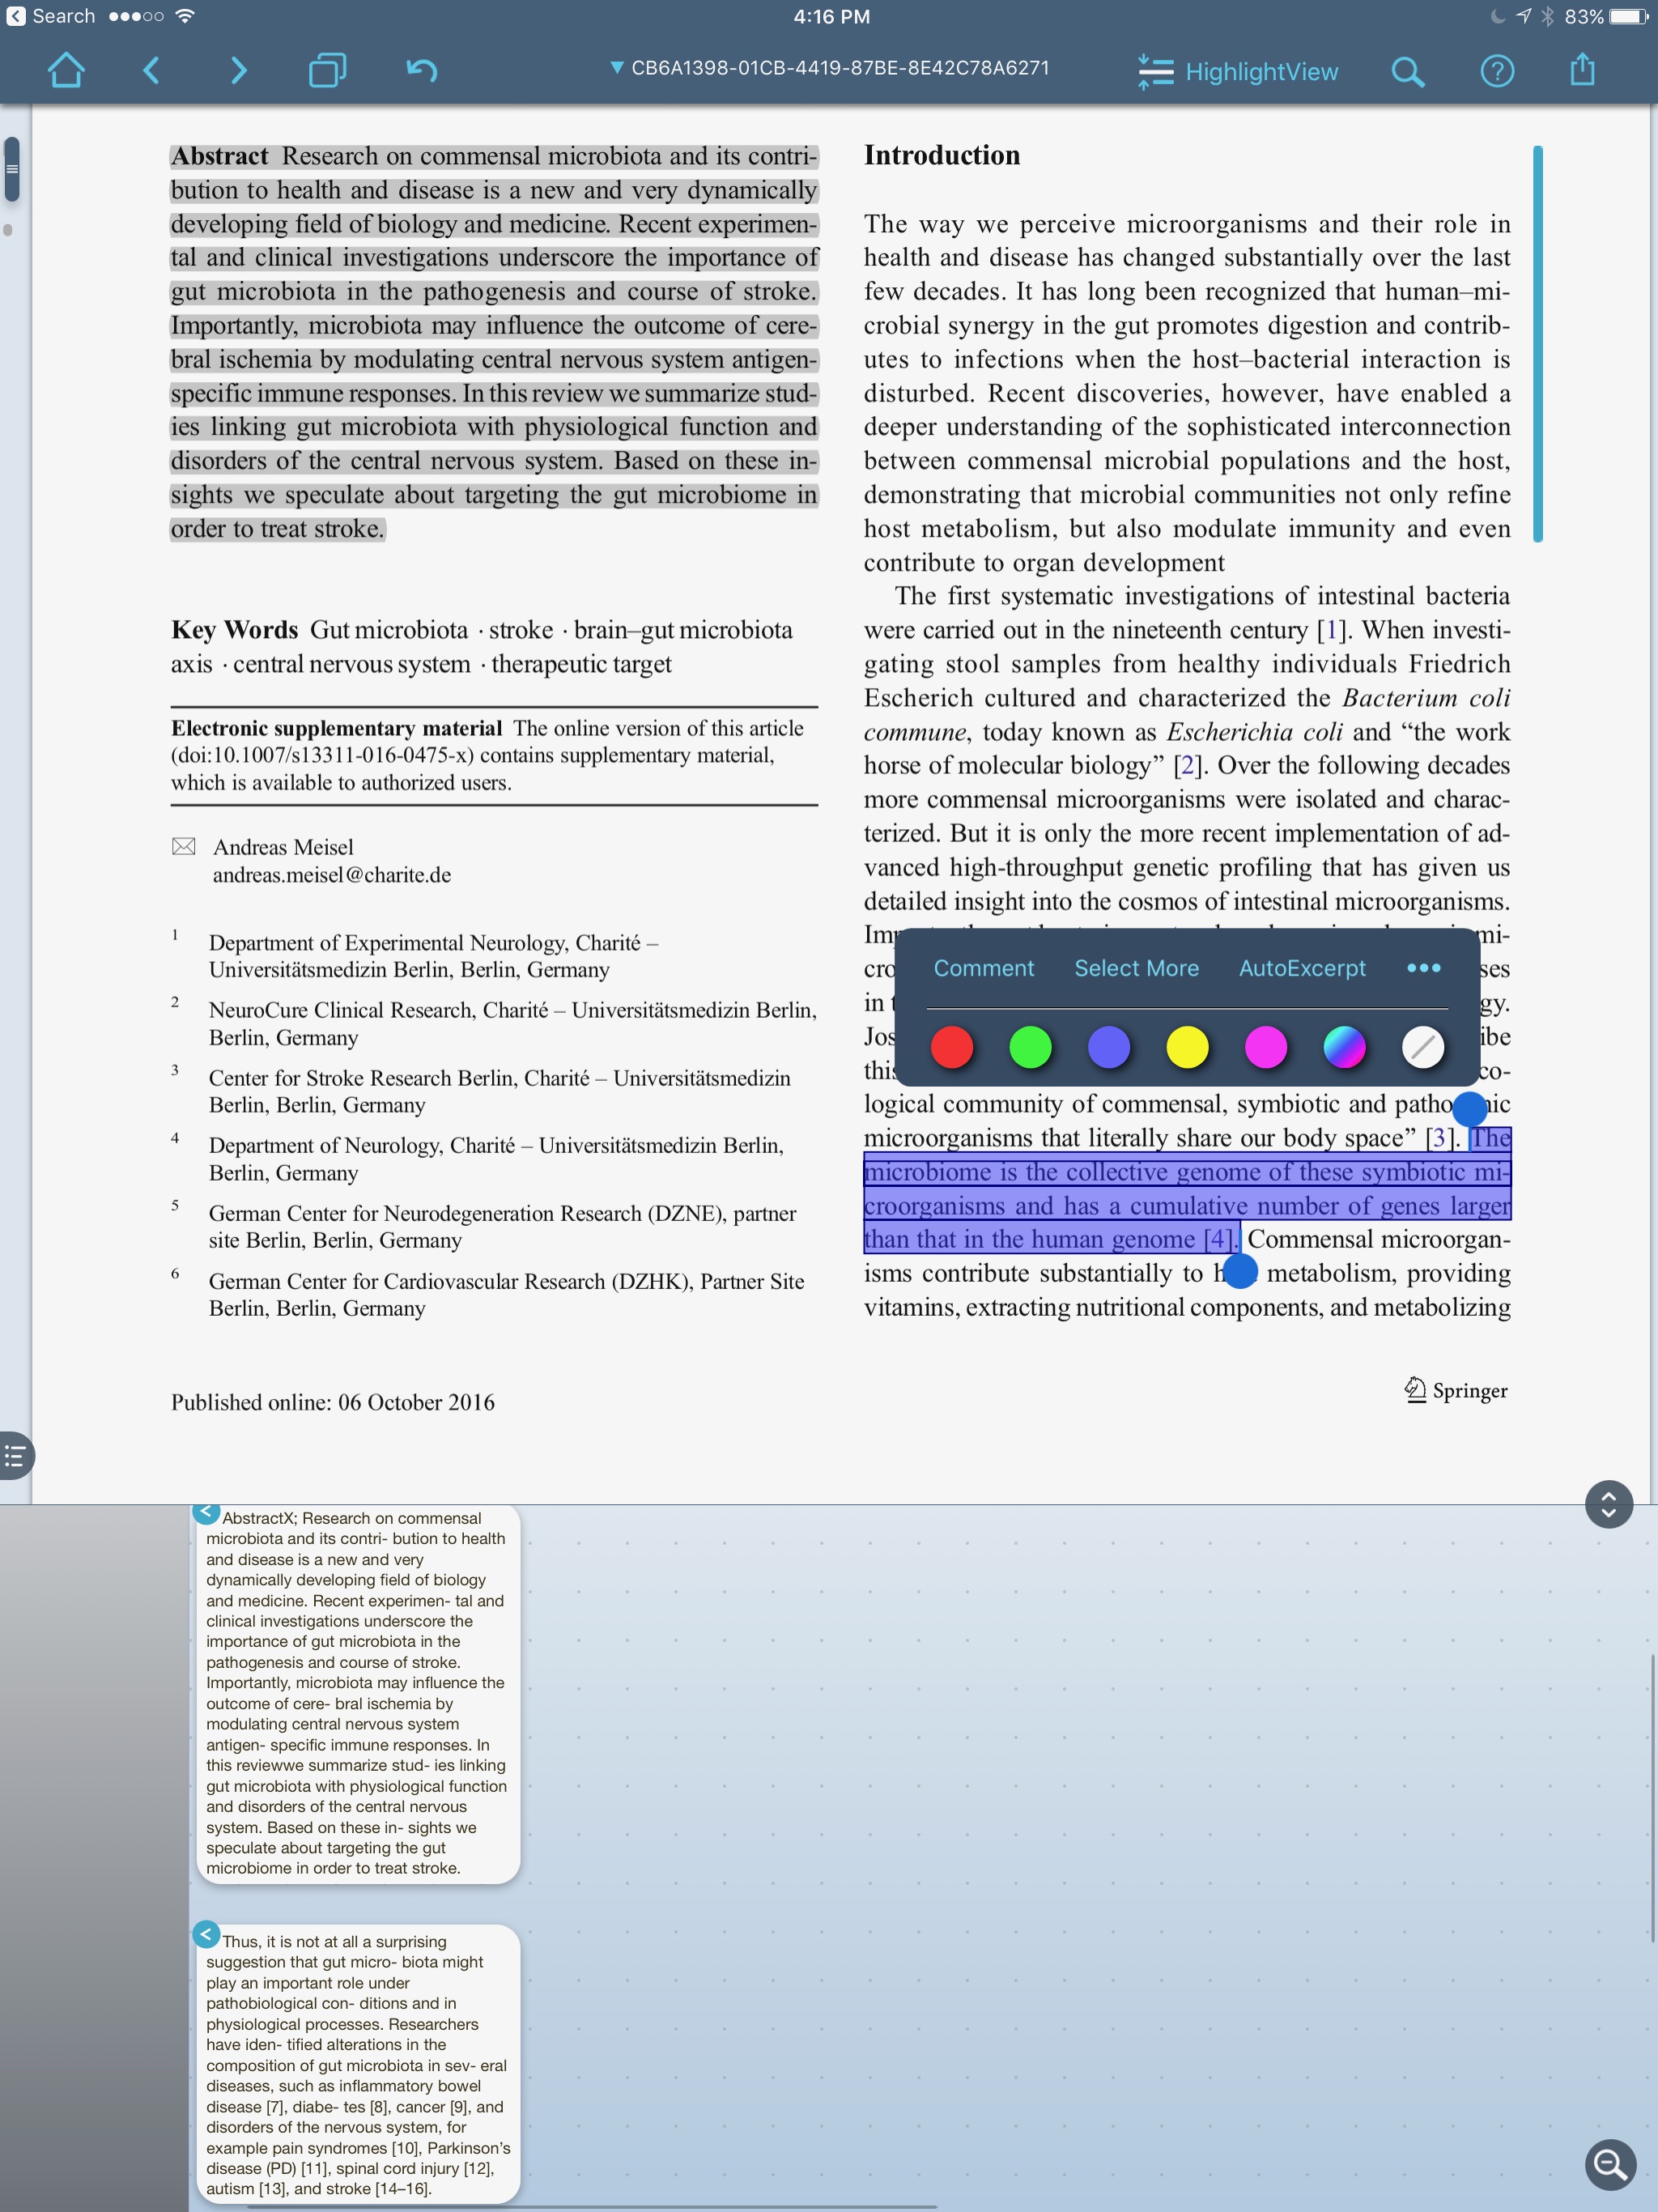
I can also view the place in the paper the highlight came from by merely touching the excerpt in the notes area.
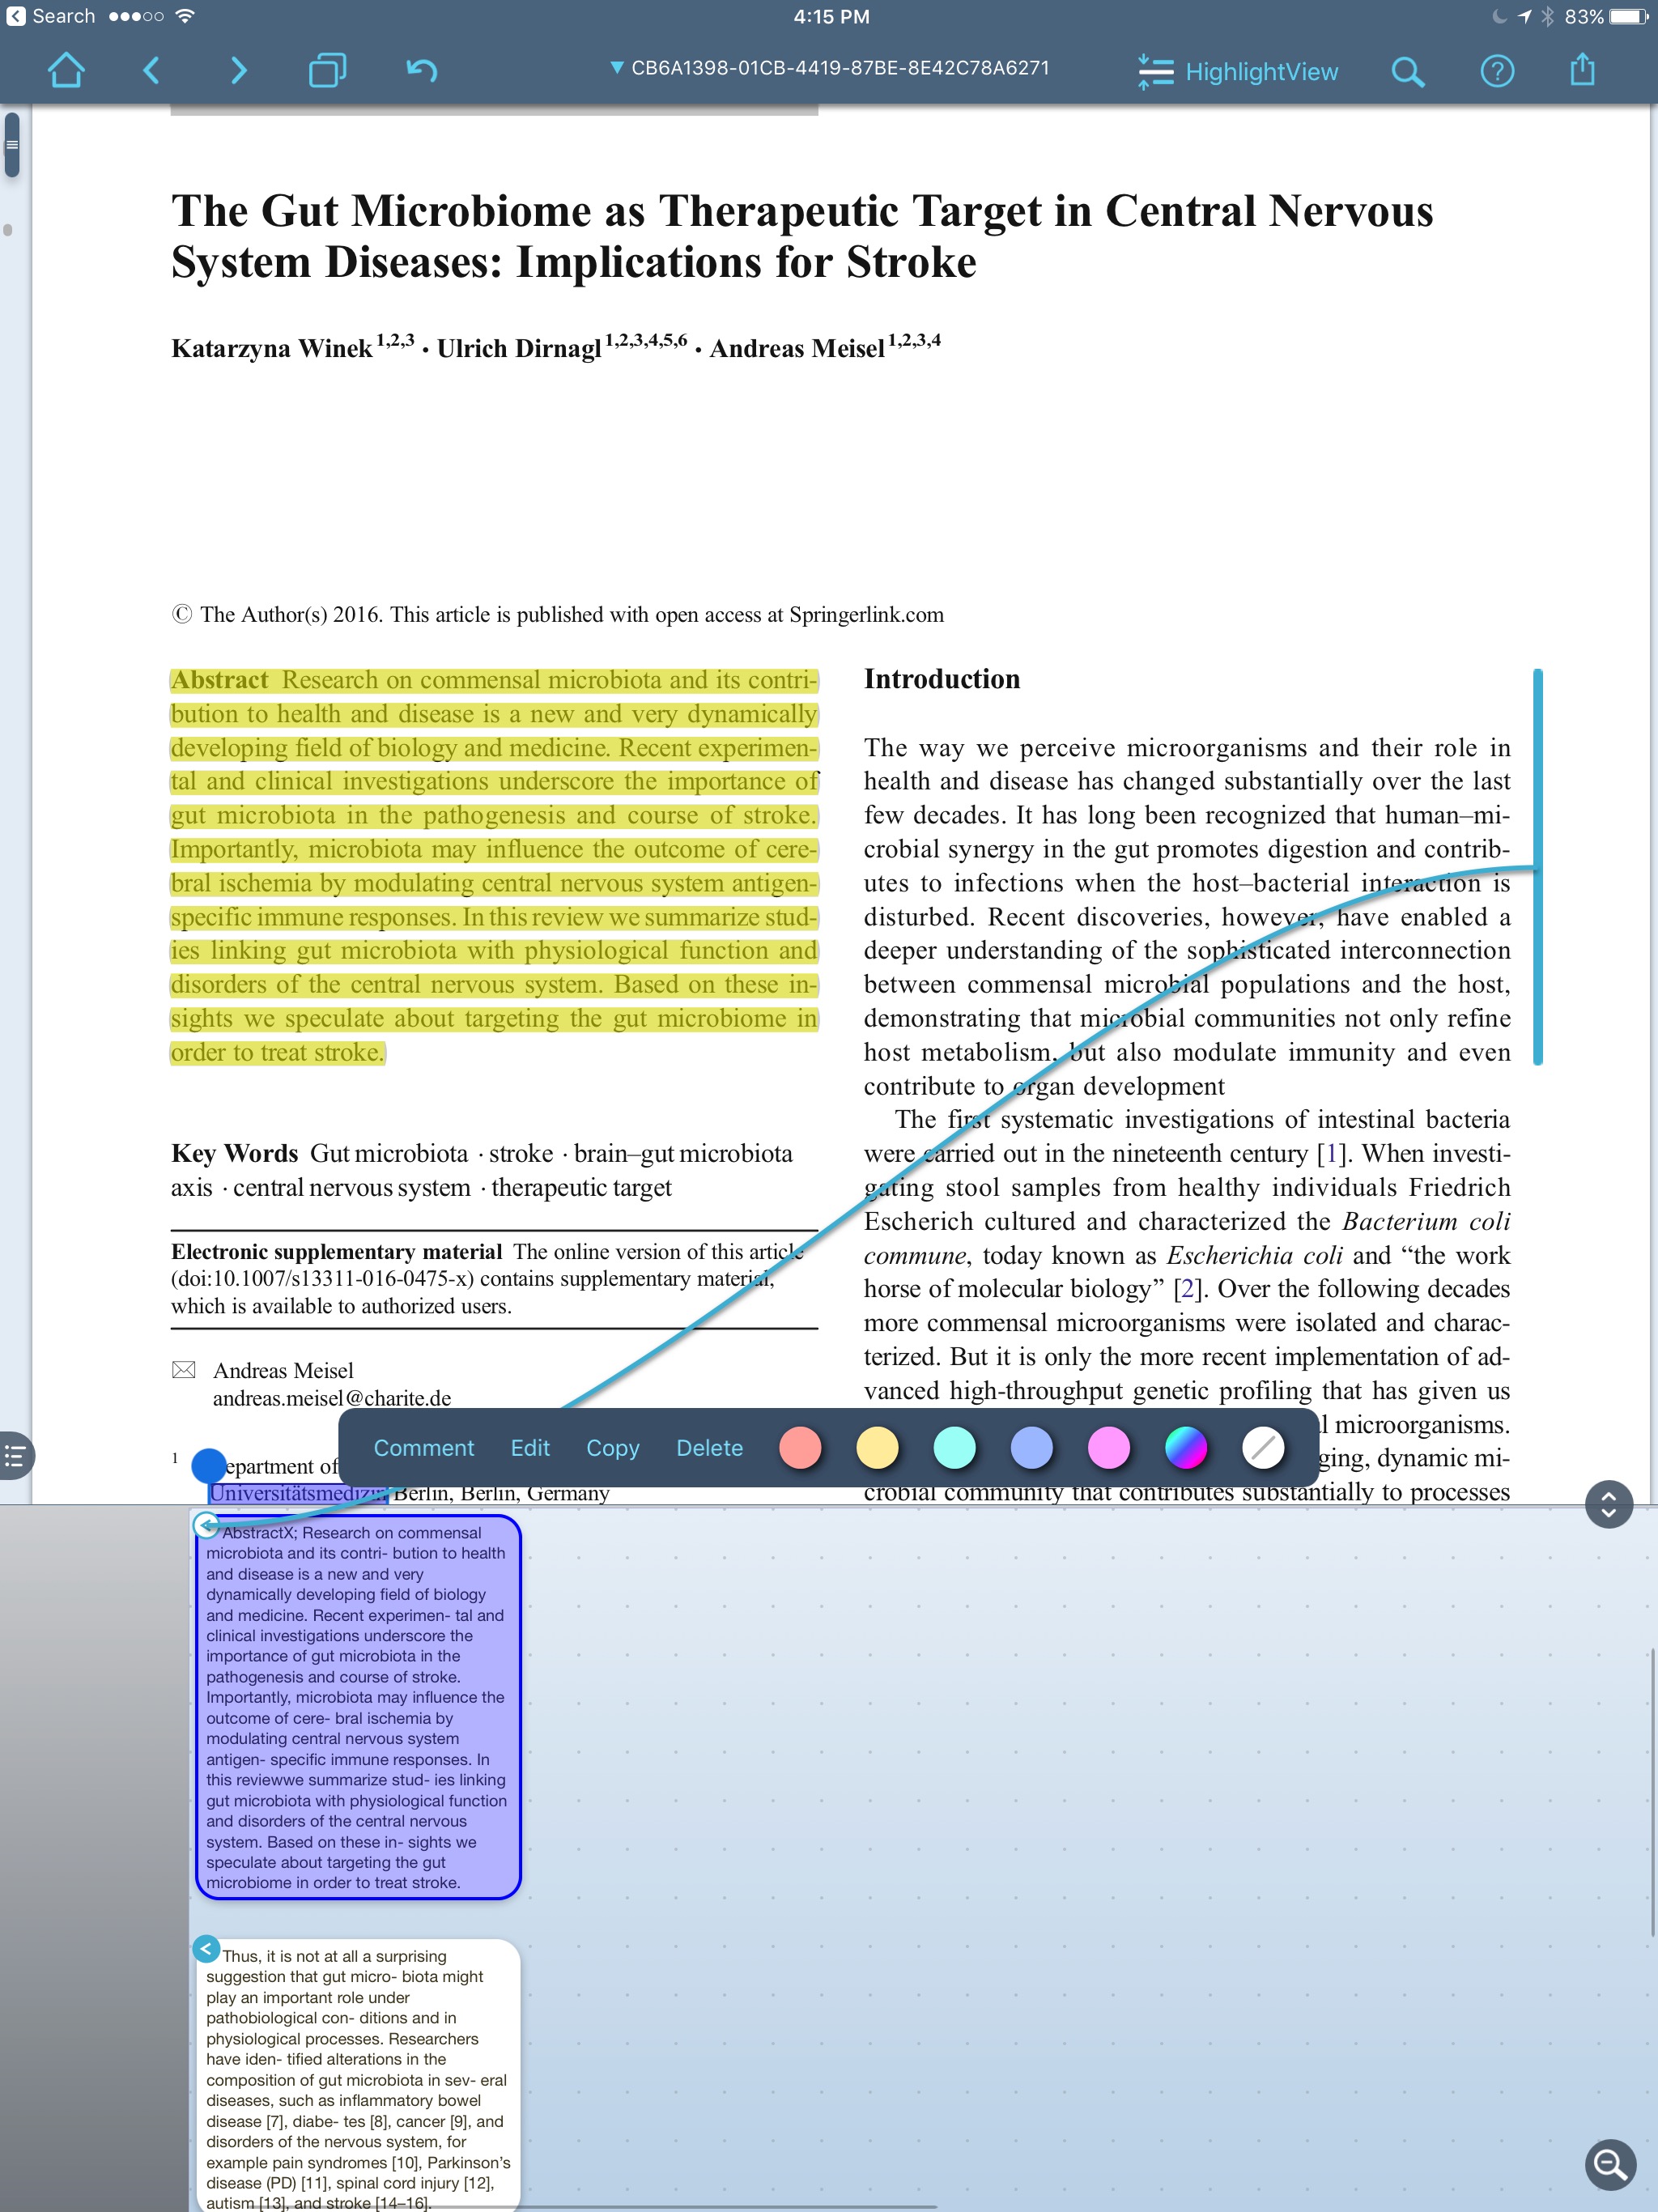
LiquidText reads and writes to a whole range of cloud services, but has limited range of export document choices.
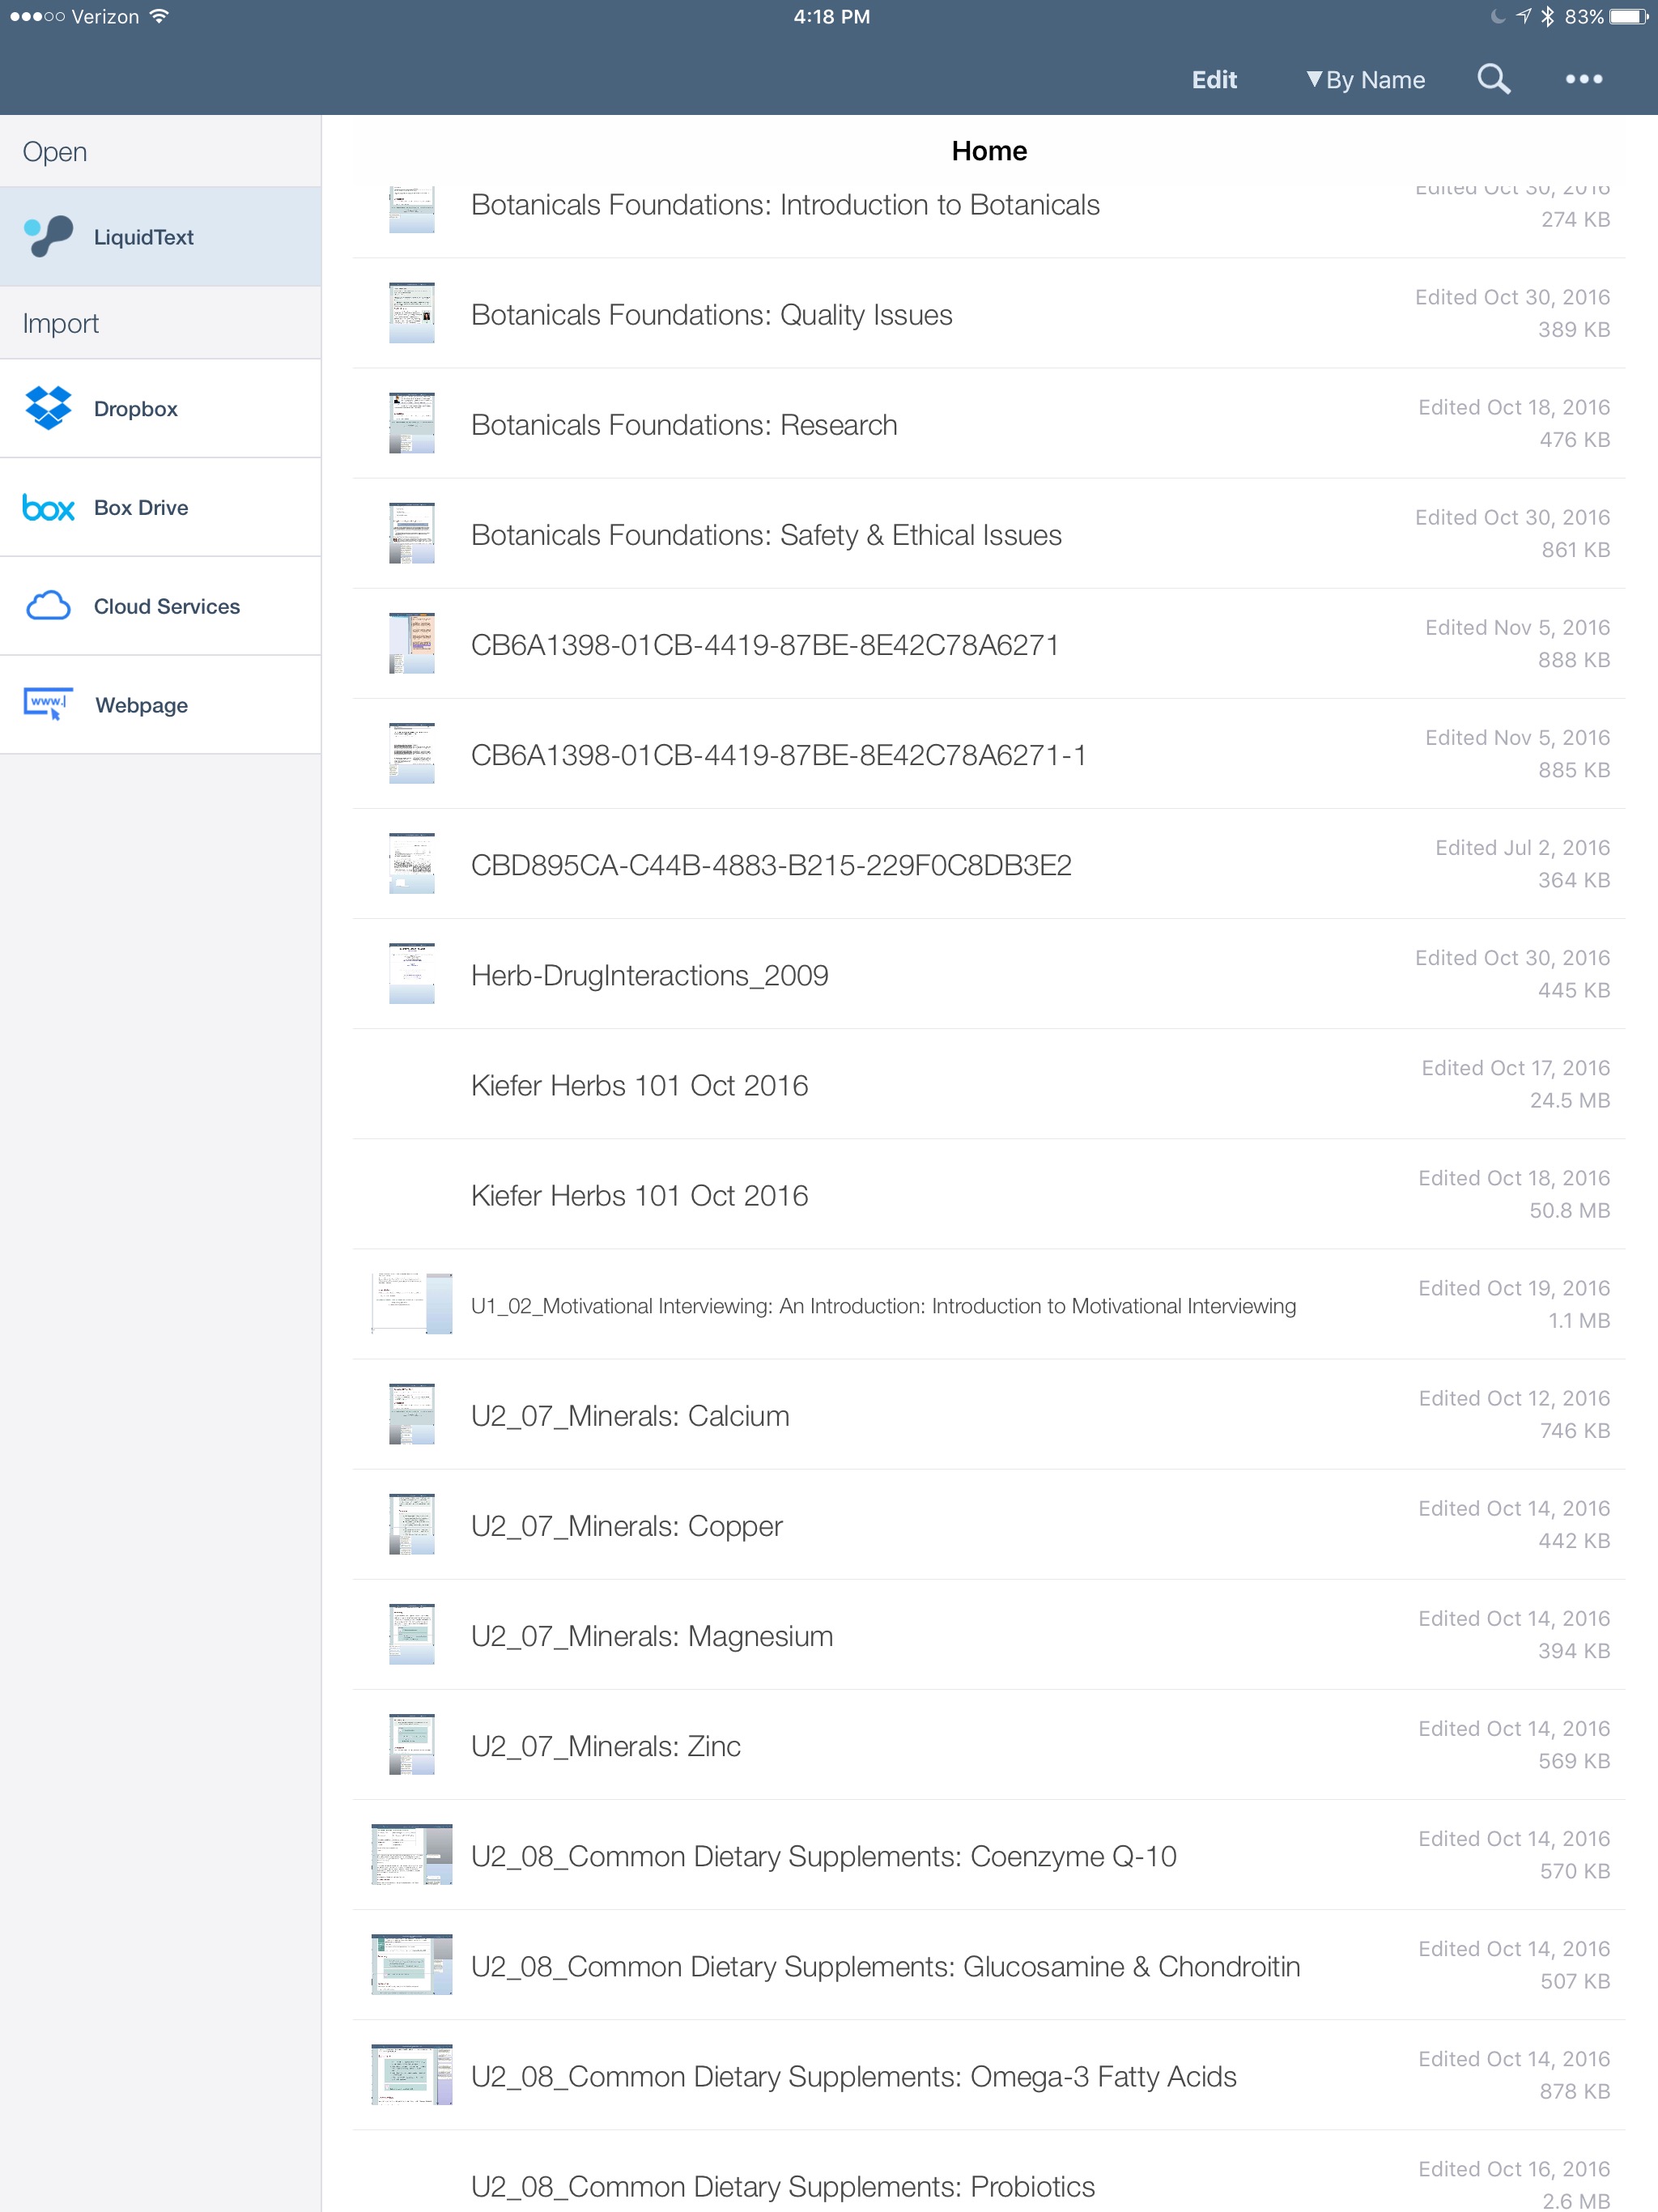
An Enterprise version is available for $9.99 that adds features like multi-document search and the ability to comment on multiple documents simultaneously. I've been using the app so much, I upgraded primarily to support the developer.There are a few features that are not (yet) available—the most critical for me is the inability to export highlights into a text file—LiquidText only exports highlights to Microsoft Word. This, unfortunately, is not compatible with my workflow for extracting highlights, but I like Liquidtext so much, I figured out a workaround using Skim—here is my entire workflow:

  • I set up a Dropbox LiquidText Folder to serve as a bridge with my desktop.
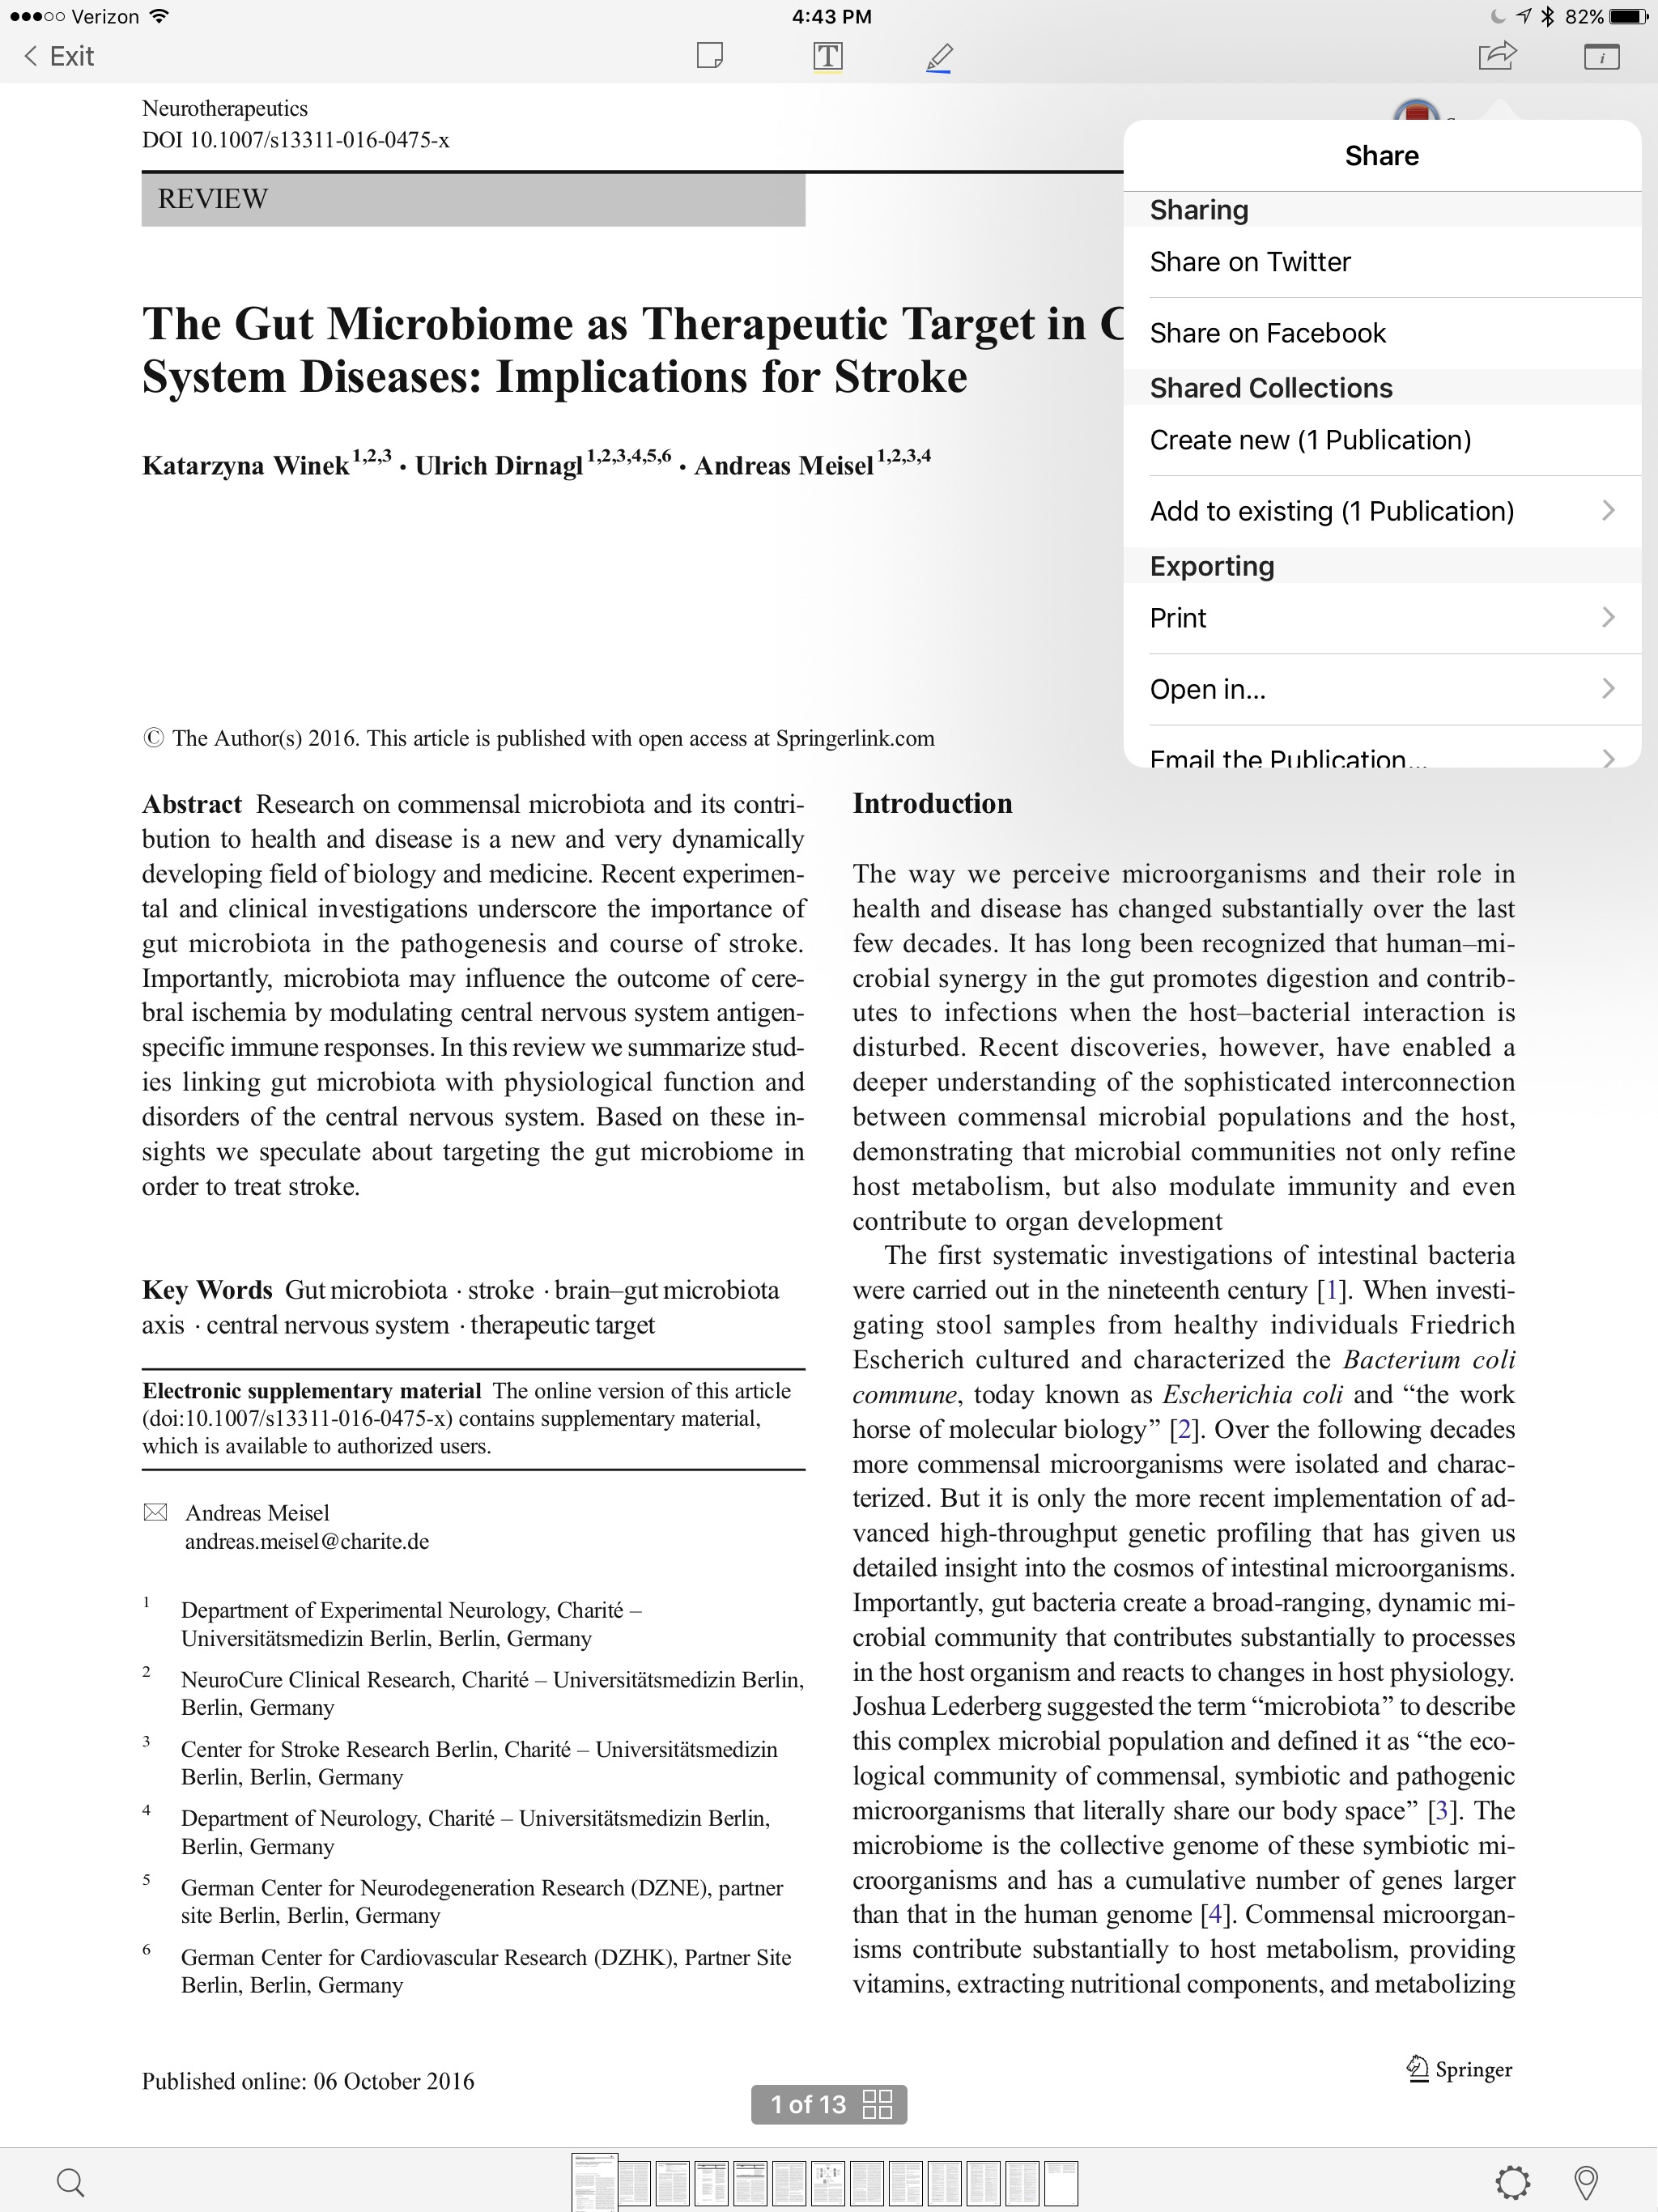
  • I open the entry in Papers on iOS.
  • From within Papers I select "open in". -this brings up action menu.
  • I open, read, and annotate in Liquidtext. This includes linking the full-text of references to each excerpt (as suggested by reader GH).
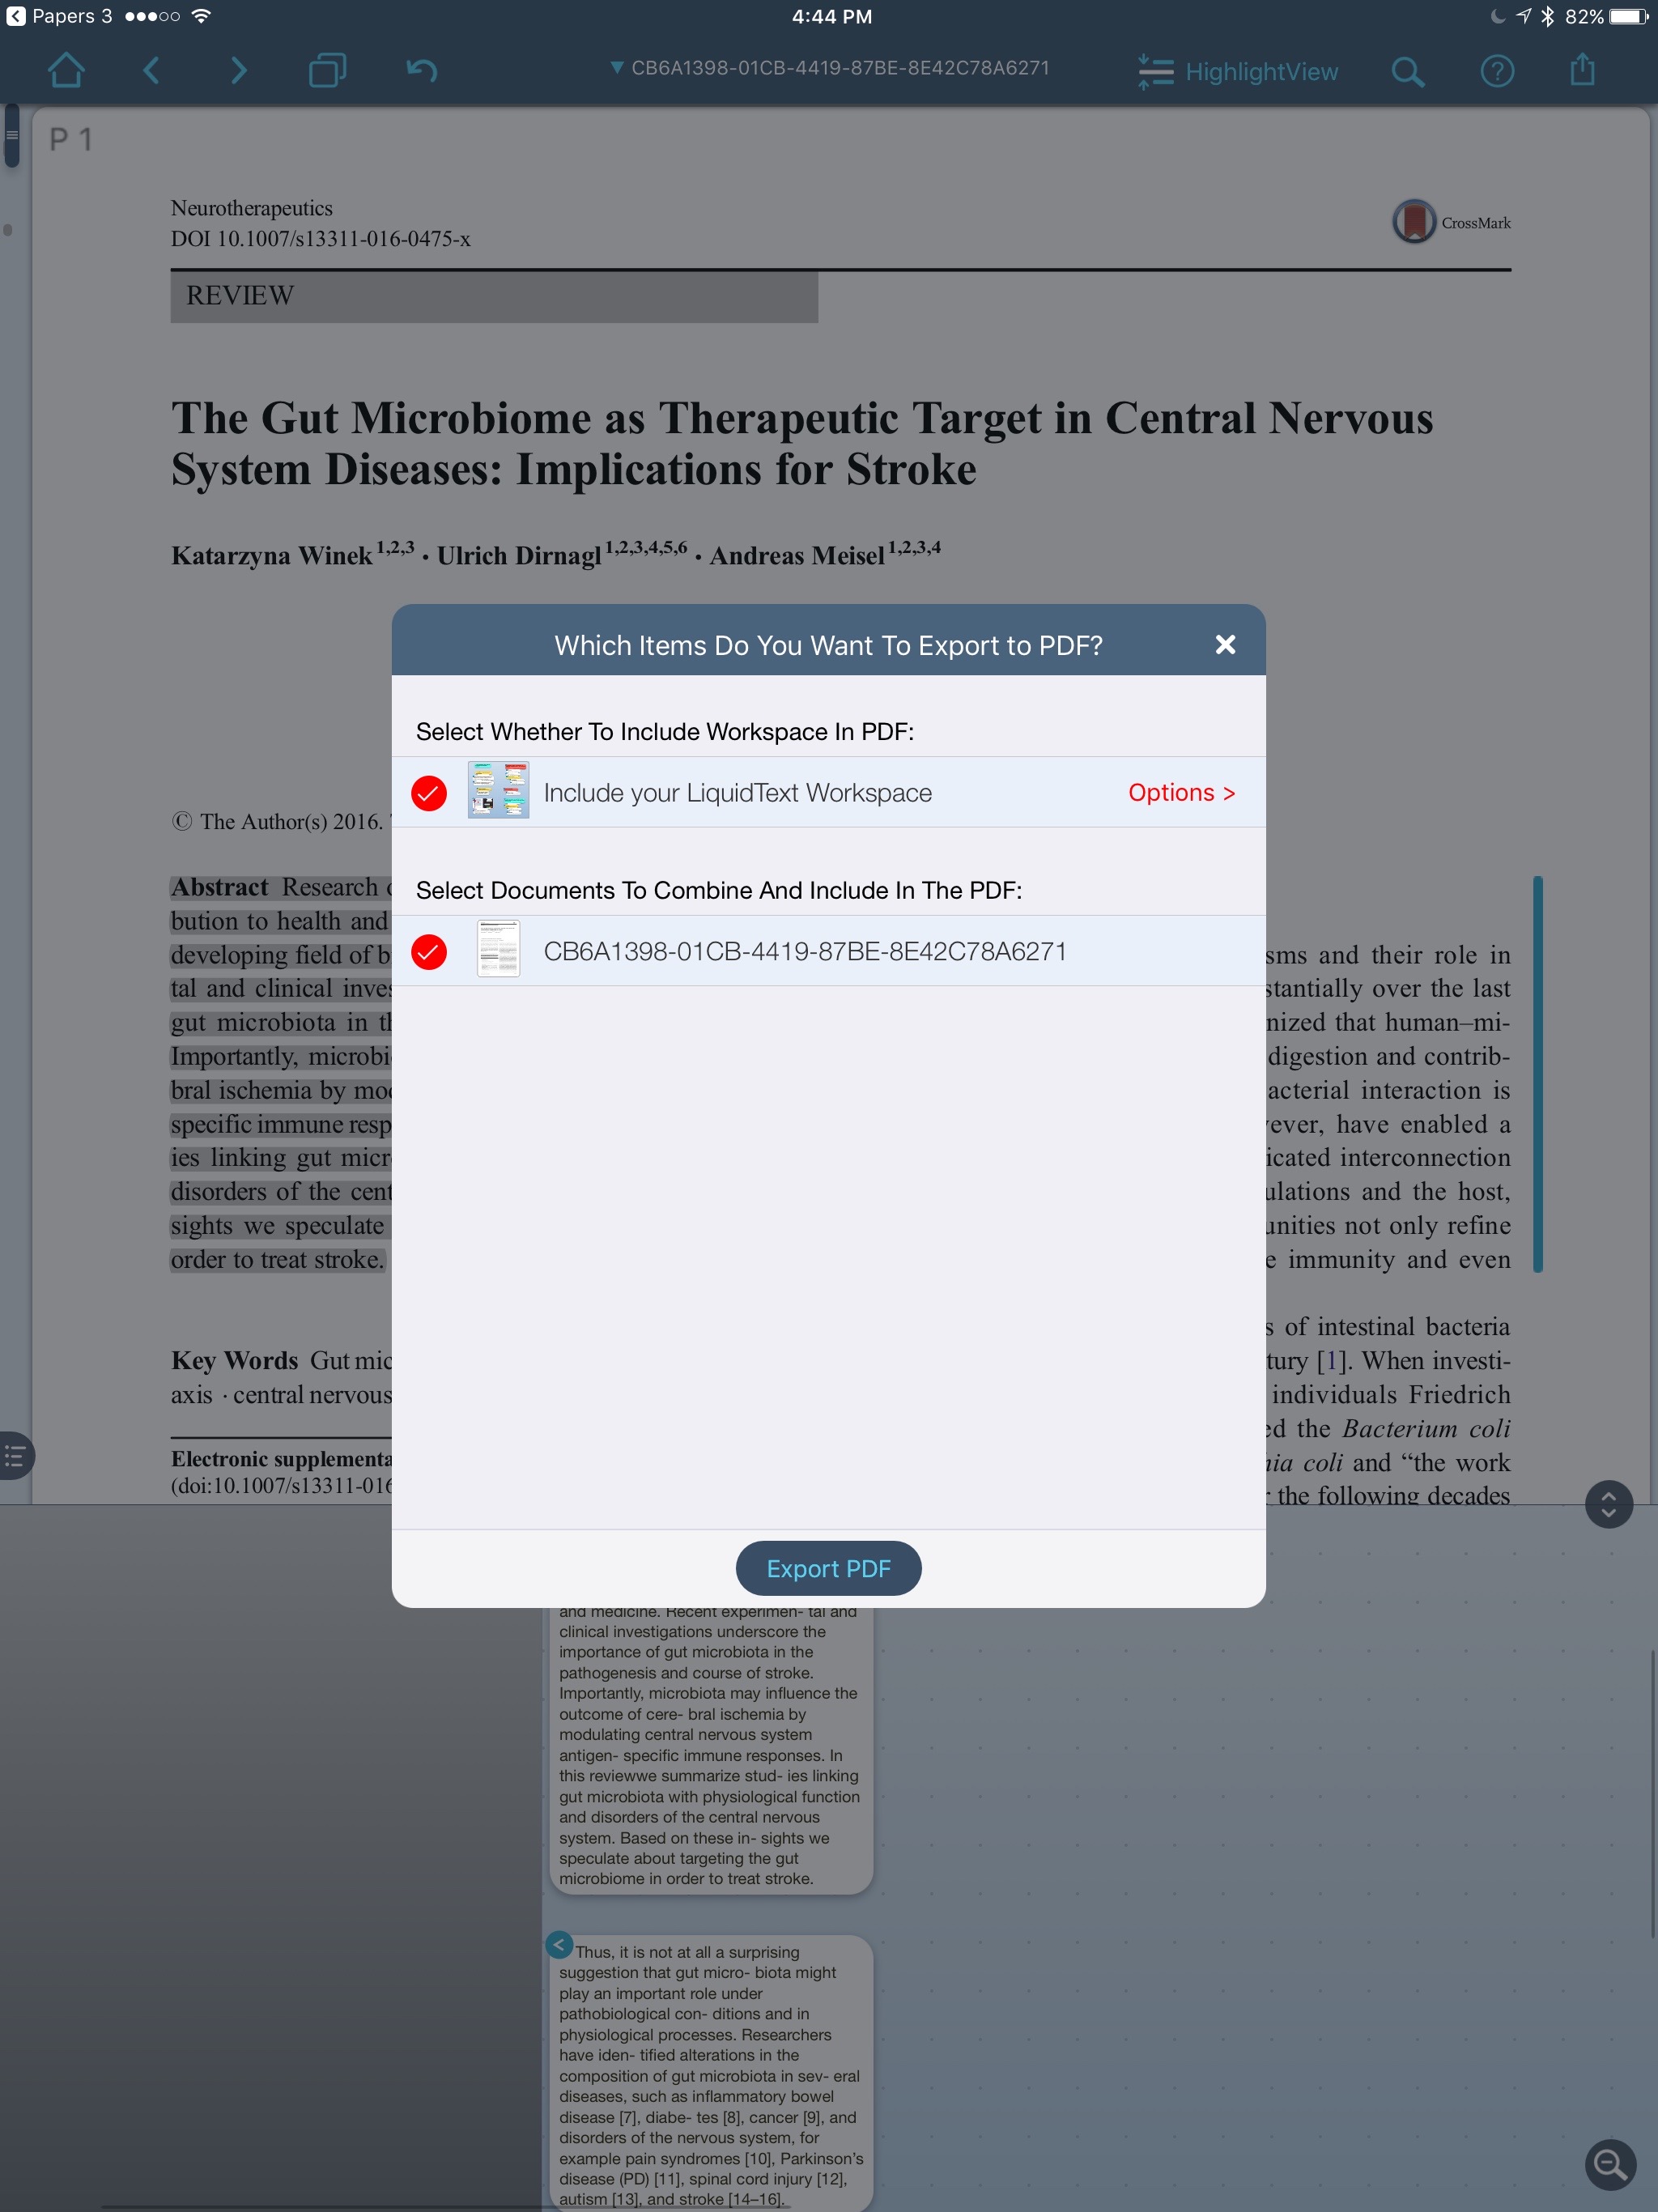
  • I export the PDF and Notes from Liquidtext to my Dropbox Folder.
  • When I get to my Mac, I open the PDF in Skim.
  • Under the File Menu in Skim, I choose “Convert Notes” making my highlights into Skim Notes.
  • I then process the annotations as discussed in this blog entry.
  • (If you want to take the time on your desktop you can also replace the Papers PDF with the LiquidText highlighted version).

Give Liquidtext a try and please let me know what you think.

Using Skitch and Papers to Capture Figures and Tables

Few would argue that the most important point of a scholarly manuscript is made in its figures and tables. I am going to share with you how I capture figures while reading scholarly information on my Mac. This workflow uses:SkitchPapersInstall Skitch and make sure, in Skitch Preferences, to enable the “keep Skitch Helper running in background when I quit,” and “Start Skitch Helper when I log in to my computer.”Screen Shot 2016-05-28 at 9.12.13 AMAs I’m reading scholarly literature and come across a table or figure I want to save I do the following. I make the figure as big as possible on my screen. Then, from the Skitch menu in my menubar, I select the Crosshair Snapshot. I then select the figure (and sometimes the caption) trying to balance the white space surrounding the figure.Next, I go to Papers, select the reference in my Papers Library, and then from the Edit Menu:Copy As:Reference.I return to Skitch and double-click at the bottom of the figure then paste the reference text. I then balance the text. The height of the Skitch figure will expand to accomodate the new text.Screen Shot 2016-05-28 at 9.14.40 AMWhen I want to refer to or use the table or figure I view it directly in Skitch or find it in Evernote. Using this method, I can also search for words in the reference (e.g. the author’s name or the title of the manuscript) and sometimes even the words in the figure itself.If I want to use the figure in a presentation or to send it to a colleague or trainee I can export the figure from the Skitch File Menu.Using this method I’ve captured hundreds of figures. I hope this workflow helps you too.

Searching PubMed, Google Scholar, and Research Gate with Launchbar

I have blogged about the custom Keyboard Maestro (KM)scripts I wrote to grab journal articles while reading scholarly information. Using these scripts, I merely highlight text in a PDF (usually a reference), invoke my KM script, and the PubMed or Google ScholarI now do the same thing using Launchbar Action Scripts. I set up three custom search templates in Launchbar’s Search Template Index:PubMedhttp://www.ncbi.nlm.nih.gov/pubmed/?term=*Google Scholarhttps://scholar.google.com/scholar?hl=en&q=*&btnG=&as_sdt=1%2C34&as_sdtp=Research Gatehttps://www.researchgate.net/search.Search.html?type=publication&query=*Now, when I want to retrieve a reference, I merely highlight the reference in the  PDF I’m reading and hit the Shift Key twice–this tells Launchbar that I want to do something with the highlighted text–by hitting tab and then typing the first few letters of Pubmed, Google Scholar, or Research Gate, then hitting Return, I tell Launchbar to pass the search string on to the publication web site. In order to find PDFs, I often have to repeat a search on more than one site. Launchbar makes retrieving PDFs fast and efficient. Check it out.

MacSparky's Field Guide for Email

My friend, David Sparks (MacSparky), just released his latest Field Guide: EMail. In true MacSparky fashion, there is lots of useful information for both novice and seasoned email users. At the end of the iBook, David includes interviews with a broad range of professionals (including yours truly). This, and other MacSparky Field Guides are well worth the ten bucks. Check them out.

Writing and Reading Workflow: Batching and Automating Full-Text Retrieval

In my work at Duke University on simulation, games-based learning, and learning technology, I frequently read and write scientific information. I’ve developed a series of workflows to help me efficiently deal with information when writing papers and grants. In a previous entry I talked about how I try to batch operations, doing similar things at the same time. This entry will be about my workflow for reading scientific manuscripts.

I use Skim for scientific reading, typically using the bottom pane of the “Split PDF” feature to look at the title of references as I come across them in the body of the manuscript. On average, I’m interested in downloading about 10% of these references to my personal library.

Although I love Skim, one feature I have not been able to figure out is how to highlight items in the bottom split screen. Thus, I’ve created a workaround. Before I start reading an article in Skim, I create a note called “Get Manuscripts” As I’m reading, I merely record the references number of articles I want to fetch in my “Get References” note. Because I create this note first it’s always located at the top of my Skim Notes. When I’m done reading the current article and processing my annotations, I retrieve the supporting articles I identified while reading. 

To do this, I use a phenomenal program called KeyBoard Maestro. Keyboard Maestro lets me type a single keyboard command to trigger an entire workflow. One by one, I work through my “Get References” numbers, highlighting the title of each corresponding article. After highlighting each title, Keyboard Maestro does the rest (invoked by Command-Option-R).

Keyboard Maestro automatically  (1) copies my highlighted text, (2) surfs to the Duke Library literature search page, (3) pastes the text string into the appropriate field, and (4) submits the search. Thus, with a single key combination, I am able to download the full text of supporting literature. Once I find the full text I'm interested in (usually a PDF), I save it to my Download Folder, where Hazel takes over and imports the paper into my Papers Library.

If I'm not ready to retrieve the articles, I create an Omnifocus Action for each to be collected at a later time.

My macro is not limited to Skim, it works with any text I’ve highlighted, be it on the web, in a manuscript, or somewhere else. Here is a picture of the programming, but obviously, you’ll have to modify it for your own favorite full-text repository. Enjoy!

Maestro Automate Full Text Retrieval


Addendum (January 14, 2014): If you’re searching at Duke, you’ve probably noticed the library changed its search interface. I’ve updated the Keyboard Maestro Script accordingly. It’s only configured to search for peer-reviewed articles. Download the script and import it into Keyboard Maestro (will only work for Duke Libraries).