

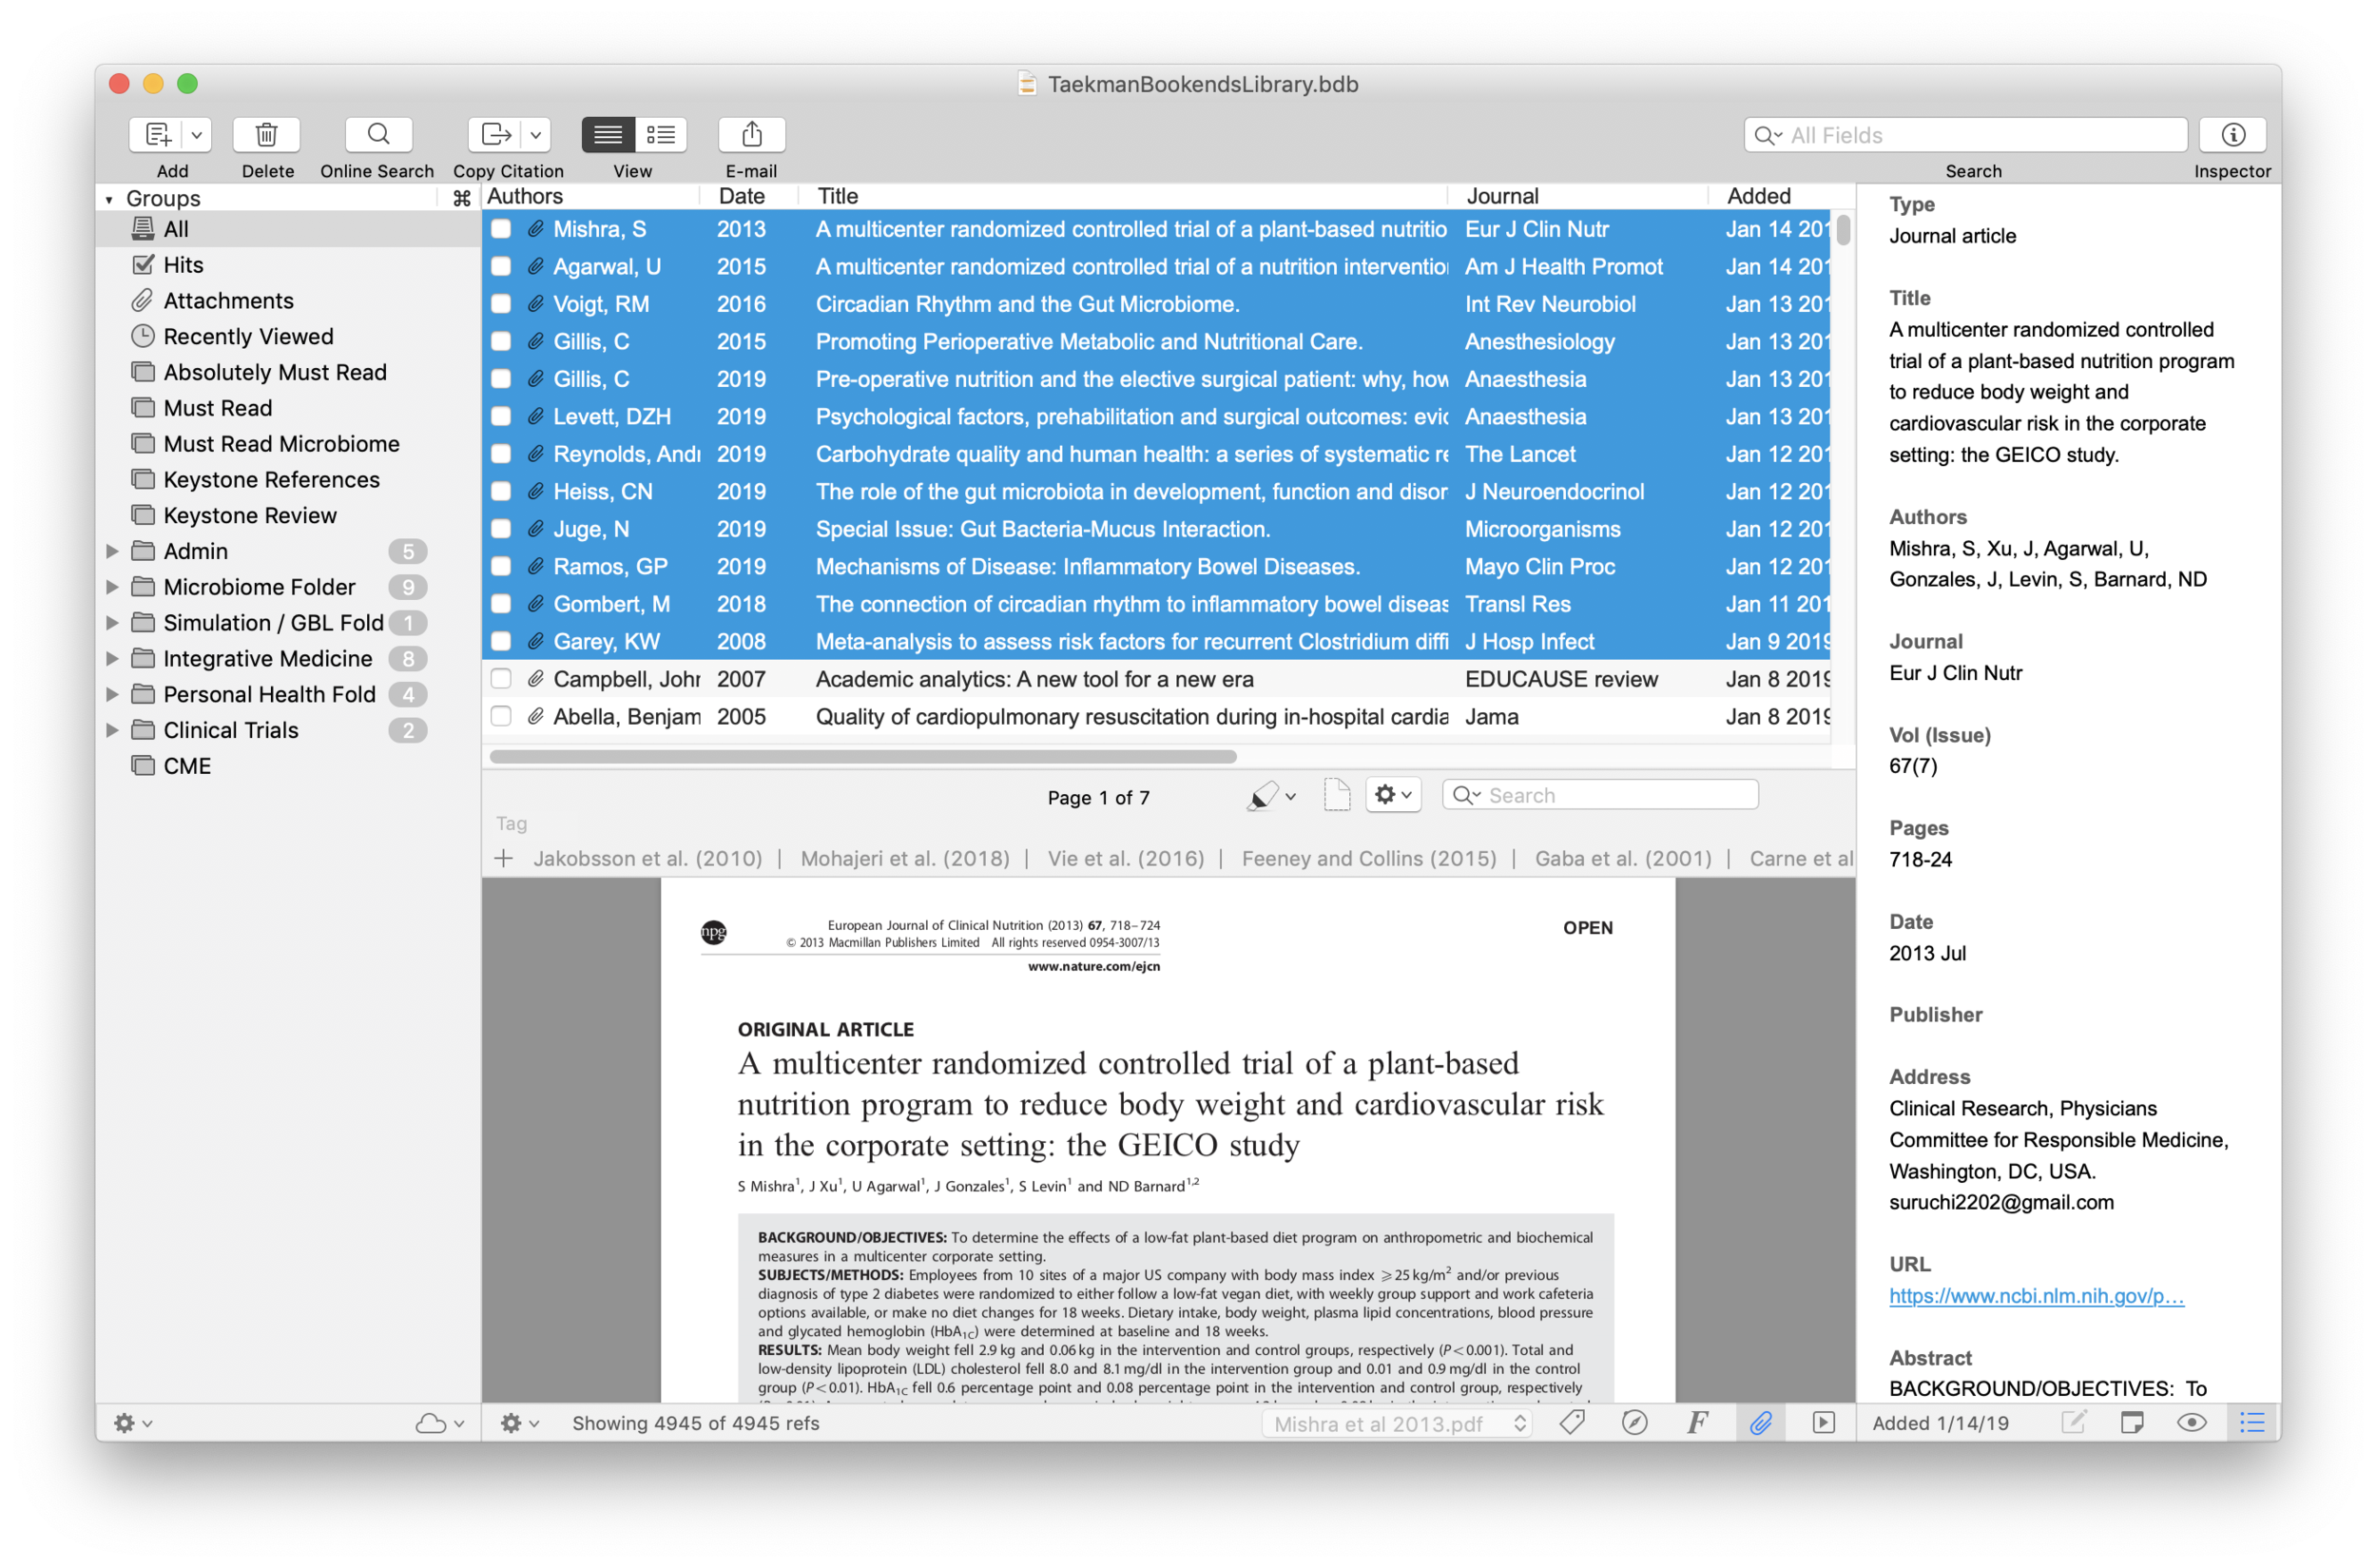


I wrote about Sense-making of the Academic Literature back when I was using Papers. My old workflow required Keyboard Maestro to extract abstract information to Tinderbox. Although Tinderbox is great for visually organizing your notes, it can’t compare to the search capabilities of DevonThink Pro.Since switching to Bookends, I’ve found myself spending less time in Tinderbox and even more time in Devonthink. I’ve made heavy use of a particular built-in Devonthink Template that automates the migration of abstracts from Bookends to DTP (with a link back to Bookends). Once imported into DTP, these abstracts can be parsed using smart folders (enduring searches) that make your literature library a dynamic resource for writing.I have a single DTP database that has indexed the various folders critical in my writing process (e.g. PDFs, extracted notes). In DTP, I’ve organized these folders into a “zz-Inputs Folder”. As you can see below, a sub-folders of zz-Inputs is an “Abstracts Inbox.” When I set up this folder in DTP, I made sure the folder WAS NOT excluded from tagging (this is done by option-clicking on the folder and making sure “exclude from tagging is UNCHECKED).When it’s time to transfer abstracts from Bookends, I first click to select the Abstracts Inbox folder in DTP.I then open up Bookends and sort the fields by the “Added” Column. I like reverse chronological order so I can see the last date I imported abstracts. I highlight all the new manuscripts in Bookends.I then move over to DTP and select the Data:New From Template: Education: Reference (from Bookends) menu item. DTP grabs all the highlighted abstracts from Bookends.The imported information includes Author, Title, Year, Abstract, and Keywords. The template also includes a link back to the publication in Bookends. Finally, there is a field for me to add my own comments to the new DTP file.Once the abstracts are imported into DTP, I make sure to index the folder so the new information is included in search. Now that the information is in DTP I am able to take full advantage of its search functionality and artificial intelligence.I make extensive use of Smart Searches in DTP. Using Smart Searches, The abstracts are automatically sorted into folders.For most topics I have two Smart Searches:
as shown below that includes the search criteria AND searching for the tag “Abstracts Inbox” we talked about earlier—this finds only abstracts relevant to the search,
only the search criteria—this returns ALL information in the database (including abstracts, PDFs, and extracted text as described in this entry).


In DTP, I bring up the Search Interface (Tools: Search….) and type in my search criteria. By default, in the Search Interface, DTP will search across all databases. Notice on the left hand side I have limited the search to my Writing Database. This returns ALL matching information ONLY in my Writing Database. I’ve color coded information extracted from articles using Highlights (for instance, a blue highlight is a direct quote). I can further limit the search by clicking on the “Advanced…” Button and adding additional criteria (e.g. tags, file types, words such as “blue,” etc.).Once I’ve found an abstract that interests me, I locate semantically similar information by highlighting the abstract in DTP and then clicking on the “See Also” button (the Magic Hat).Using this method, all the information I’ve collected (both read and unread) is easily accessible. I use this method extensively when writing. Please let me know if you find it useful too.

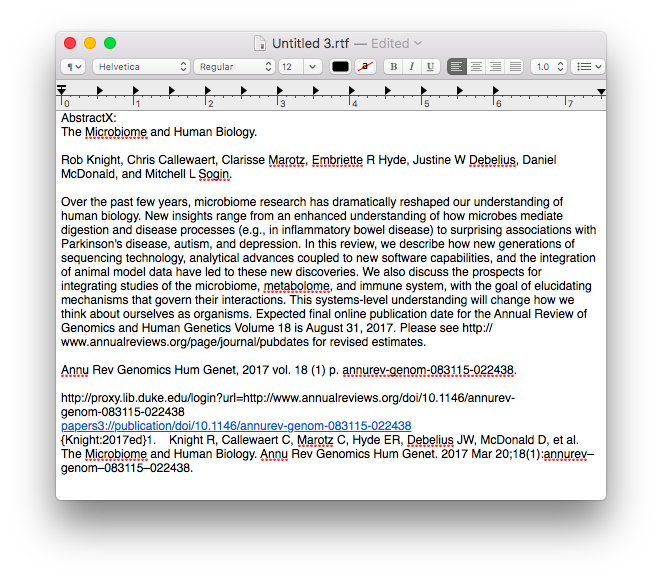 Once the information is assembled in Textedit, the whole note is copied to Tinderbox.
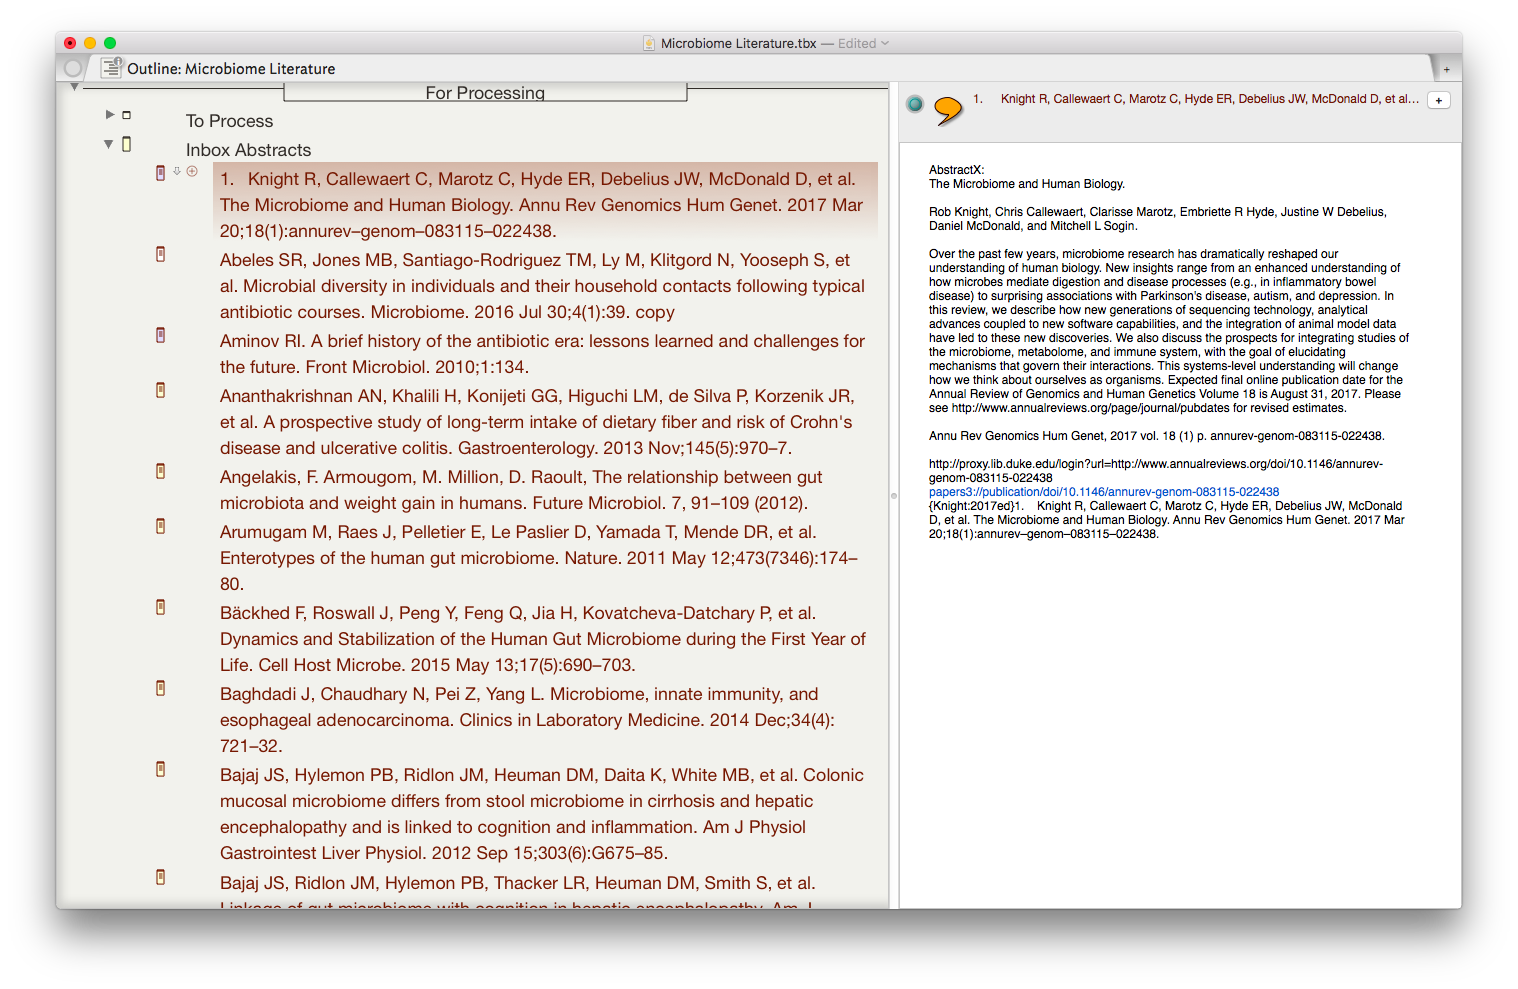 I then put together an assortment of agents that search across the entirety of the imported information and aggregate information similar information under a single heading.
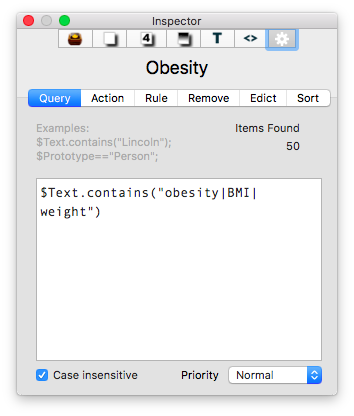
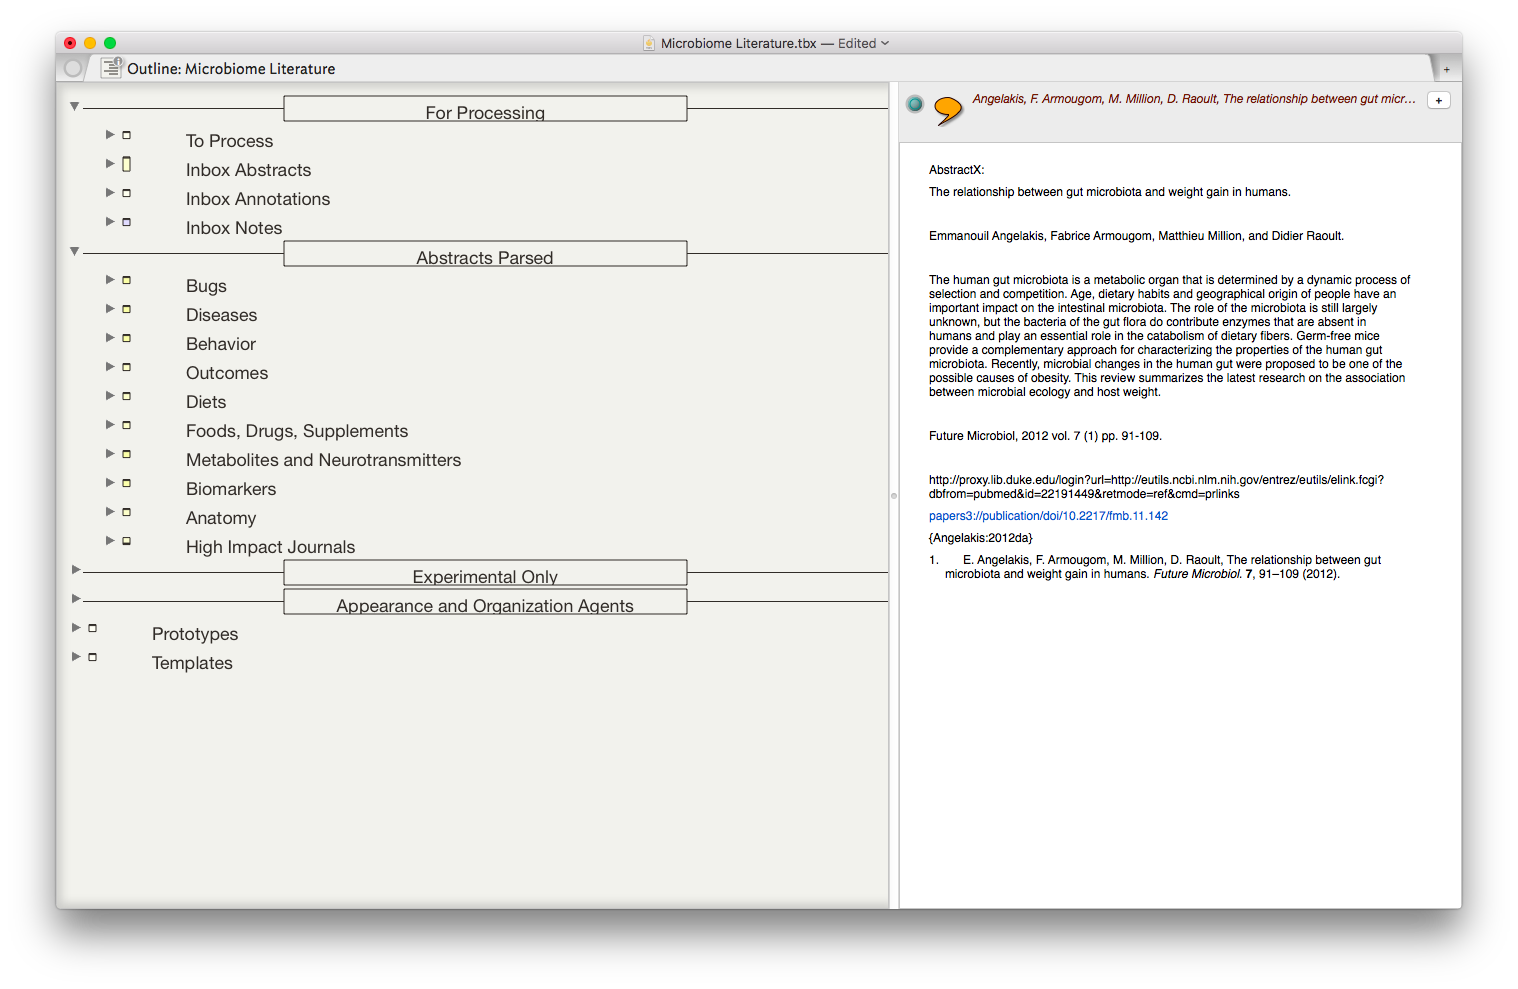 The result is the ability to rapidly find related Information, in an organized fashion, on virtually any topic I’ve read. As I digest new information, I add the abstract and metadata to my Tinderbox Inbox and the agents do the rest—duplicating the abstract into the relevent topics throughout my outline.
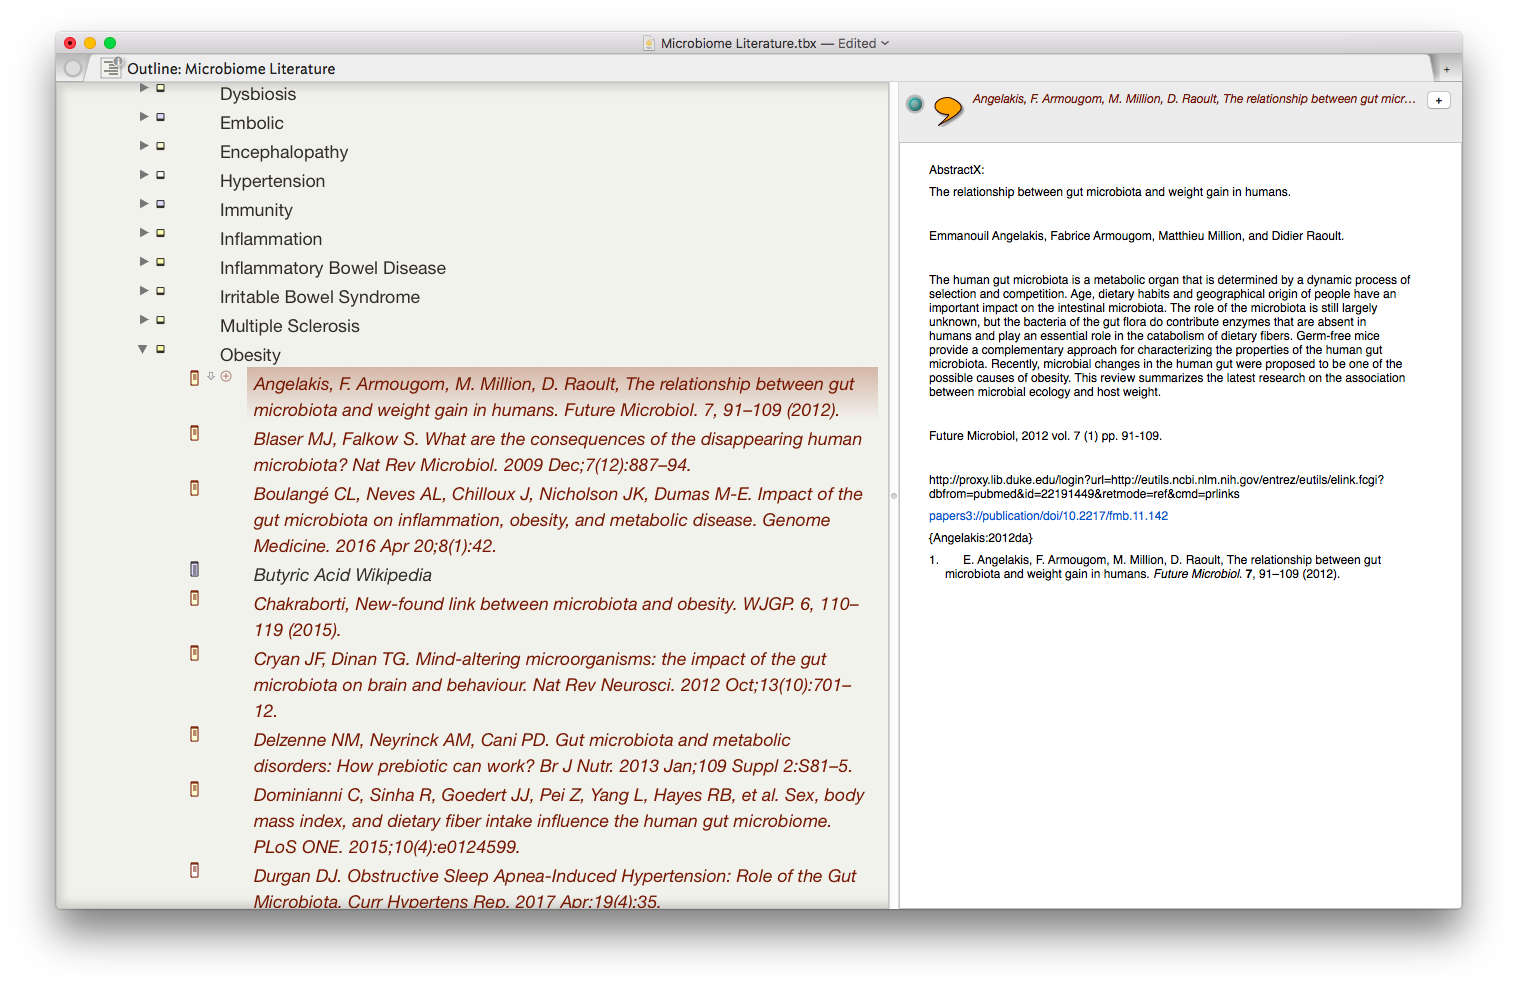 I have been using the collection of abstracts as the starting place for writing manuscripts and grants. Tinderbox can export Individual items, or the entire document outline as OPML—making it easy to import into
 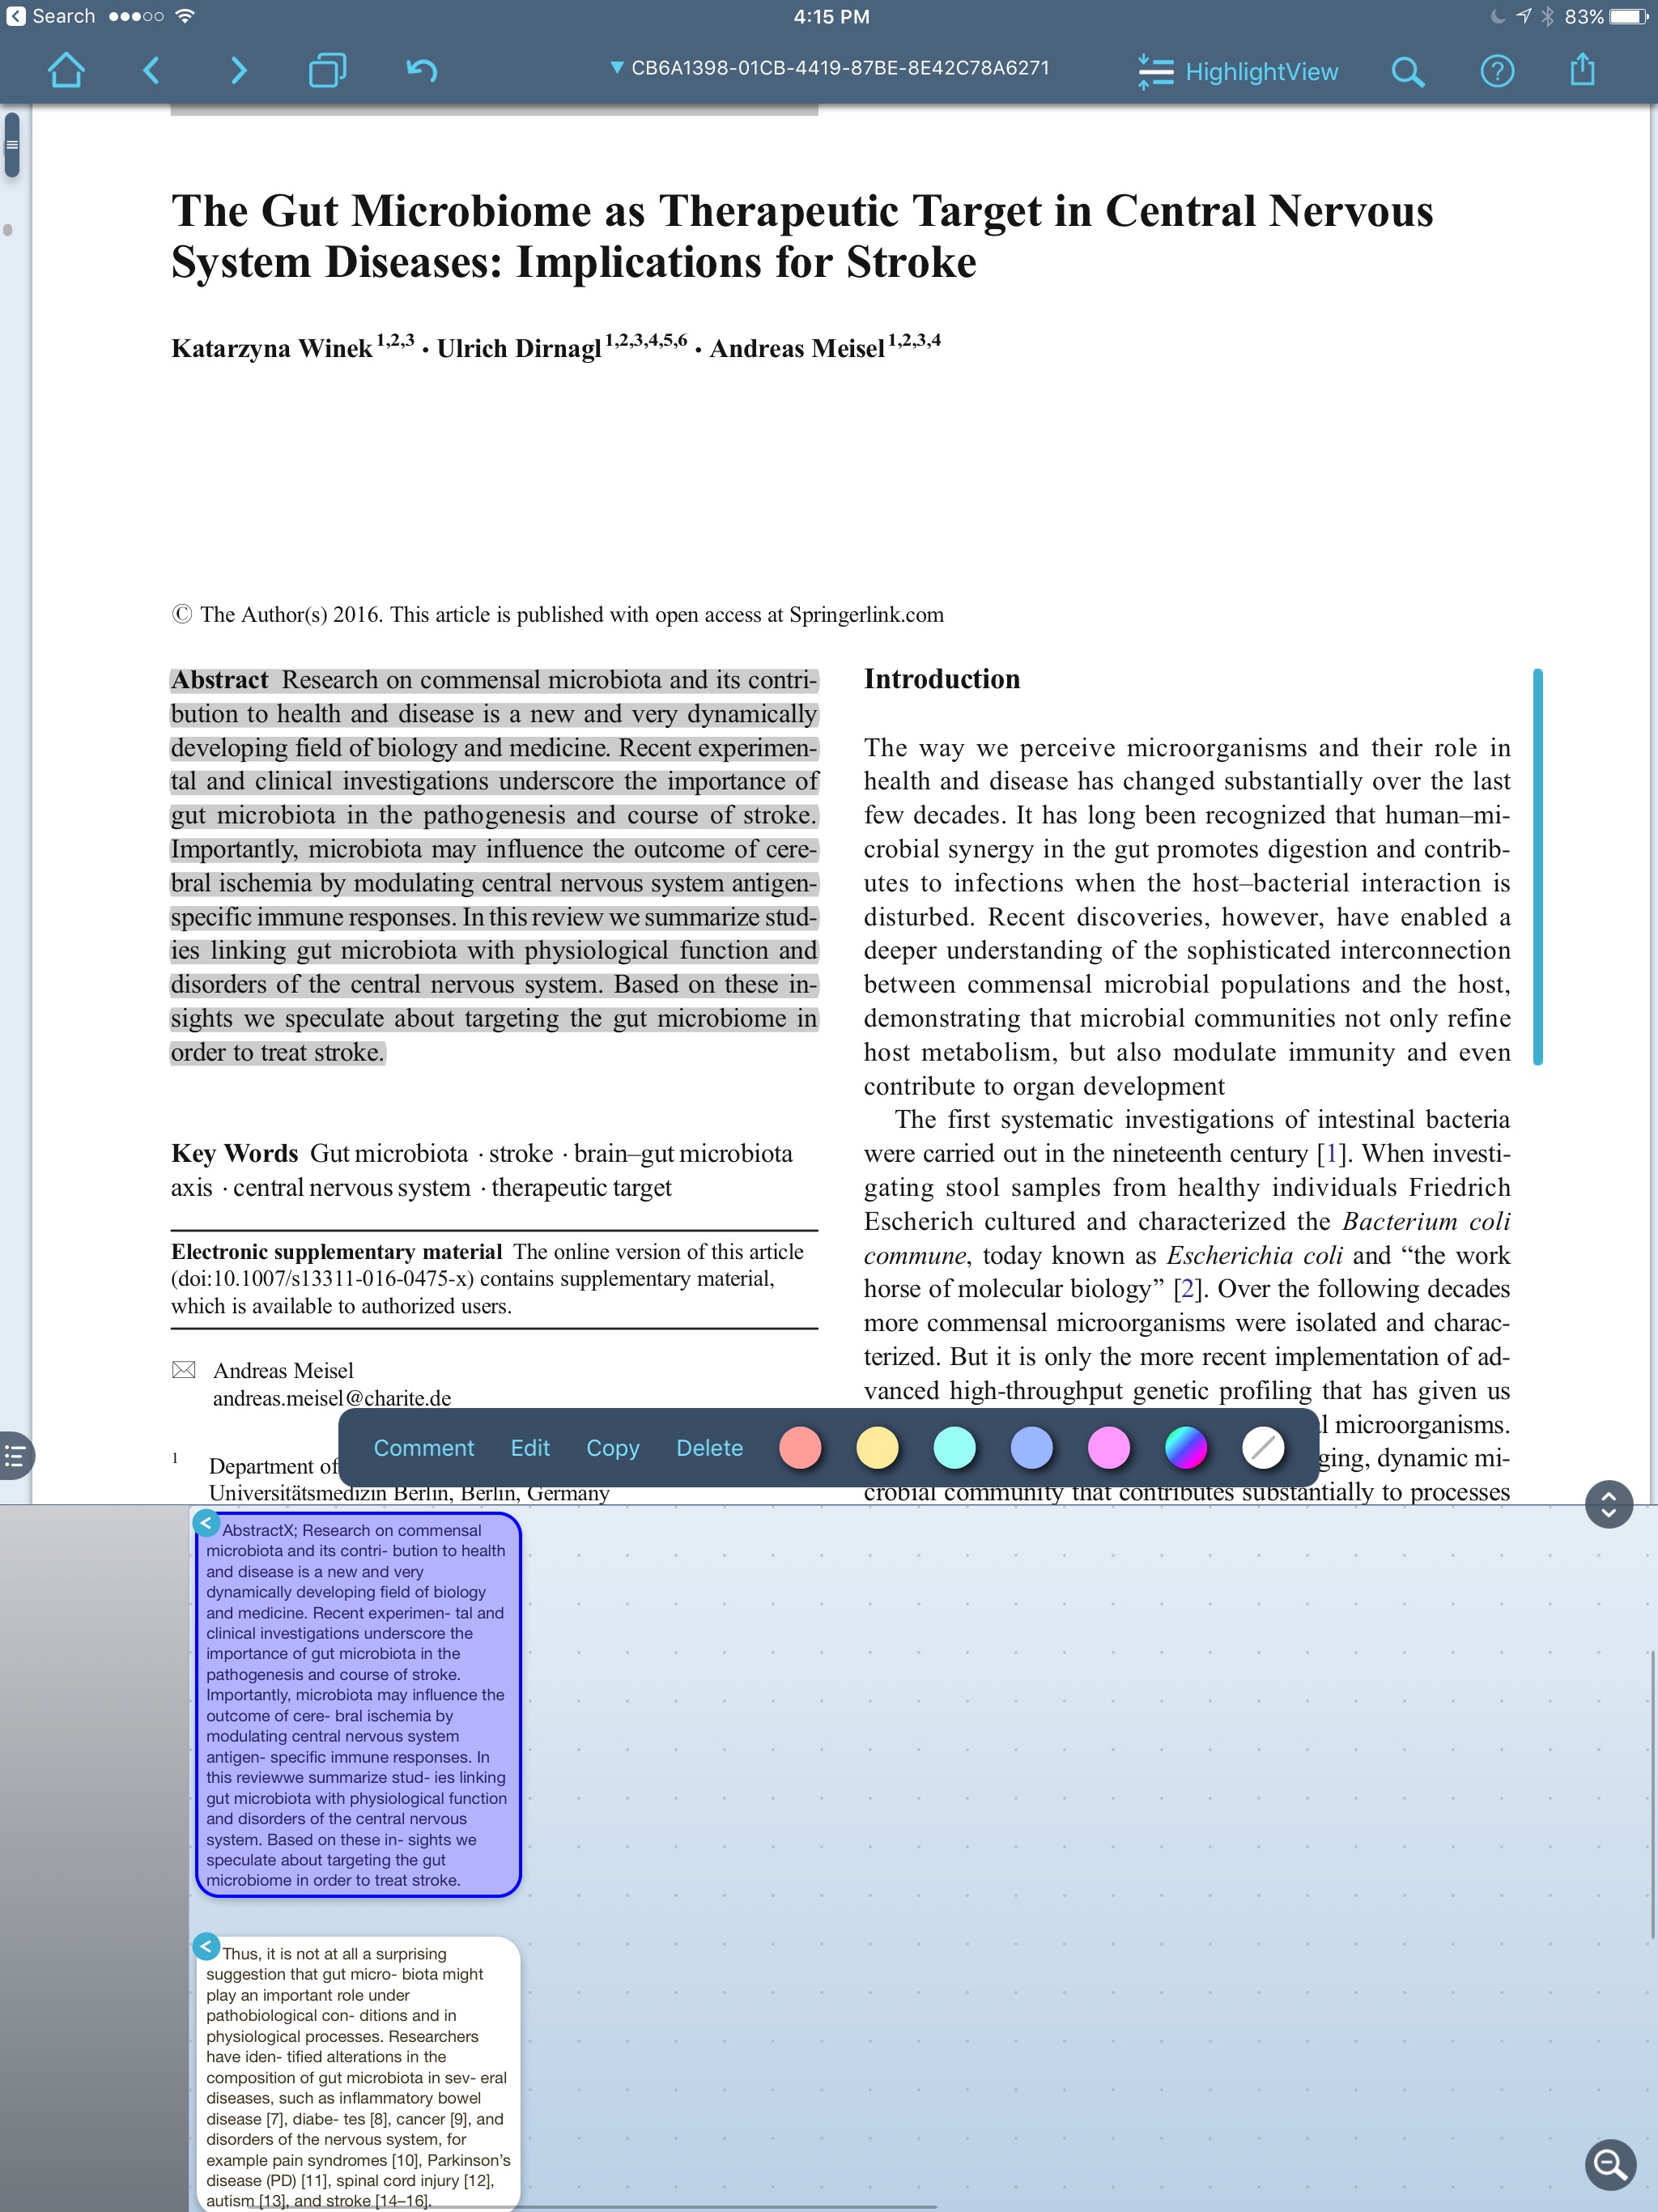 When reading and highlighting, I either drag text from the PDF into the notes area, or simply hit “AutoExcerpt” and the text is extracted for me. I can comment on the excerpted information.
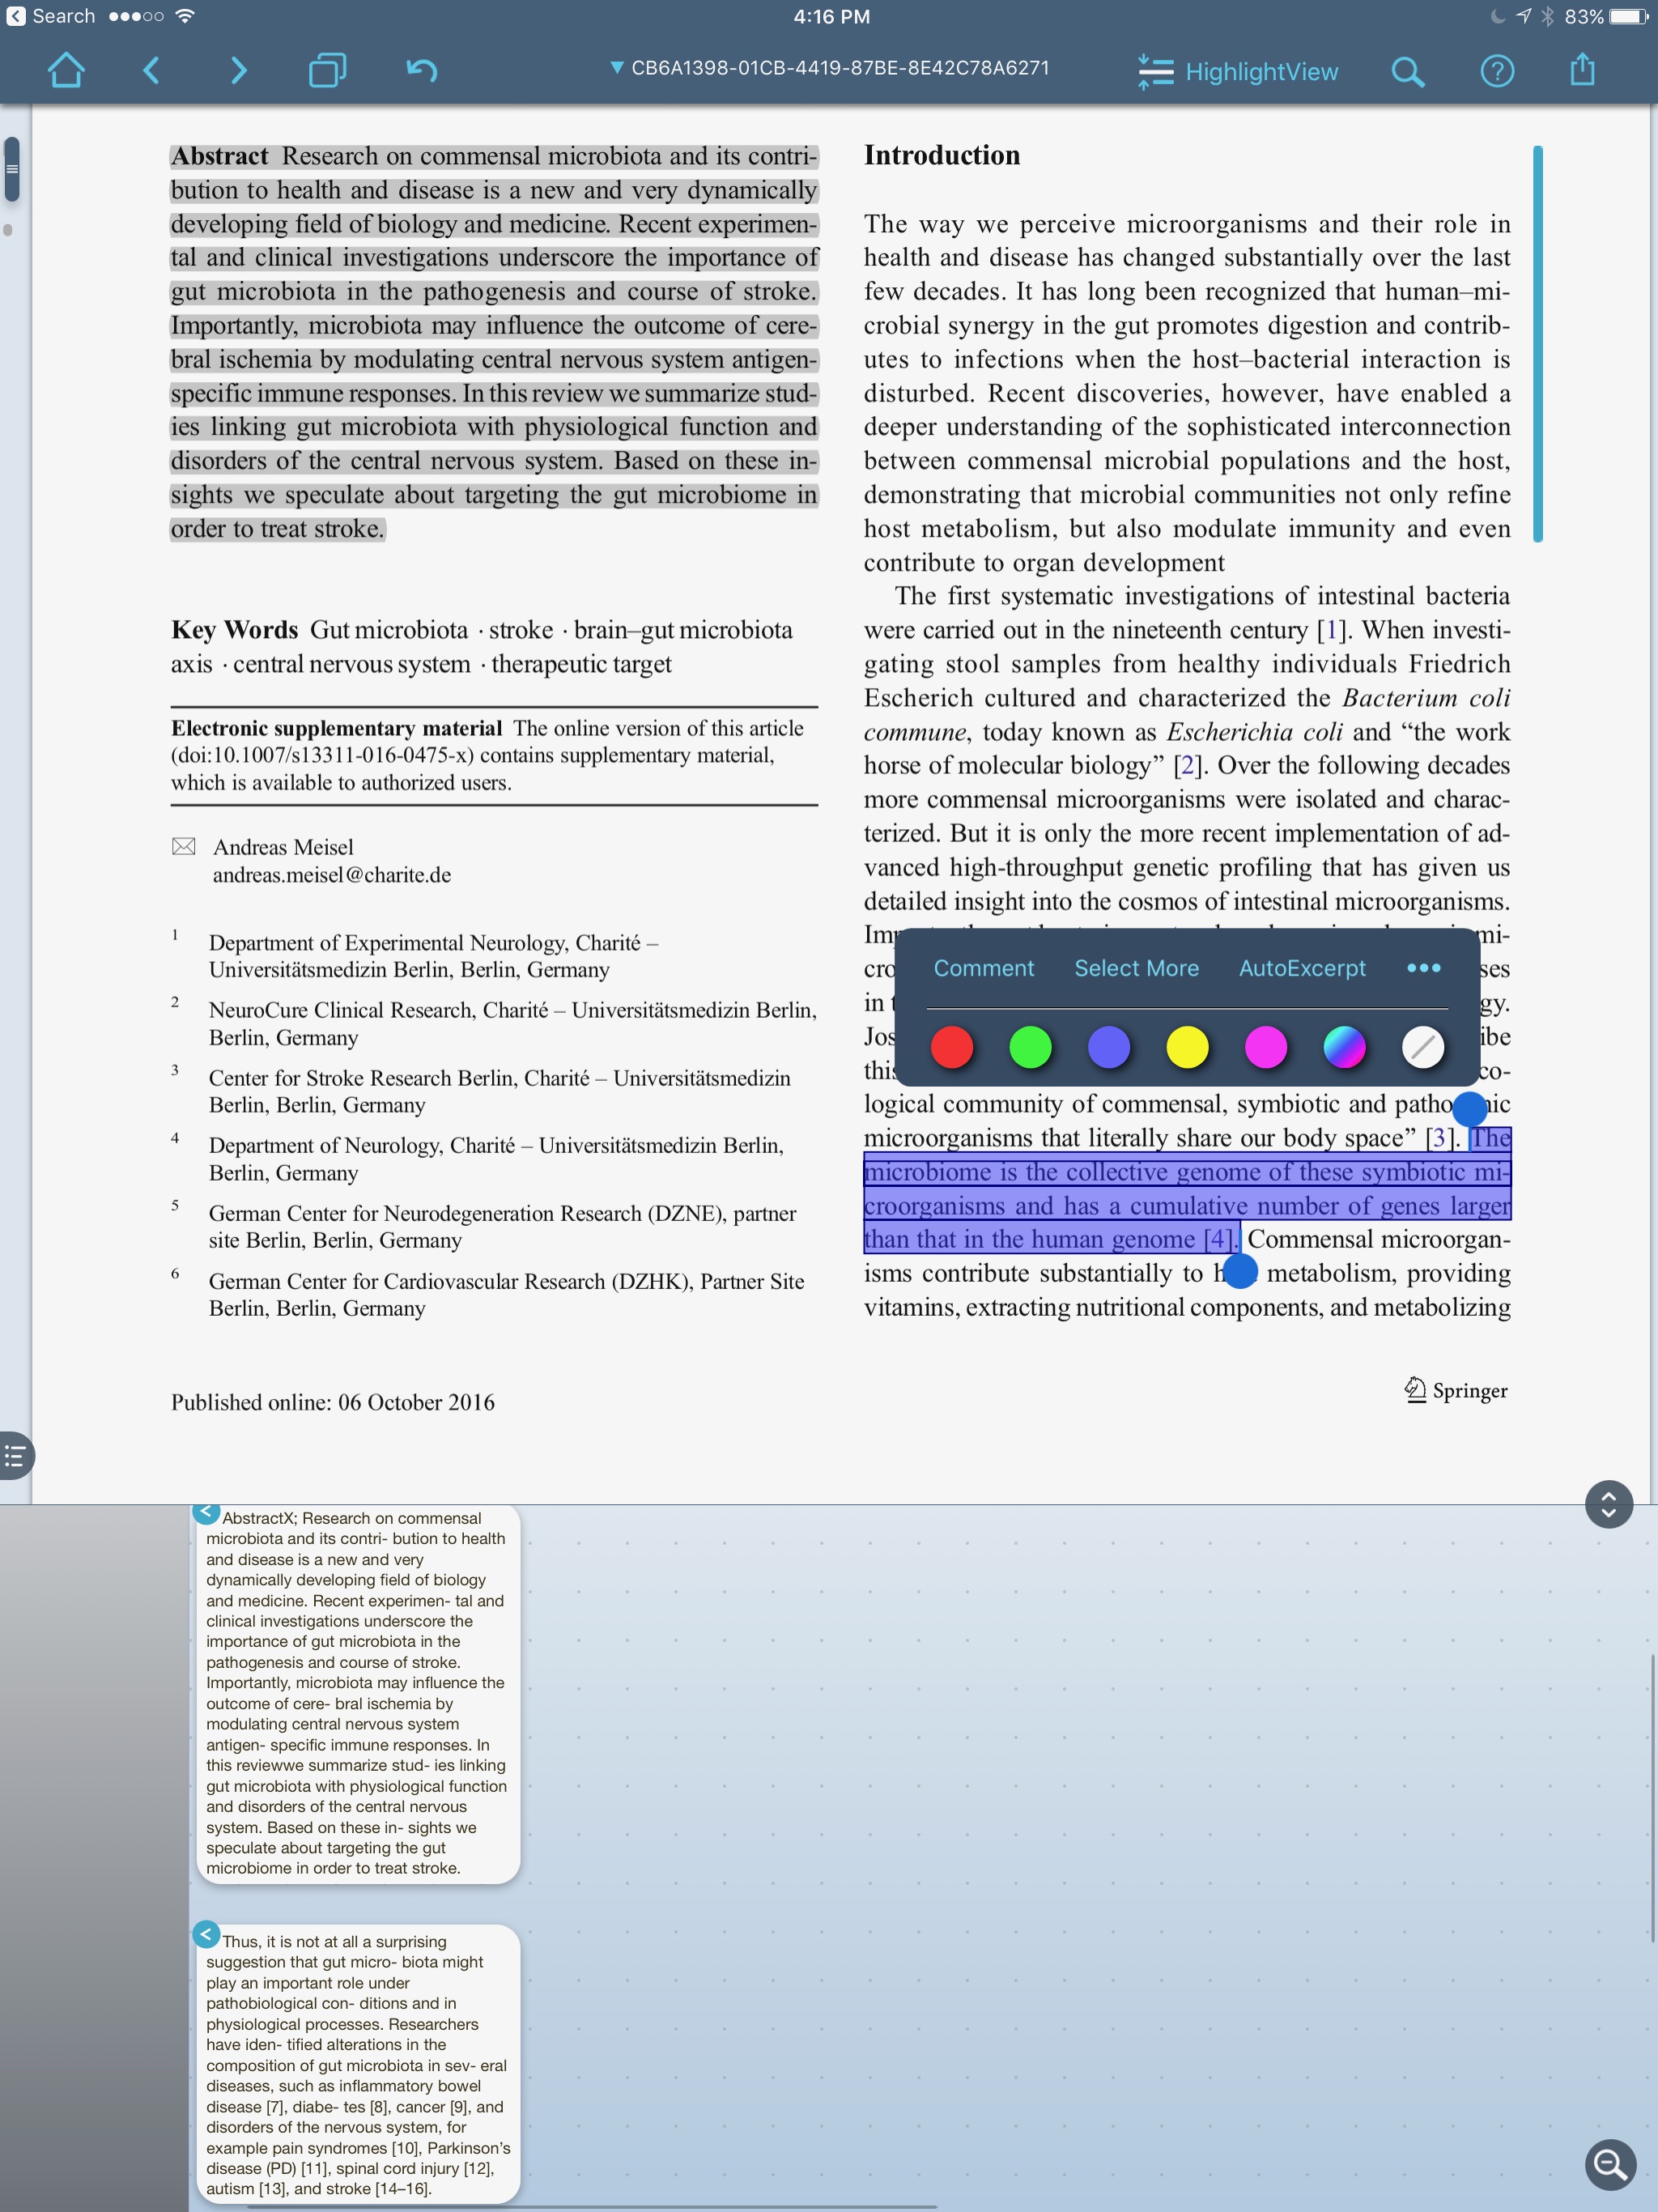 I can also view the place in the paper the highlight came from by merely touching the excerpt in the notes area.
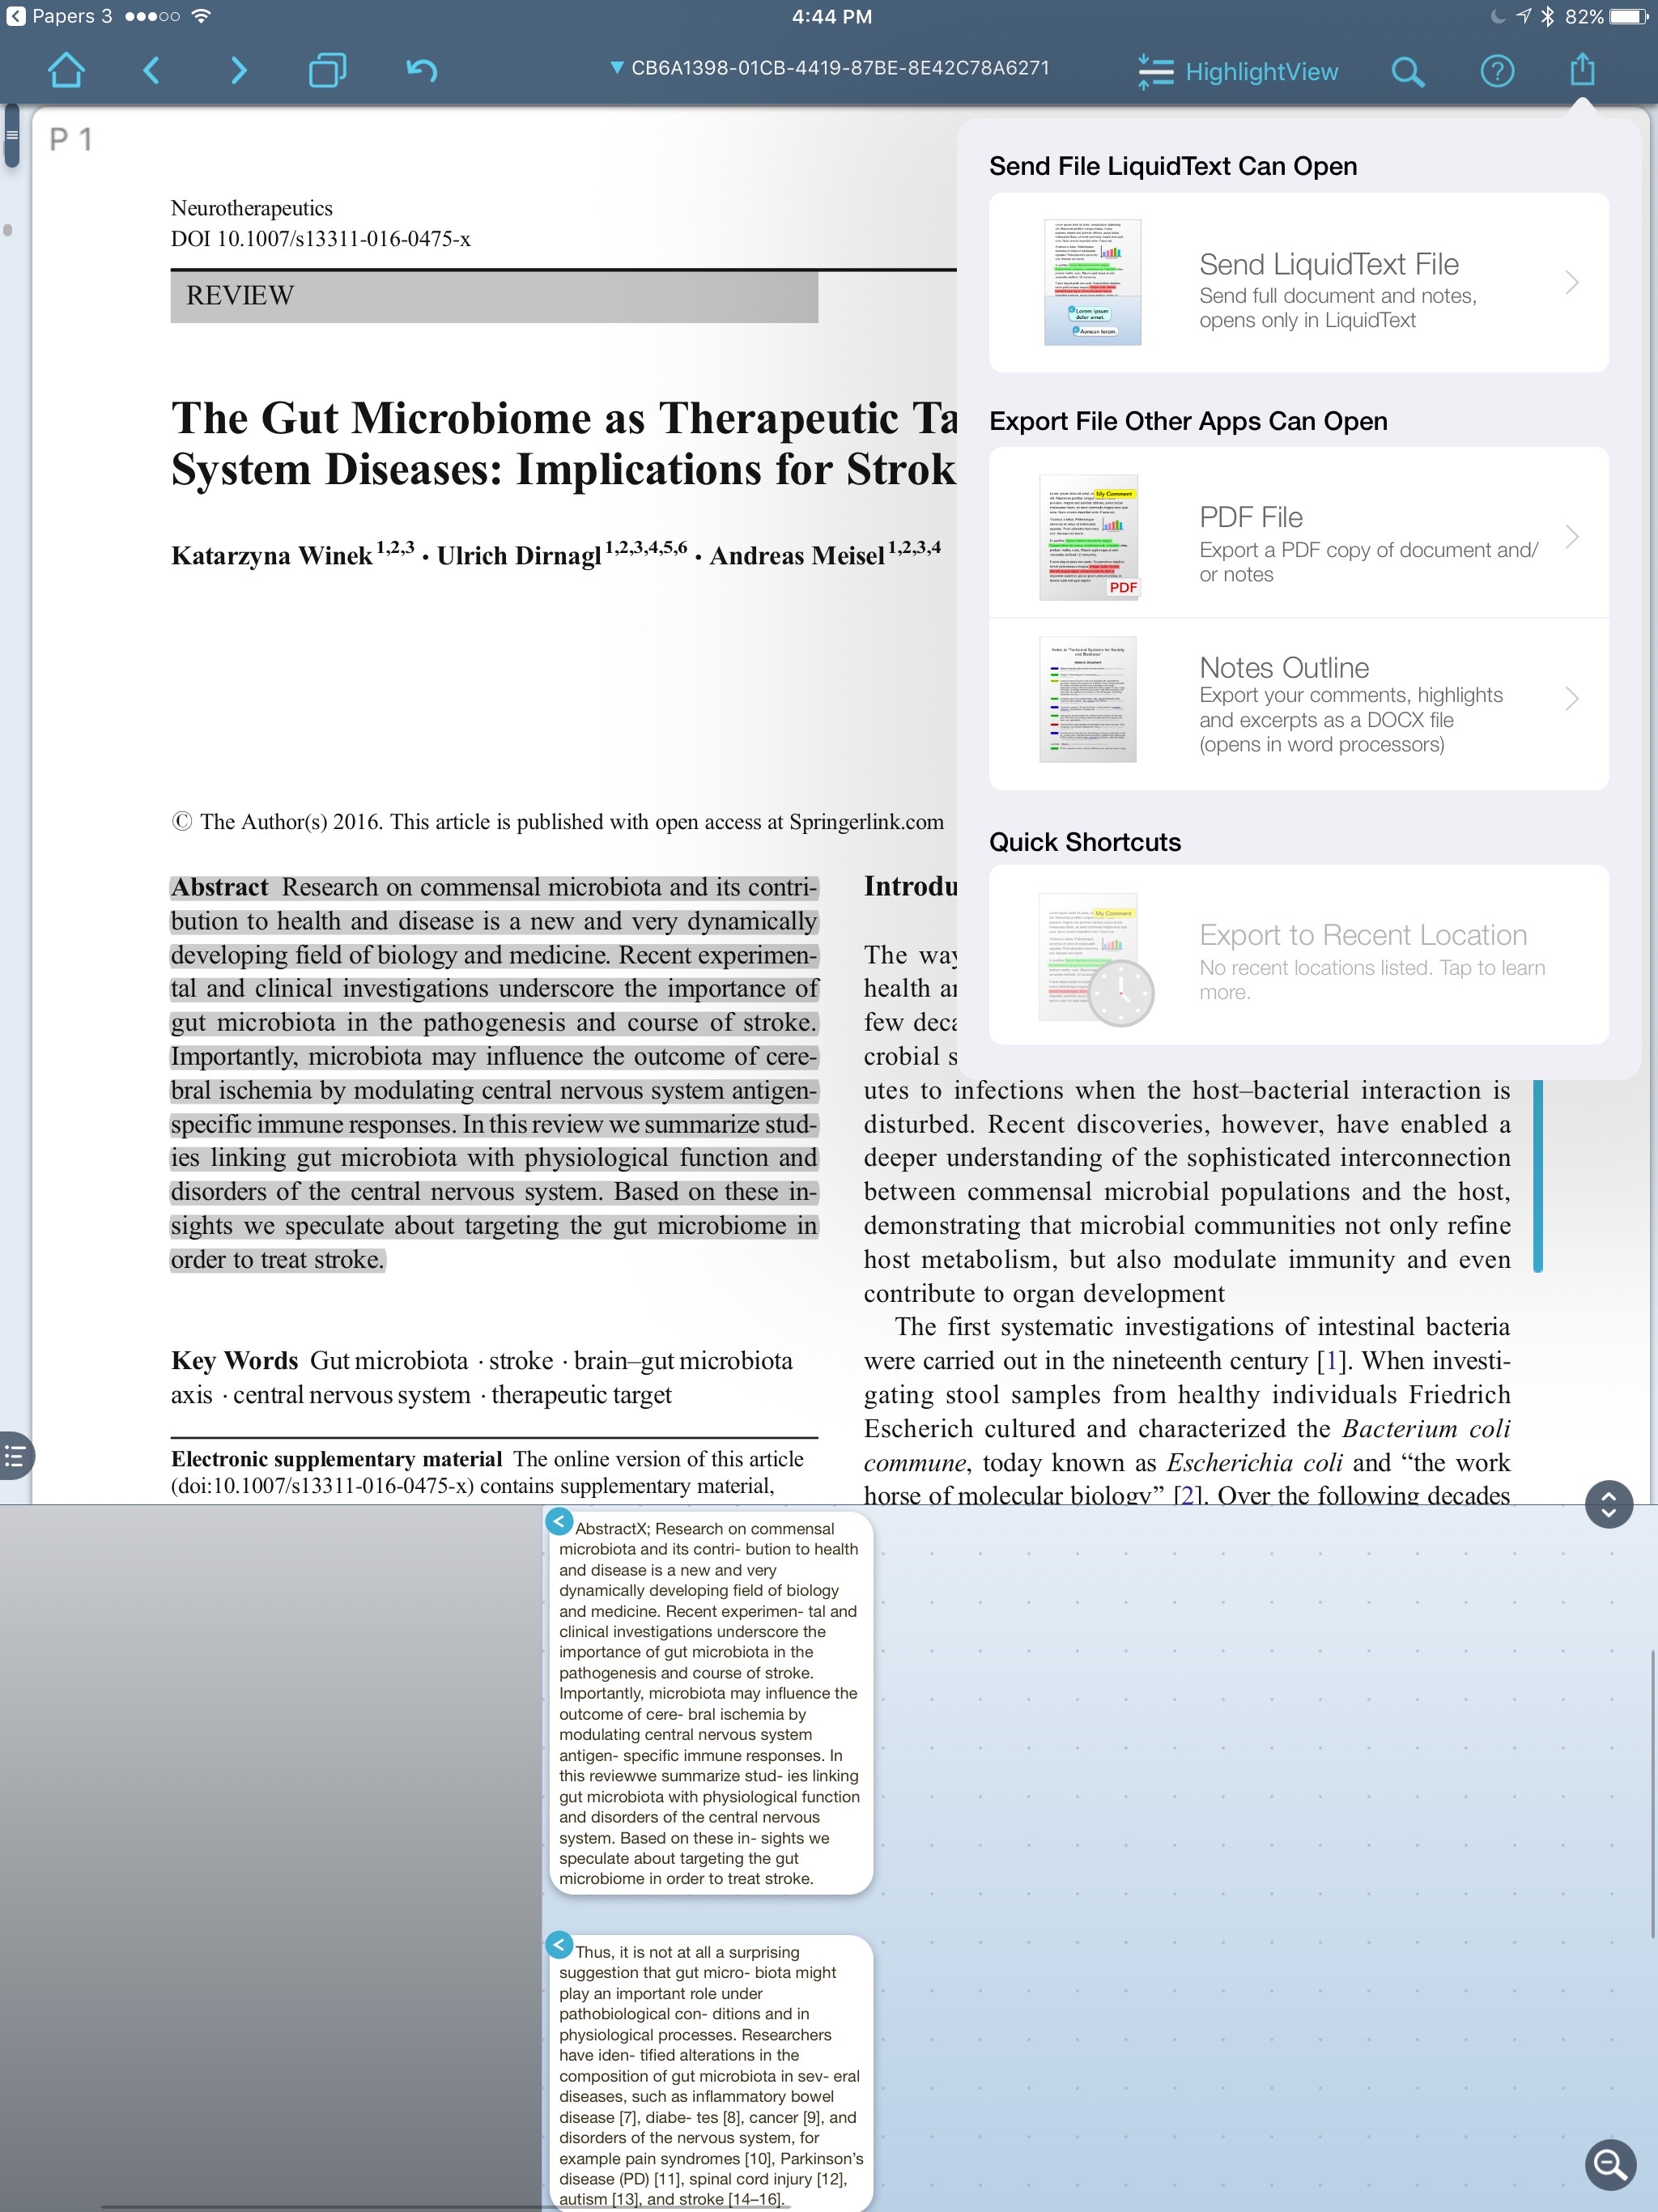
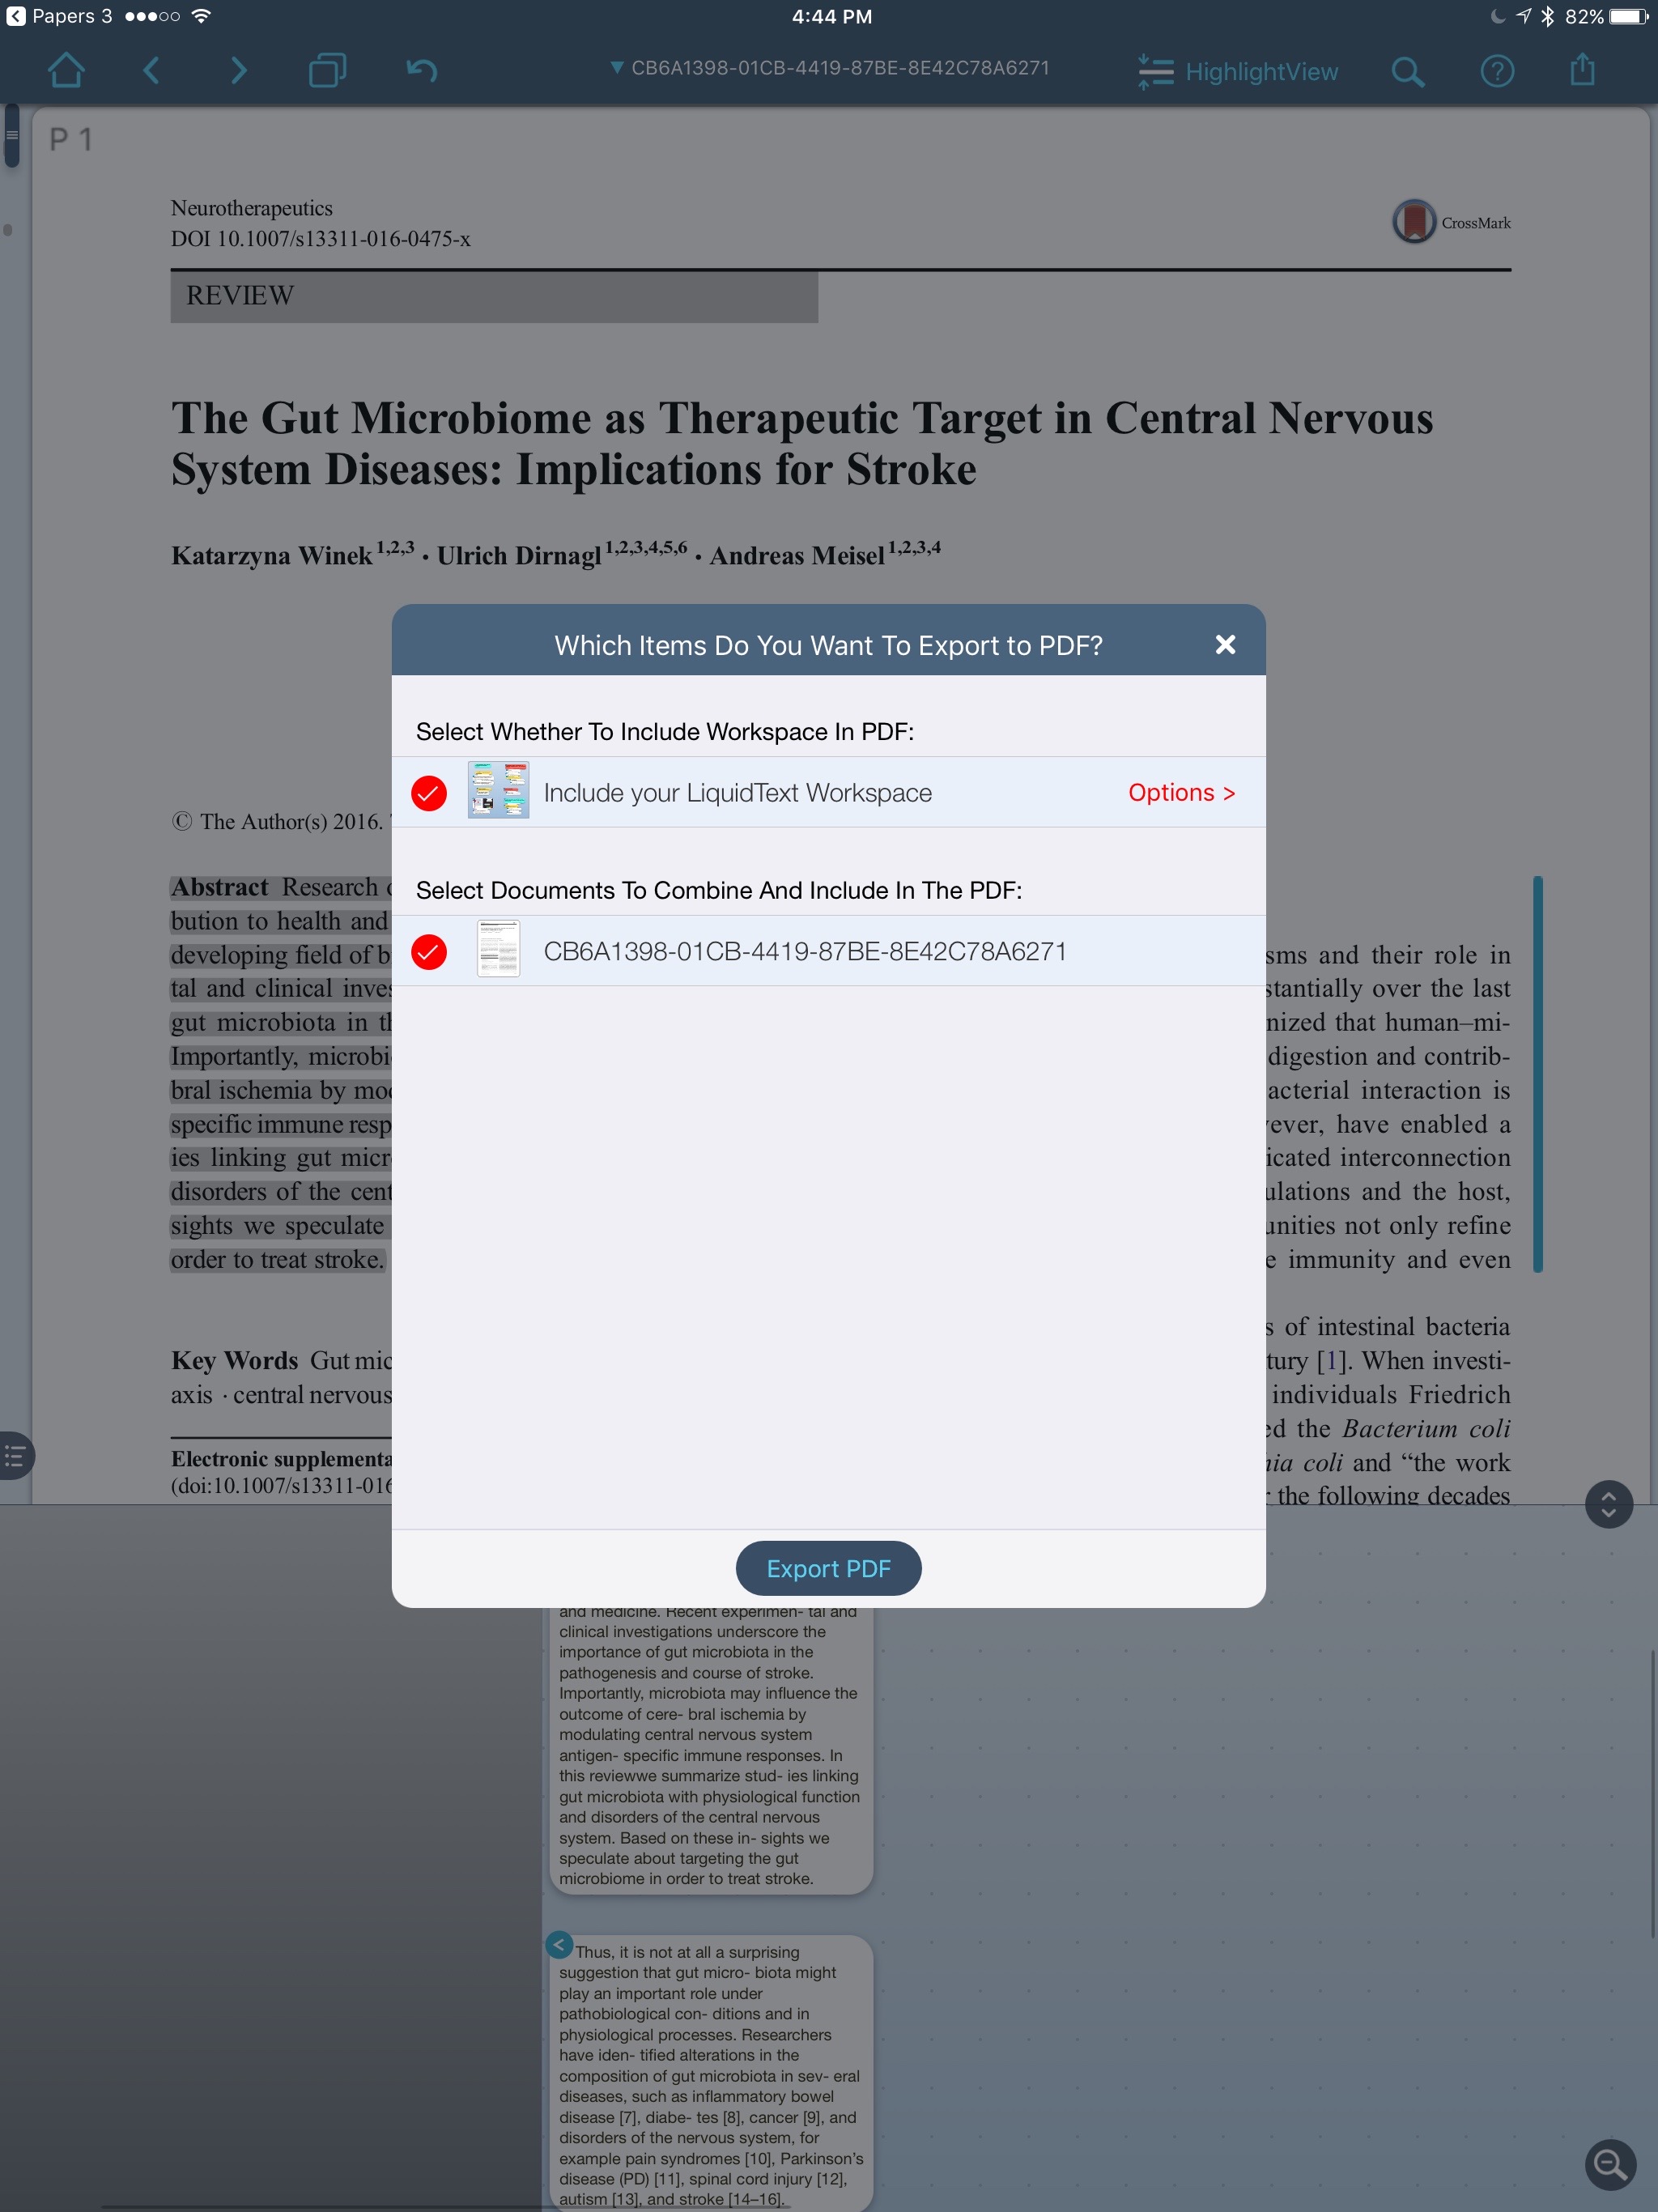
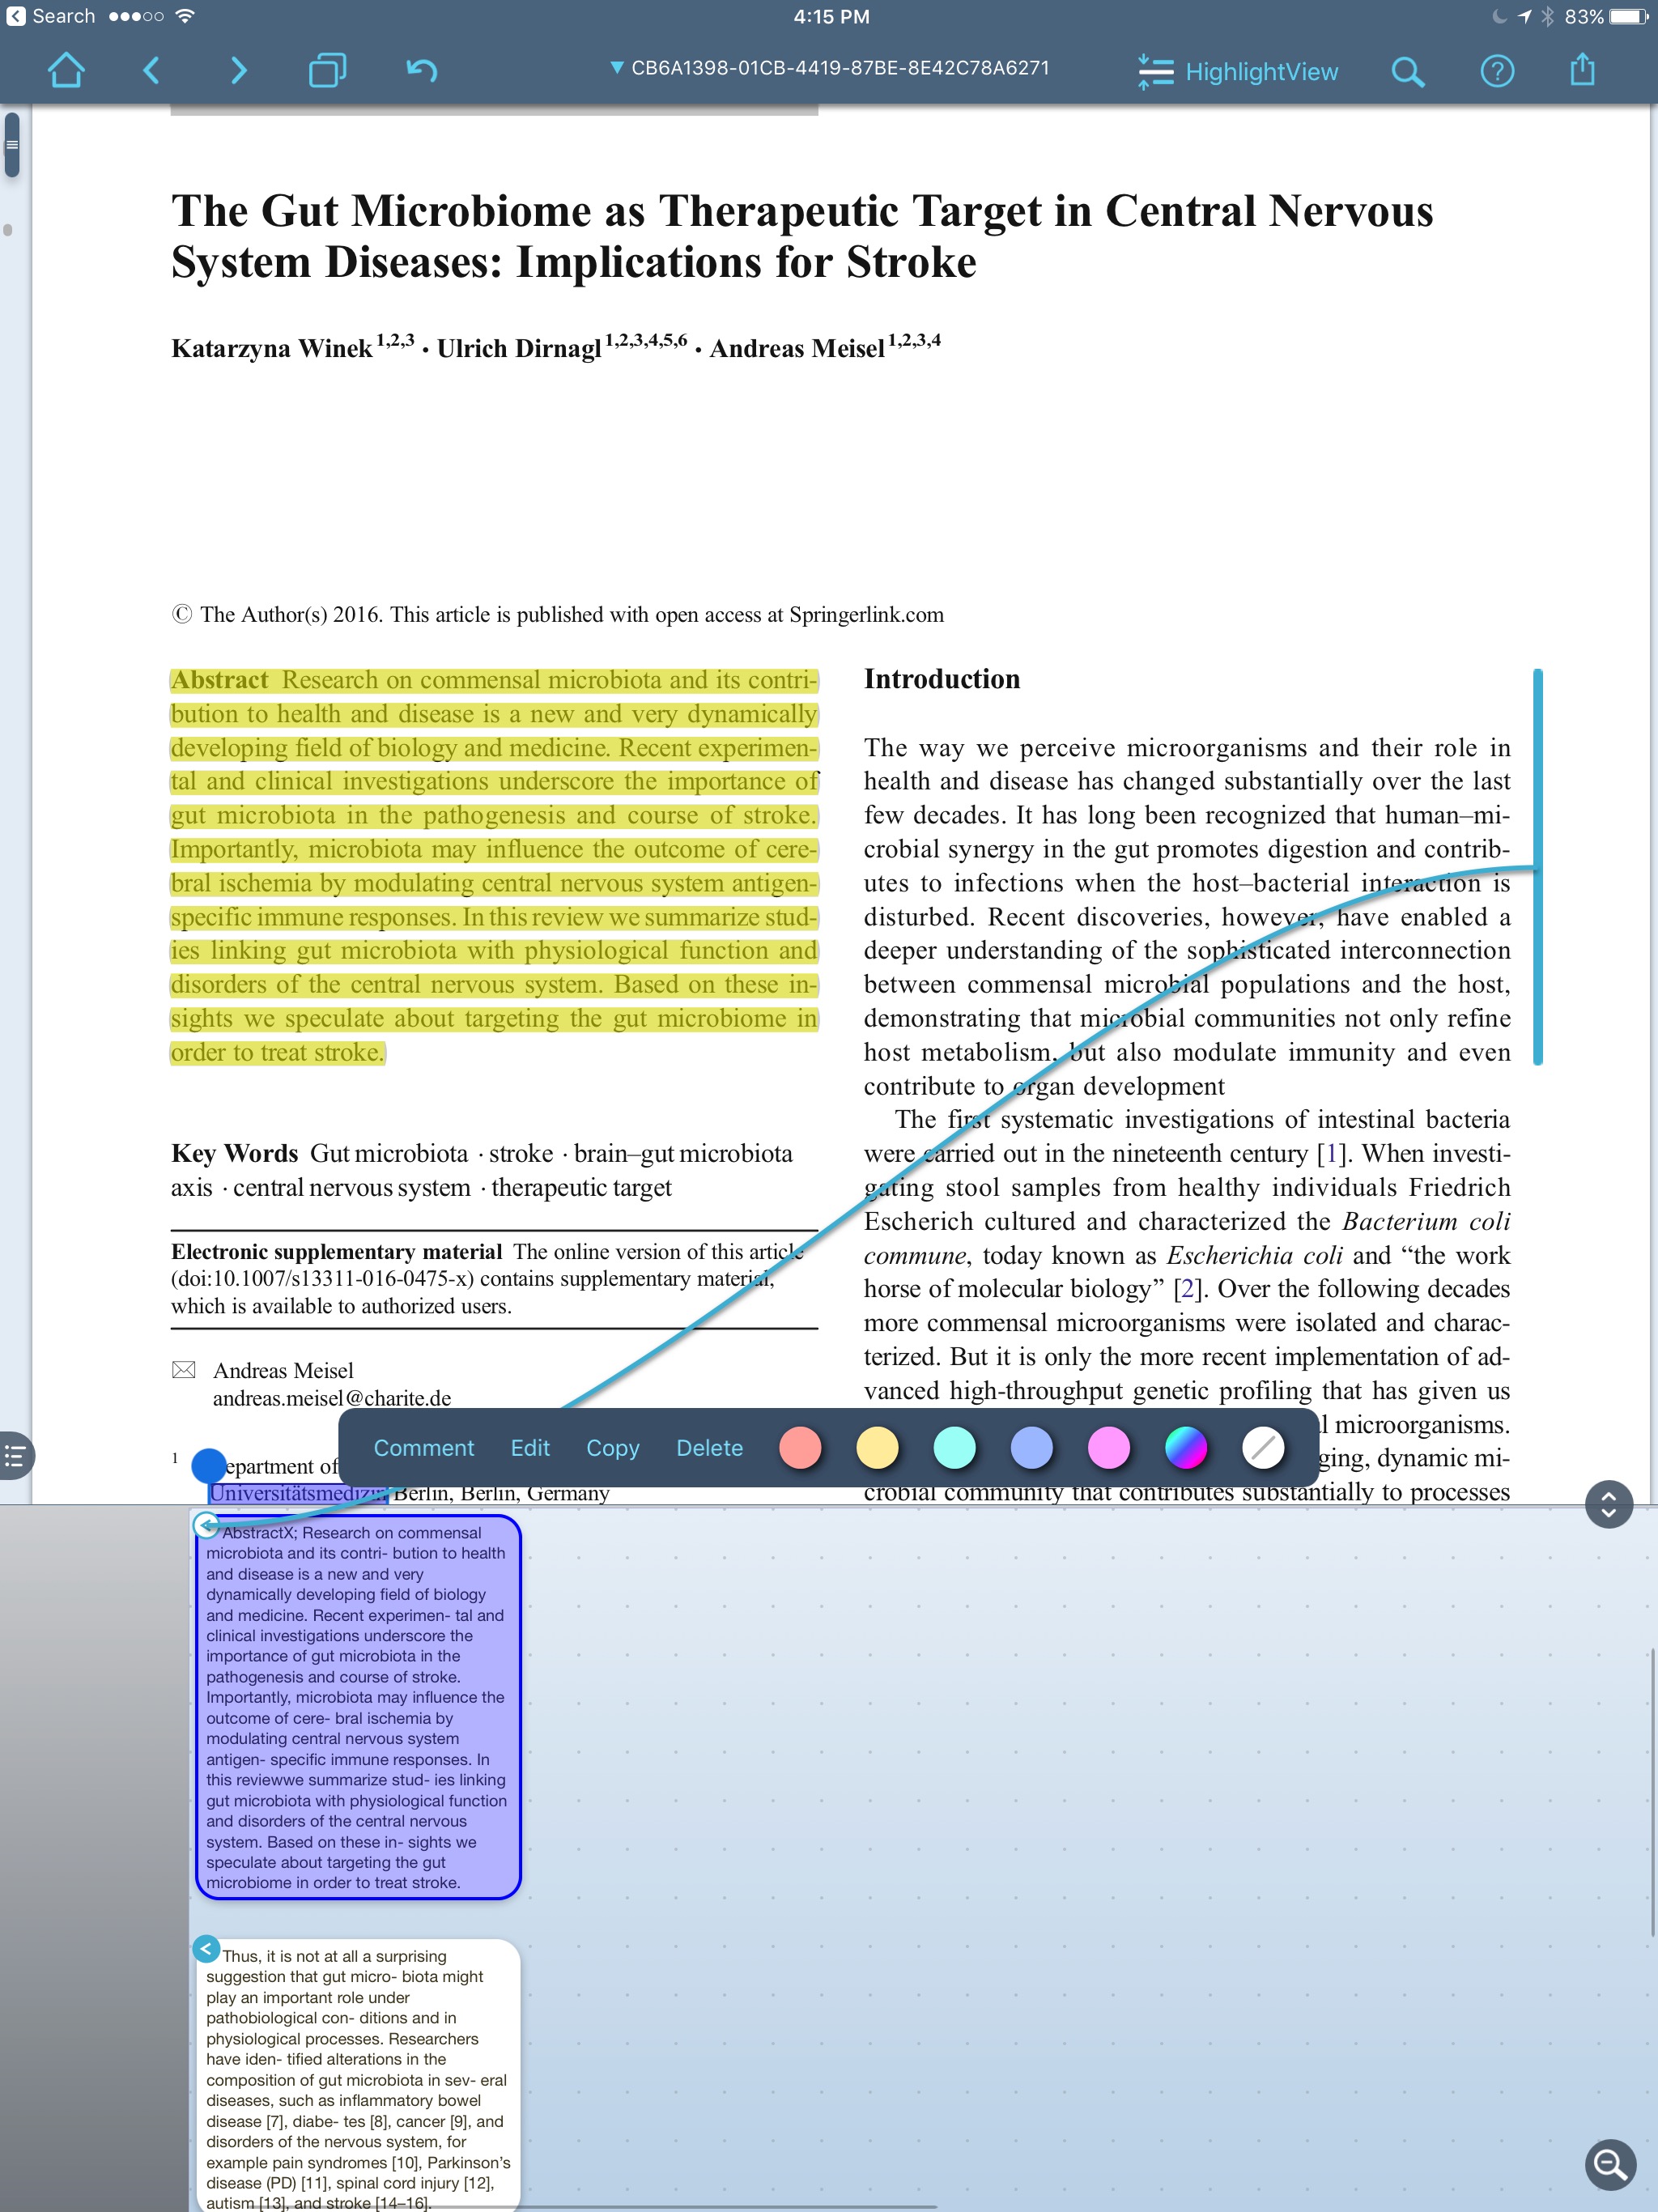 LiquidText reads and writes to a whole range of cloud services, but has limited range of export document choices.
 An Enterprise version is available for $9.99 that adds features like multi-document search and the ability to comment on multiple documents simultaneously. I've been using the app so much, I upgraded primarily to support the developer.There are a few features that are not (yet) available—the most critical for me is the inability to export highlights into a text file—LiquidText only exports highlights to Microsoft Word. This, unfortunately, is not compatible with
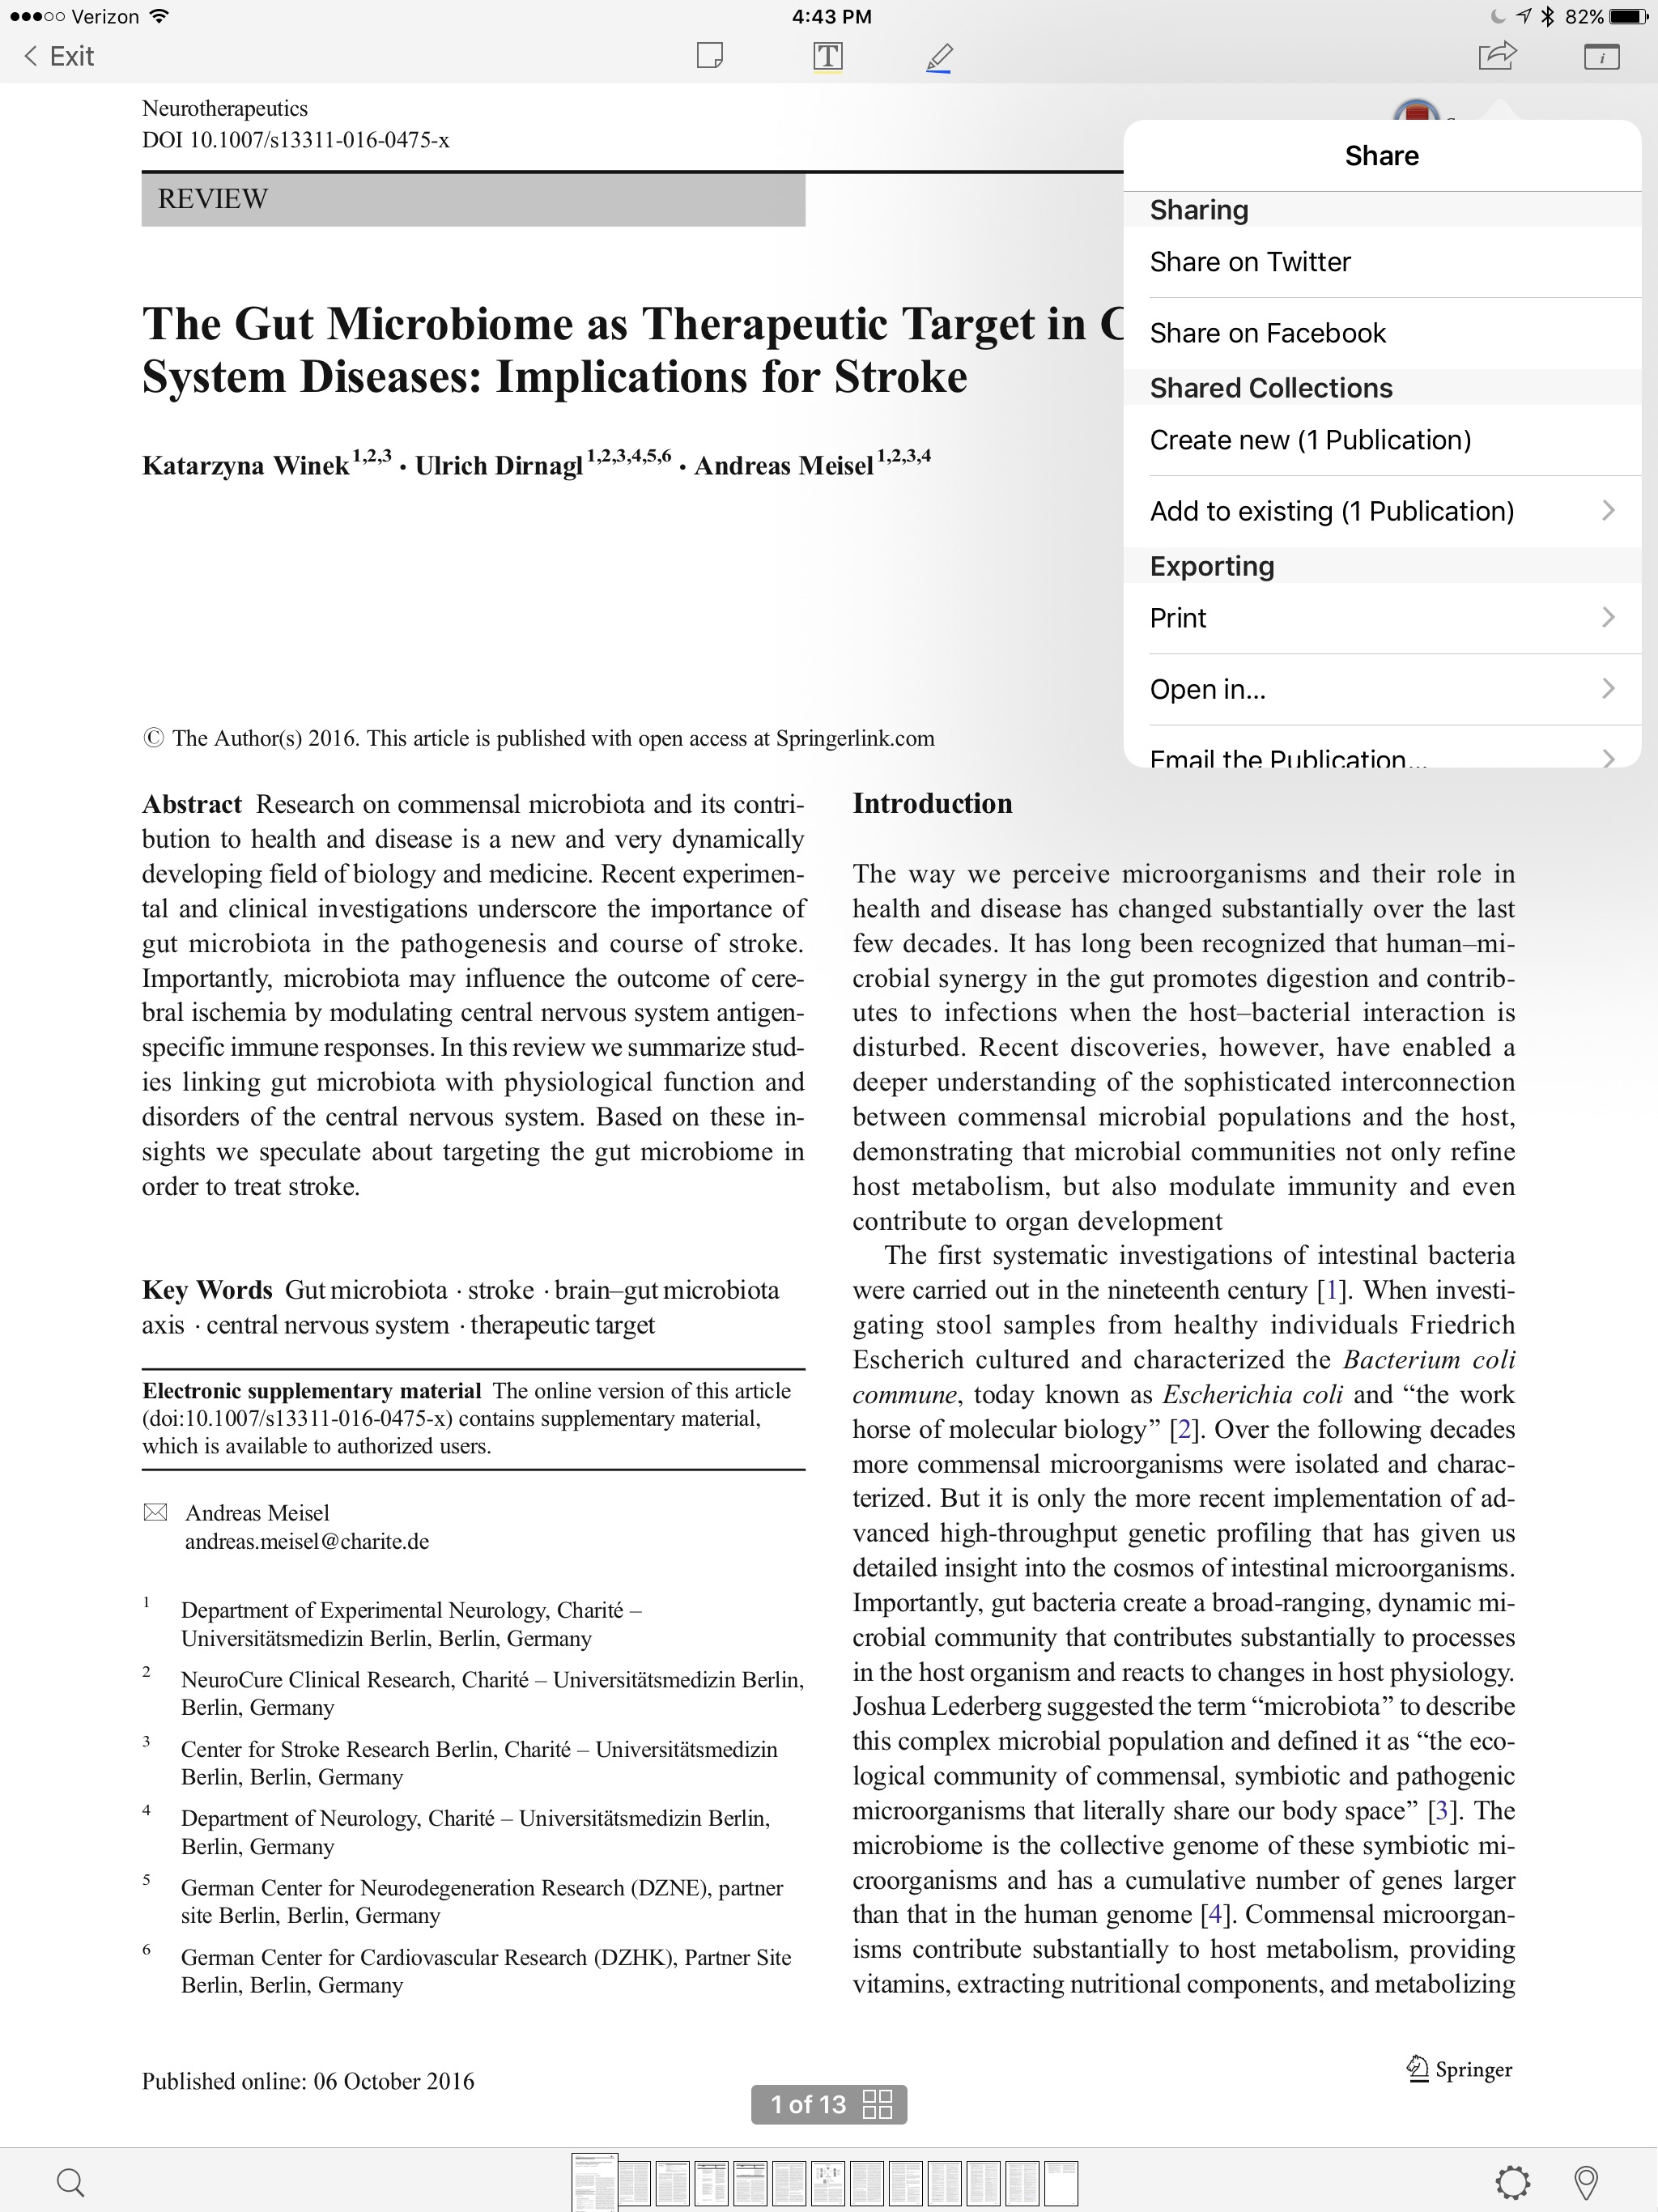


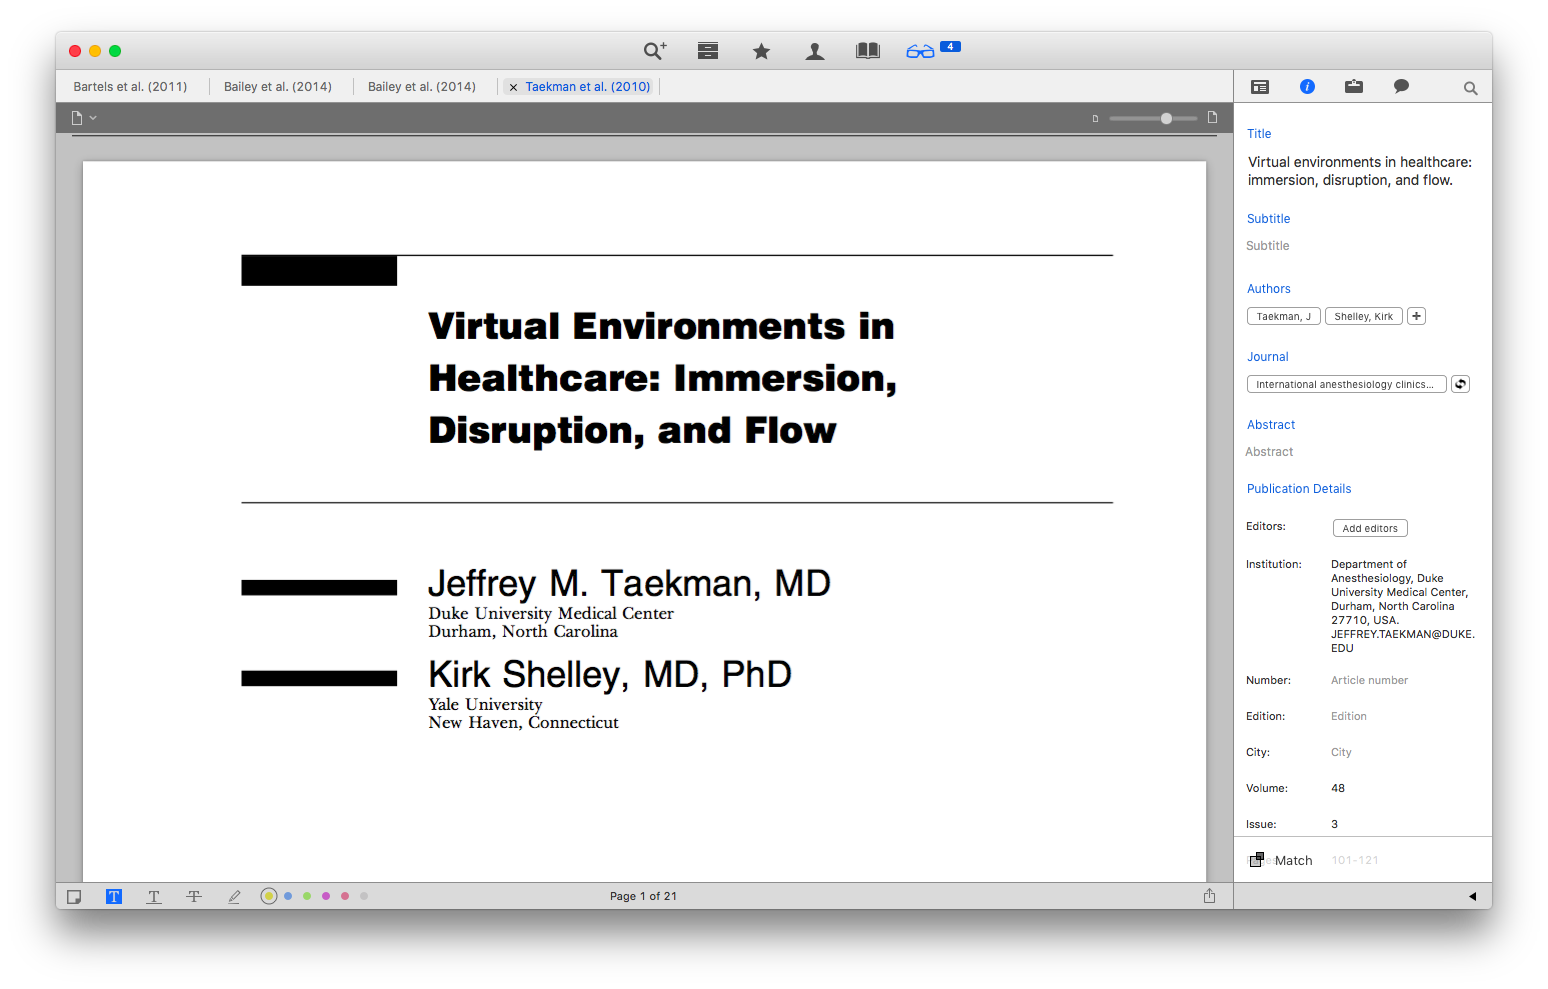


 Within the Papers preferences, I’ve configured Papers to launch a PDF in a new tab (using Papers itself, NOT an external PDF reader).
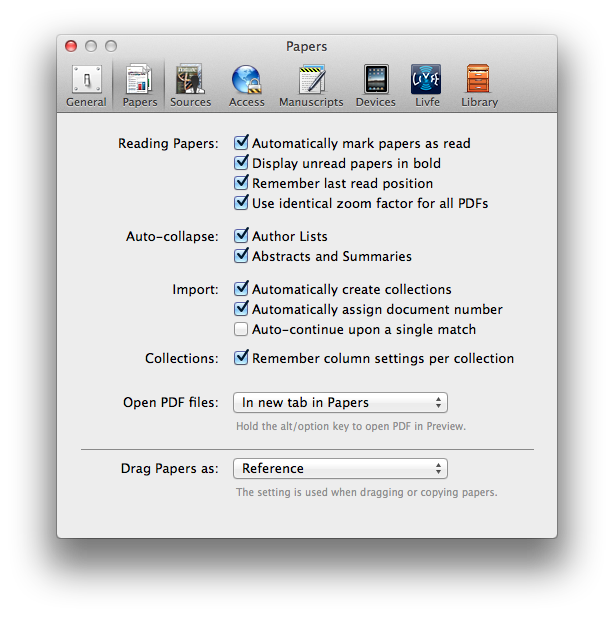
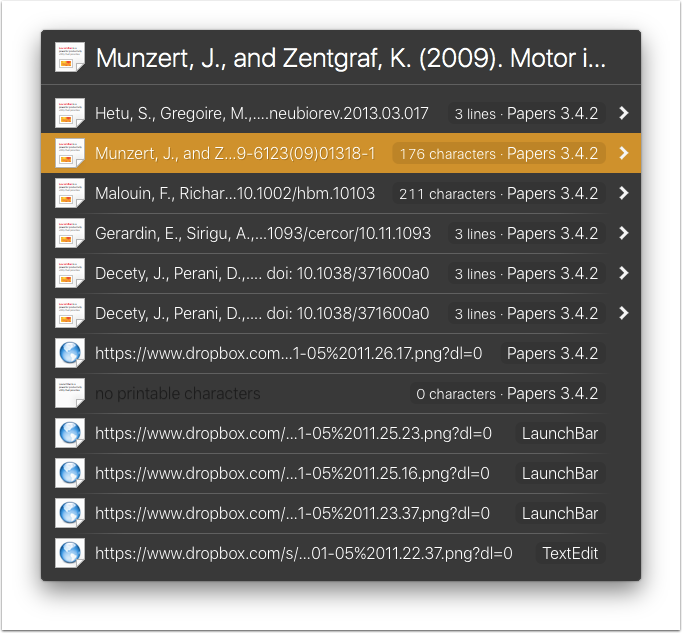
 If I find a paper I’d like to read that’s not in my library I copy and paste the title and author to my
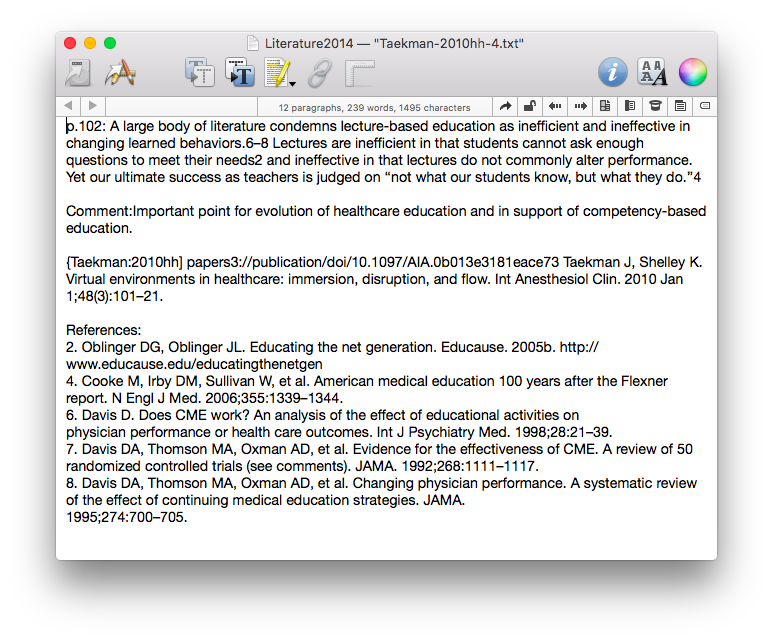
  A limitation of Papers is that it can’t export each note or highlight separately–it dumps all my annotations into a single file. I open the file and cut and paste each individual note (that represents a single highlight) into its own file. I then comment on the highlighted passage. Finally, I use the “Magic Manuscript” feature of Papers (invoked by hitting my Option Key twice) to append the citation reference to each statement.
 Finally, I drag each RTF into to the “Supplemental Files” tab of the Papers. This saves each comment in a supplemental folder residing side-by-side with the manuscript in the Papers Dropbox hierarchy.
 The next step of the workflow uses the “Indexing” feature of
  This all sounds complicated, but trust me, it’s worth it. What this allows me to do is open Devonthink and find any statement, concept, or related item quickly. I can then cherry pick comments related to my search and paste them into a draft document with little modification.When I’m writing, I take all related concepts and paste all of them into a single card in
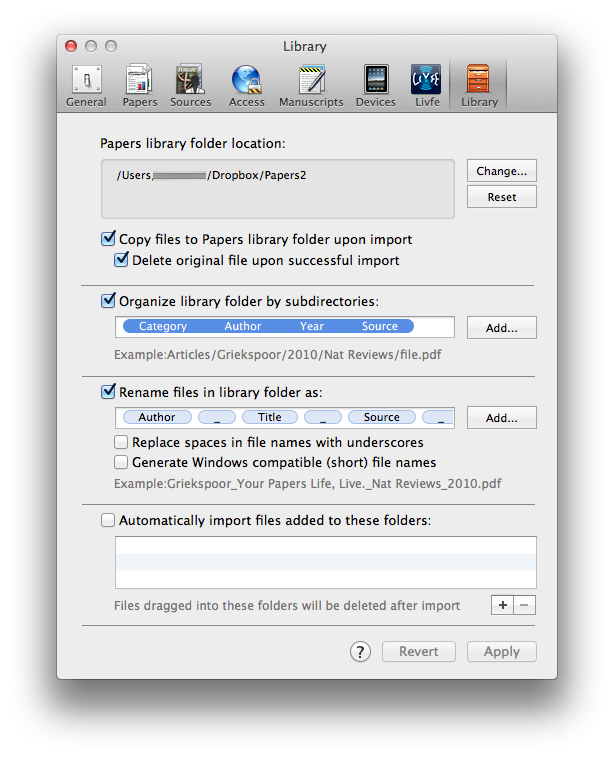
  I’ve found having Hazel search for the word “References” within each PDF works the best. When a PDF whose contents contain the word “References” is matched, Hazel automatically launches Papers and imports the manuscript. While importing, Papers fetches metadata, renames the PDF to the convention I’ve specified, and files the manuscript in a specified hierarchy on DropBox–all automatically. Another preference in Papers erases the original file once it’s imported.
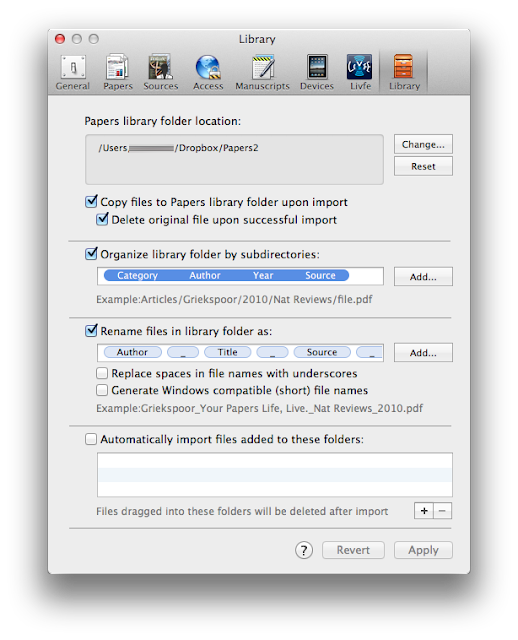 I’ve tried other search words for Hazel including “abstract,” “methods,” “results,” and “discussion”–none work as well as references. Most every scholarly manuscripts has references (unfortunately, even the word “references” will not be 100% reliable–in a minority of publications, references will be called a "bibliographies" or "citations").You are probably wondering why I don’t just use the built in unified search window in Papers. My answer: it is faster and less frustrating to find full-text directly through our Library’s web page. Papers unified search will work through a fire wall (using proxy URLs in the search interface) – but it’s hit-or-miss whether a link in Papers will lead to a full-text article or merely a frustrating publisher’s login screen–most usually the latter. My hit rate is much higher on the web. I use Papers built-in search engine primarily to retrieve metadata (after the full text pdf has already been imported).When I’m collecting full-text articles I save EVERYTHING to my Downloads Folder and let Hazel do the rest. When she finds a match, she launches Papers and imports each manuscript without any additional effort on my part. Using this method, I can conduct my search for scholarly information with minimal interruptions - Hazel does the rest.Searching on my own is the most common way I get information into papers, but occasionally a colleague will mail me something they think I should read. For these situations here’s what I do. I have Hazel monitor my Mail Downloads folder (~/Library/Containers/com.apple.mail/Data/Library/Mail Downloads ) and copy EVERY attachment to my Downloads Folder (I do this for a host of reasons–not just publications–I’ll talk about why in a future entry) Once the paper is in the Downloads folder Hazel can work her magic using the rule mentioned earlier. Apple now hides the Library Folder by default. Here is a
  So there it is: how I use Hazel to speed up the collection of information when writing or researching. I hope it’s helpful to you. In a future entry I’ll talk about an emerging trend in research paper management: social networking.Cheers, Jeff